
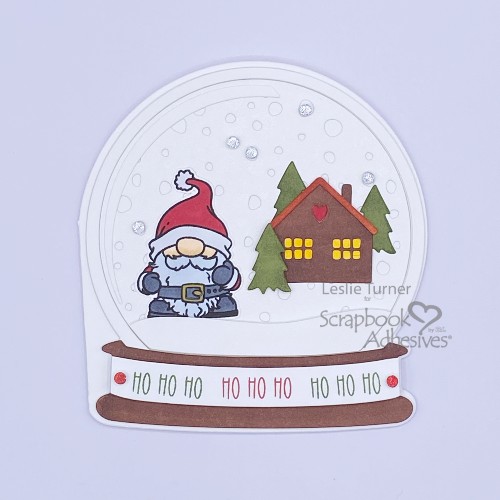
Hey everybody, happy Monday – I hope you had a great weekend! Are you in full-on Christmas mode yet? I stay in Christmas mode all year long! Leslie here, sharing a tutorial for creating a Shaped Snowglobe Card. I absolutely LOVE shaped cards… they scream F-U-N as soon as they’re pulled out of the envelope. This card was made with Trinity Stamps and Scrapbook Adhesives by 3L products, so let me show you how I made it!
Card Base & Layers
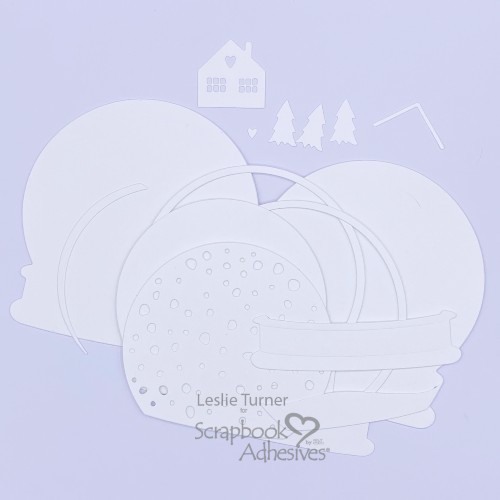
Using the snowglobe dies, cut all the pieces from white cardstock. Heavyweight white cardstock is great for the base and medium weight is good for the rest of the elements. Cut two frames and saved the extra globe pieces, using them for a snowbank and the inside sentiment which you’ll see in later steps.
Prepare Elements for Scene
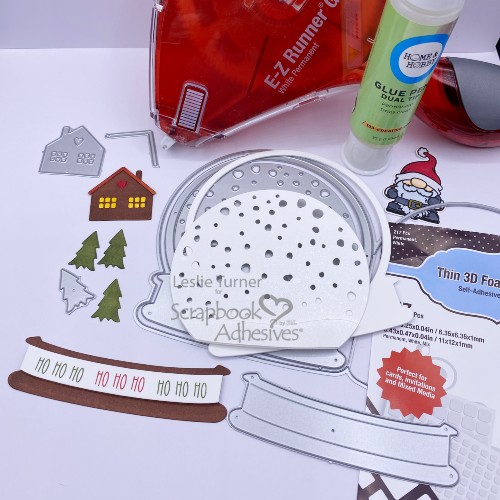
Now prepare the elements needed for the scene inside the snowglobe.
1. Color the cabin and trees with markers. Use the Dual Tip Glue Pen for cabin assembly. Don’t forget to glue a colored yellow strip behind the windows… the lights need to be on in the cabin!
2. Apply a small foam square from the Thin 3D Foam Squares White Mix to the back of one of the trees for a tiny bit of dimension.
3. Stamp the Santa gnome and color him with markers. Then fussy cut him if you don’t have the coordinating dies.
4. Spritz the snowflake background piece with shimmer spray to give it some nice snowy shimmer. Cut a snowbank (from one of the extra globe pieces) and spritz it as well. Let dry and glue the snowbank to the background using the Dual Tip Glue Pen.
5. Color the snowglobe stand dark brown to resemble wood. Cut one more stand from white cardstock and trim the top and bottom from it, leaving just the center strip. Using green and red inks, stamp the HO HO HO sentiment three times on the strip. Secure the strip with Crafty Foam Tape White 54ft. to the stand.
Build Scene
After adhering the two frames together for a little dimension, glue them to the card front with the Dual Tip Glue Pen. Now build the scene inside the snowglobe. Glue down the spritzed snowflake background with the snowbank. Similarly, glue the cabin and trees in place, and then add the Santa gnome. Adhere the stand to the bottom using the E-Z Runner® Grand Permanent Strips Refillable Dispenser.
The ‘Wear Your Adhesive on the Outside’ technique is my newest craft addiction! Take five of the smallest circles from the 3D Foam Christmas Shapes and apply Metallic Transfer Foil Sheets Celebrate Colors. Use the silver foil to create shiny snowflakes and apply them randomly over the background. Create two additional shiny embellishments with the circles and red foil to add to the sentiment strip on the stand.
Complete Shaped Snowglobe Card
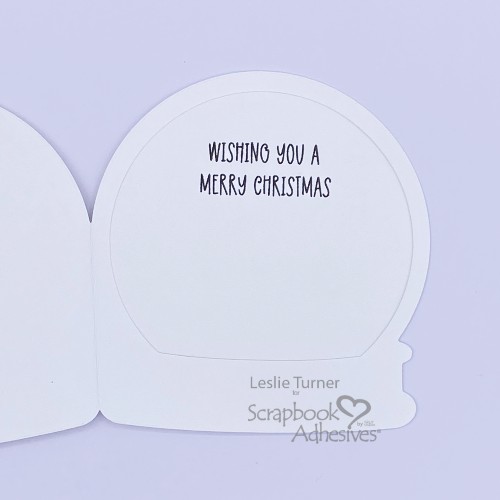
The only thing left to do is to add an inside sentiment. Stamp a sentiment in black ink on the other extra globe piece. Adhere this to the inside using the E-Z Runner® Grand Permanent Strips Refillable Dispenser, and the card is complete.
That’s it, my friends! Thanks so much for visiting – we’ll see you next time!
Leslie
Creative Time: 60 mins
Skill Level: Intermediate
Materials Needed:
Scrapbook Adhesives by 3L®
E-Z Runner® Grand Permanent Strips Refillable Dispenser
Thin 3D Foam Squares White Mix
Crafty Foam Tape White 54ft.
3D Foam Christmas Shapes
Metallic Transfer Foil Sheets Celebrate Colors
HomeHobby™ by 3L
Dual Tip Glue Pen
Other:
Cardstock: Neenah Solar White
Stamps and Dies: Trinity Stamps (North Pole Gnomes Stamps and Snowglobe Card Dies)
Ink: Memento Tuxedo Black, Versafine Onyx Black, Catherine Pooler Rockin’ Red and Eucalyptus; Copic Ciao alcohol markers, EK Success Gold Dual Tip Marker, Sakura Micron 08 Pigma Black Pen, Tattered Angels Iridescent silver Glimmer Mist
Accessories: Mini MISTI, 1-1/2″ square stamp block
Click Preferred Retailers List
Save to Pinterest!

Visit our Website and Blog!
Sign up for our Newsletter so you never miss a contest or giveaway!


