
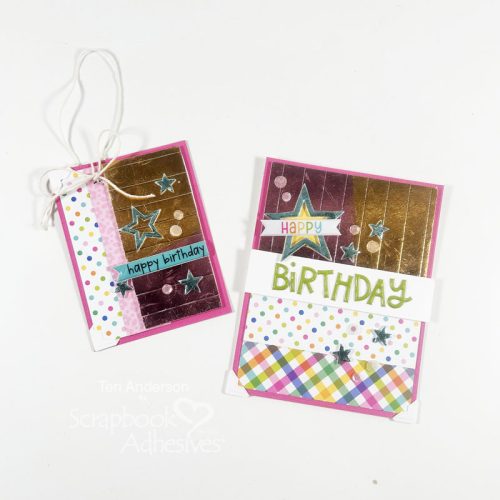
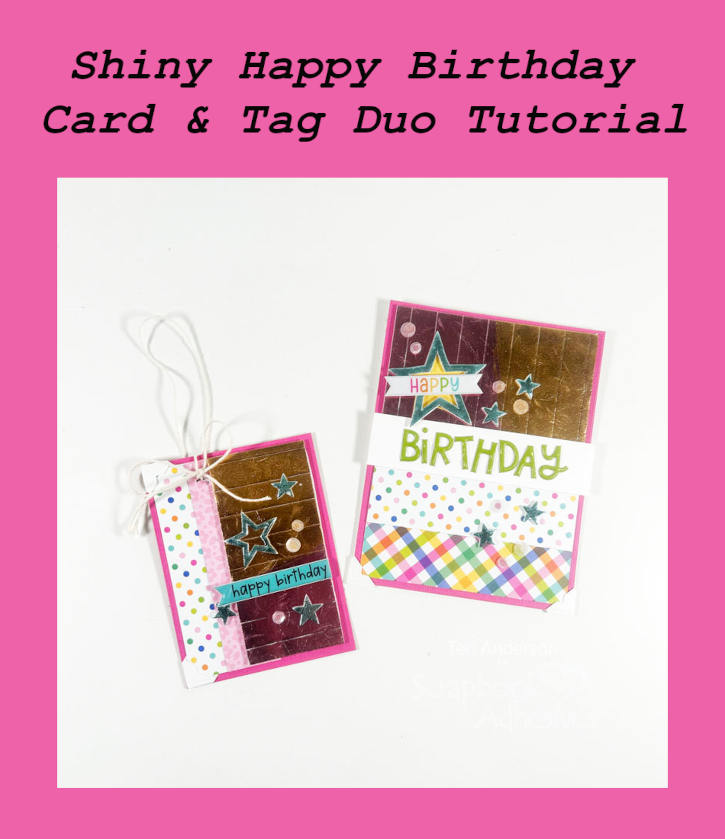
Hi, friends! Got a birthday coming up? Teri here to show you how to make a super cute Shiny HBD Card and Tag Duo to celebrate the big day!
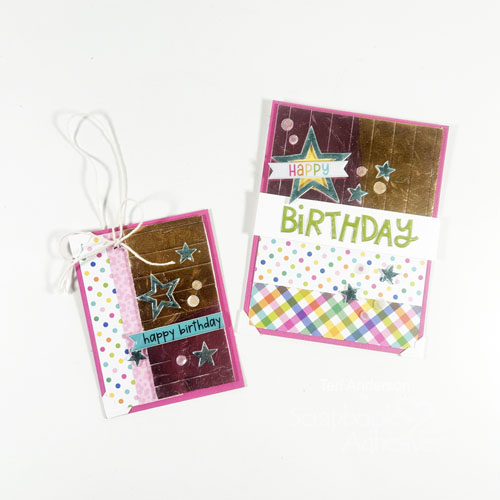
HBD Card and Tag Duo Shiny Background
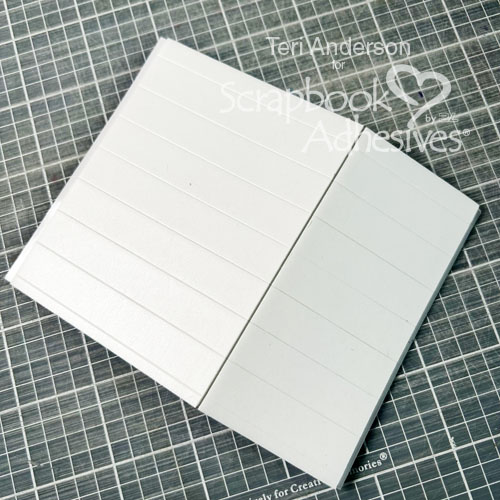
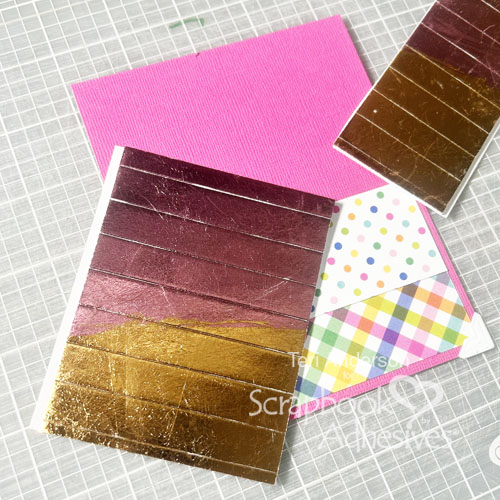
With a paper trimmer, cut the foam from one sheet of 3D Foam Strips Large but not the bottom liner. Keep them connected for now. Designer’s Tip: I used the large strips for today’s projects, but you could definitely use the smaller width of the 3D Foam Strips.
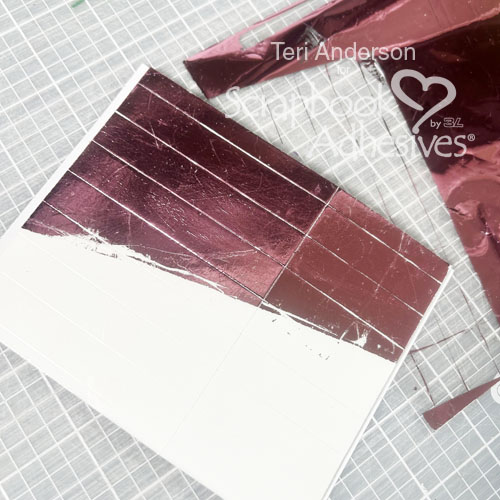
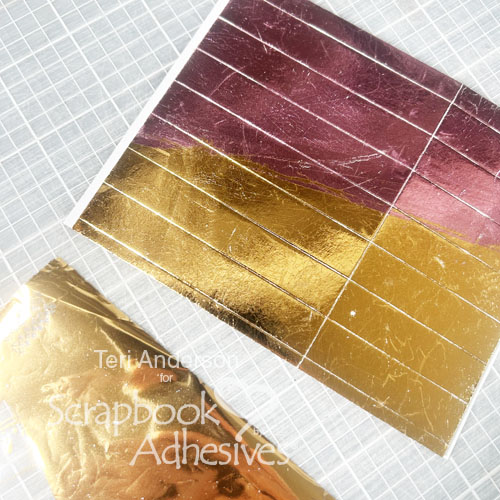
Let’s apply the Wear Your Adhesive on the Outside technique! Remove the paper from the top of the strips. Place a piece of pink foil from the Metallic Transfer Foil Sheets in Pastel on top with the pretty side up. Set it on an angle partially covering the strips and rub to transfer the color. Reapply the foil in any missed areas. Take a second color of foil (in my case, gold from the Metallic Transfer Foil Sheets Nature Colors) and repeat the foiling steps to the rest of the strips.
Create a Card Base
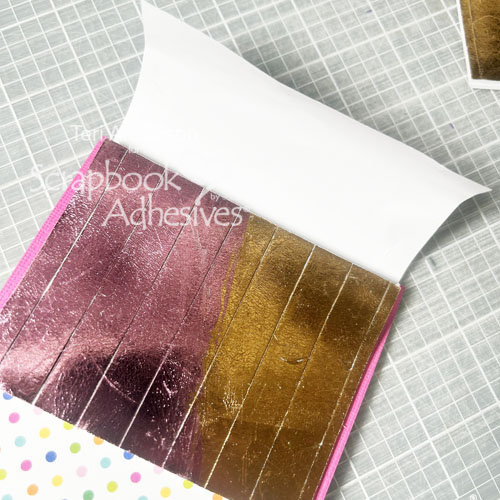
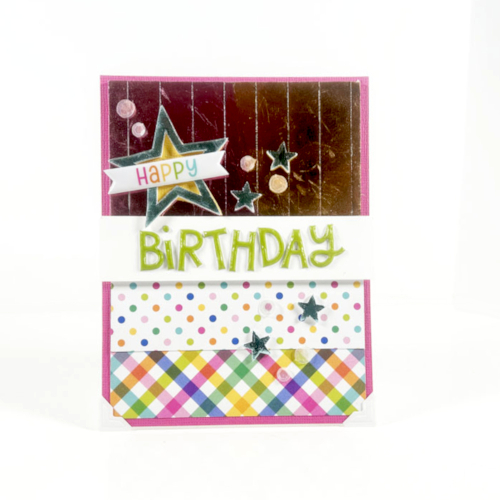
Cut the foiled strip panel into two. Apply cardstock and strips of patterned paper to a top-folded card with Crafty Power Tape Polybag 81ft. Add a couple Creative Photo Corners White as well. Take the larger panel of foiled strips and adhere it to the card front. Designer’s Tip: Partially remove the backing paper before placement. Fold up the top to serve as a handle for control on placement.
Add a Sentiment and Embellish More
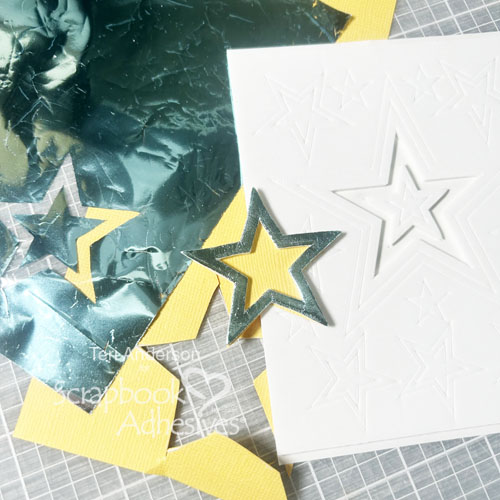
Take a medium size 3D Foam Star and place it to a piece of yellow cardstock. Apply blue foil to the star and trim the star out with scissors. Add a “happy” sticker on top of the star. Next, take a strip of white cardstock and add the word to “birthday” to it. I used stickers, but you could handwrite it or stamp it, if desired. Then adhere the sentiment strip to the card front with Crafty Power Tape Polybag 81ft.
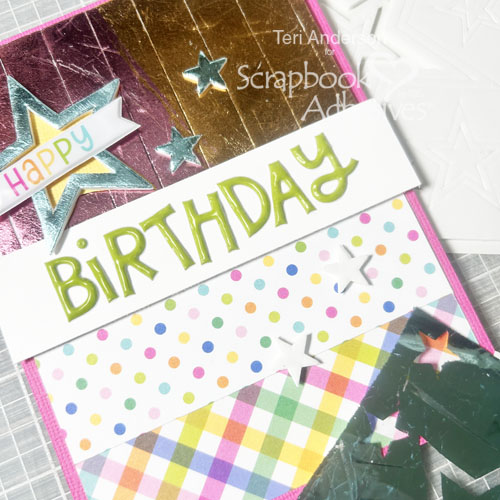
Randomly add more 3D Foam Stars to your card and apply the Wear Your Adhesive on the Outside technique with more blue foil. Complete your card by adding a few sequins to it with Adhesive Dots Micro.
Make a Tag
Use your smaller panel of foiled 3D Foam Strips Large to make a tag. Create the base from pink cardstock. and add a couple strips of patterned paper to the tag with Crafty Power Tape Polybag 81ft. Accent the tag front with a few Creative Photo Corners White. Next, add the foiled strips to the tag.
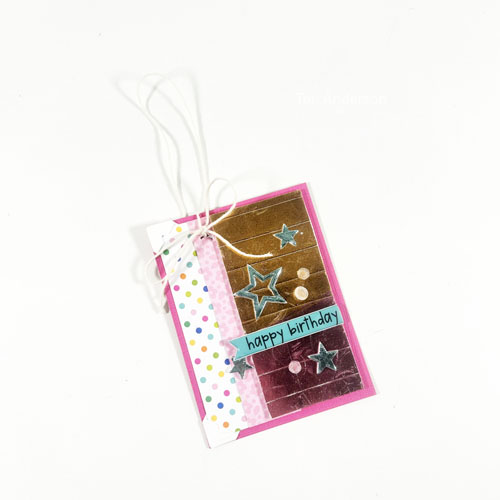
Center the sentiment to the tag and place some 3D Foam Stars. Apply the Wear Your Adhesive on the Outside technique with more blue foil. Next, add a few sequins to it with Adhesive Dots Micro. Slit a line to the top and tie some twine through it.
I hope you enjoyed today’s tutorial and are inspired to try some of the tips and tricks I’ve shared!
Happy Creating!
Creative Time: 60 minutes
Skill Level: Intermediate
Materials needed:
Scrapbook Adhesives by 3L®:
3D Foam Strips Large White and 3D Foam Stars
Crafty Power Tape Polybag 81ft
Metallic Transfer Foil Sheets Nature Colors and Metallic Transfer Foil Sheets Pastel Colors
Other: Patterned Papers, Elements, Stickers and Pink + Yellow Cardstock: Doodlebug Designs (Summer Fun Collection); Sequins: Spellbinders Paper Arts; White Cardstock: Neenah; Twine
Save to Pinterest
Visit our Website and Blog!
Sign up for our Newsletter so you never miss a contest or giveaway!


