
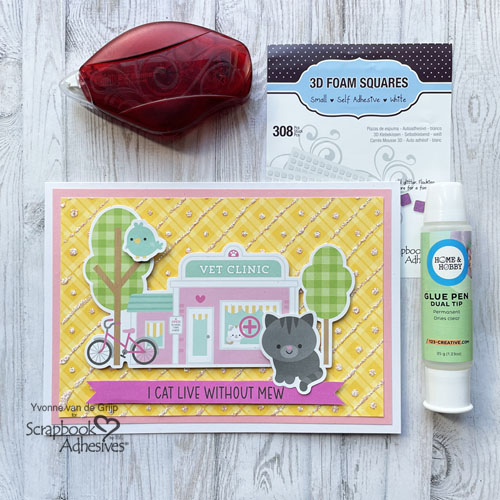
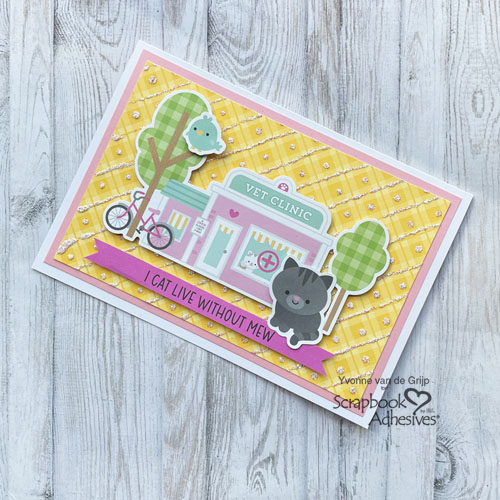
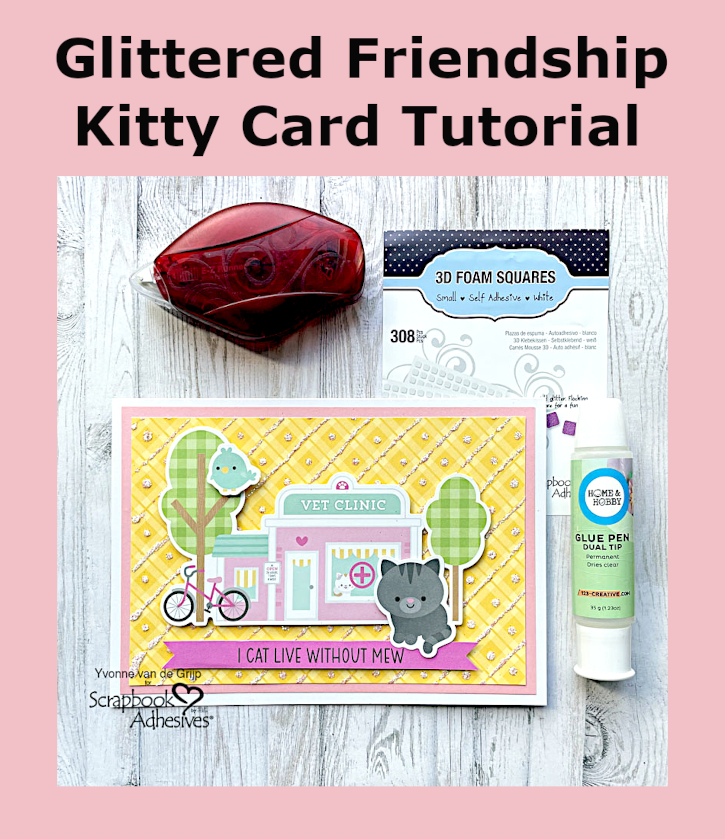
Hi everyone, Yvonne here with a cute Glittered Friendship Kitty Card. I made my own glittered background using the technique called Wear Your Adhesive on the Outside.
This fun technique is easy to do, so also suitable for beginner cardmakers. I would love to share how I made my card. Wanna join me?
Glittered Friendship Card Panel
First trim a piece of yellow patterned paper to a rectangular size. This will be the top card panel of the Glittered Kitty Card. Now draw glue lines and dots over the panel using the Dual Tip Glue Pen.
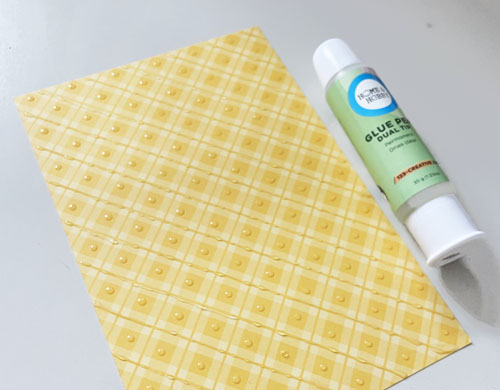
Next sprinkle holographic glitter all over the card panel and tap off the excess glitter. Now let dry. The technique letting your adhesive shine is called Wear Your Adhesive on the Outside.
Card Base
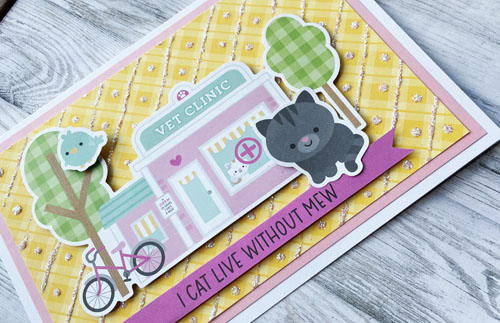
Adhere the glittered top card panel of the Glittered Kitty Card onto a pink card panel and next onto a white card base. Use the E-Z Runner® Permanent Strips Refillable Dispenser as your adhesive.
Kitty Elements
To embellish the card I used die cut images. Simply adhere the images onto the card using 3D FOAM. Then cut a sentiment banner from patterned paper (using scissors) and adhere onto the card using 3D Foam Squares White Small.
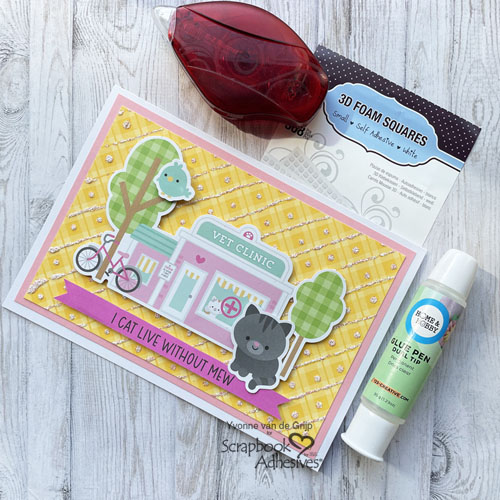
And voilá, your Glittered Kitty Card is ready. I hope you enjoyed this tutorial and wish you happy crafting!

Creative Time: 30 minutes
Skill Level: Beginner
Materials needed:
Scrapbook Adhesives by 3L®:
E-Z Runner® Permanent Strips Refillable Dispenser
HomeHobby™ by 3L
Other: Patterned Paper, Elements + Sentiment: Doodlebug Design (Pretty Kitty Collection, Pretty Plaid and Polka Dots); Holographic Glitter; Paper Trimmer; Scissors; White and Pink Cardstock
Save to Pinterest!
Visit our Website and Blog!
Sign up for our Newsletter so you never miss a contest or giveaway!


