
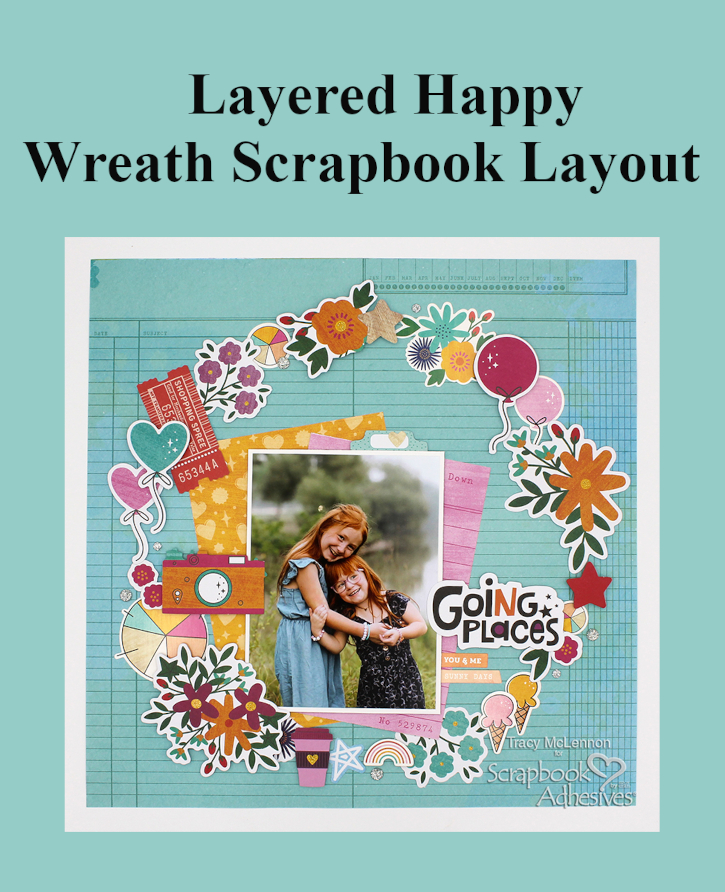
Hello scrappy friends! Tracy here, and today I have a fun Layered Happy Wreath Layout to share. It’s full of happy flowers, balloons, ice cream and more! Here are all of the details on how I created it.
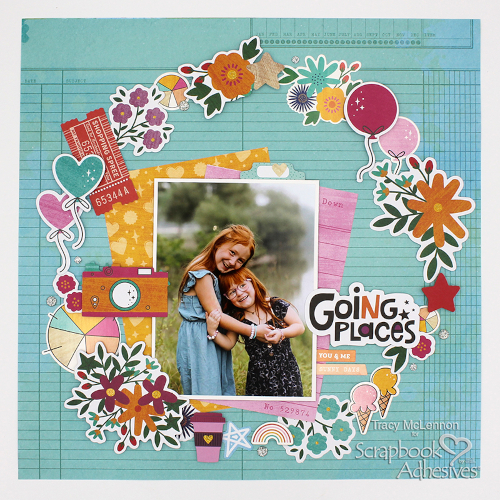
Let’s Get Crafty and Make a Layered Happy Wreath!
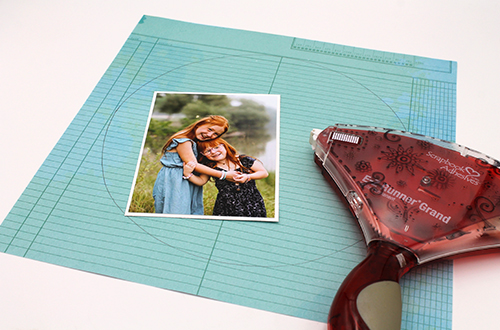
Trace a circle onto the background patterned paper to guide you in created the layered wreath layout. Mat the photo in white cardstock and adhere together using the E-Z Runner® Grand Permanent Strips Refillable Dispenser.
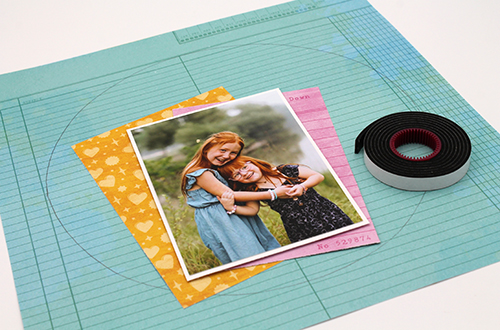
Adhere some pieces of patterned paper to the background using the E-Z Runner® Grand Permanent Strips Refillable Dispenser, this creates a nice base for your matted photo. Add the matted photo to the layout using Crafty Foam Tape Black.
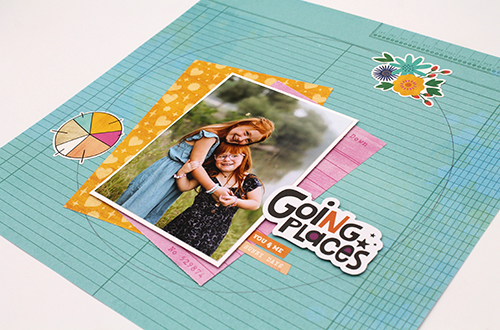
Start by adding some coordinating cardstock stickers around the circle. This is the beginning of the layered wreath layout. Adhere the title sentiment to the layout using Crafty Foam Tape Black.
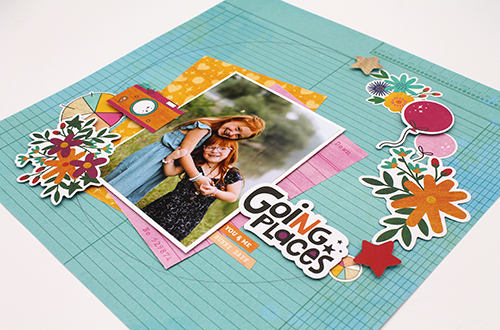
Now you can start adding more embellishments to create the wreath using a combination of Thin 3D Foam Squares Black Mix and 3D Foam Squares White Mix. This will create dimension between the embellishment layers.
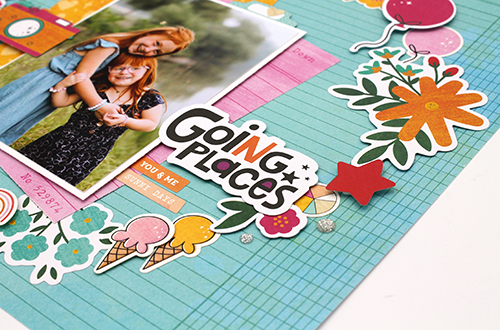
Continue to fill all spaces around the circle using stickers and embellishments. I also chose to add some gems around the embellishment clusters.
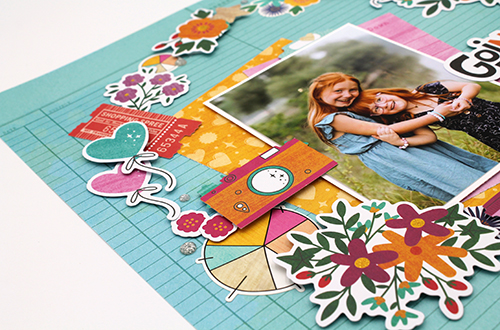
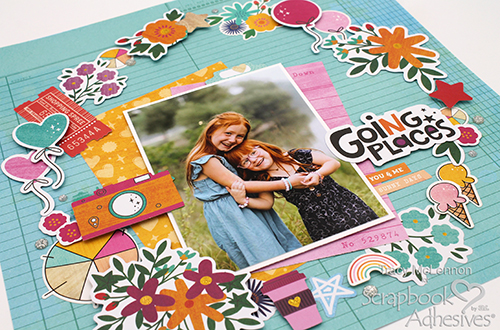
Thanks for stopping by!
Tracy
Creative Time: 60 mins
Skill Level: Intermediate
Materials Needed:
Scrapbook Adhesives by 3L:
E-Z Runner® Grand Permanent Strips Refillable Dispenser
Crafty Foam Tape Black
Thin 3D Foam Squares Black Mix
3D Foam Squares White Mix
Other: Shimelle Collection; White Cardstock; Gems
Save to Pinterest!
Visit our Website and Blog!
Sign up for our Newsletter so you never miss a contest or giveaway!





