
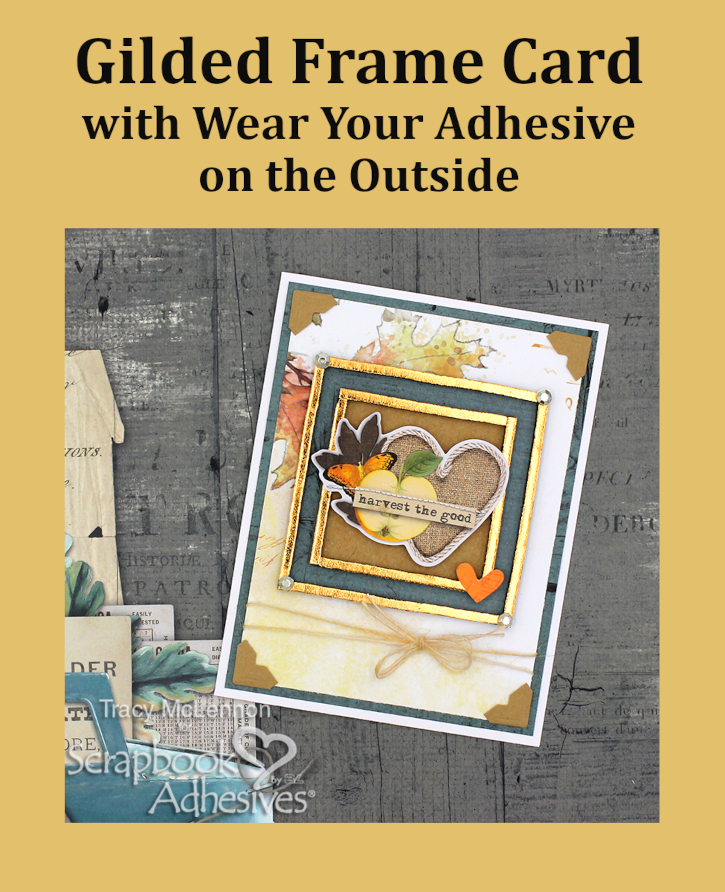
Hello crafty cardmaking friends! Tracy here, and today I have a pretty little Gilded Frame Card featuring the 3D Foam Strips 3mm Black. Here are all of the details on how I created it.
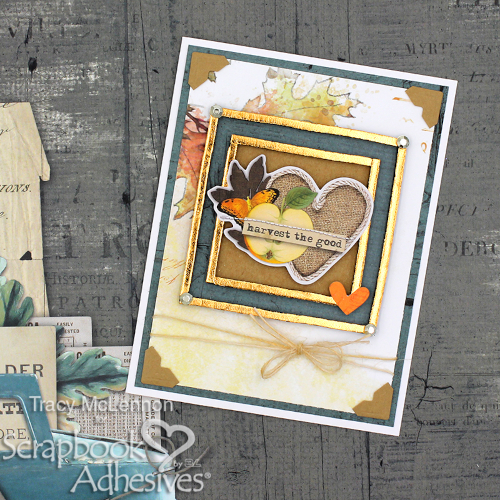
Basic Layers for the Gilded Frame Card
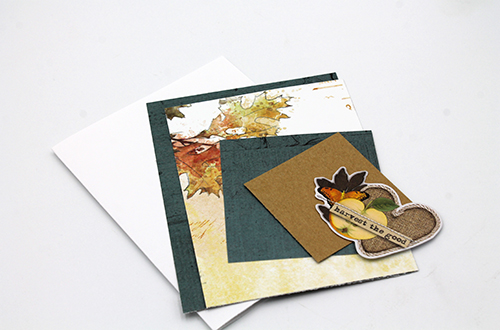
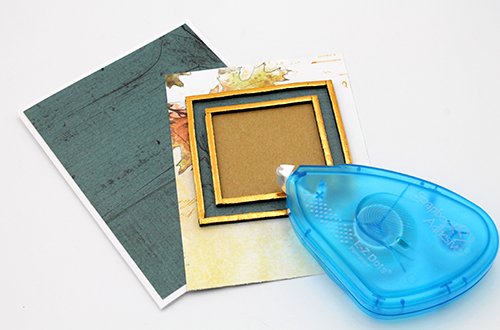
My first step was to cut all of the basic layers of this gilded frame card. This includes a white cardstock card base and two more patterned paper layers. Then a 2.5″ kraft cardstock square, and a patterned paper 3″ square.
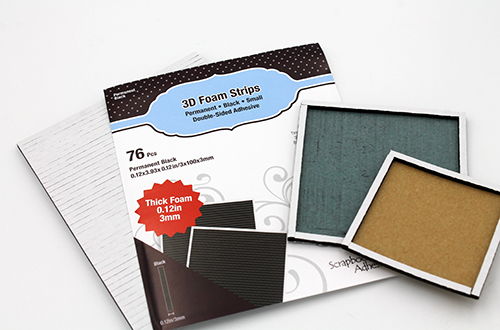
Let’s start the gilded frames. Using the 3D Foam Strips 3mm Black, frame the 2 square pieces and trimming off any excess.
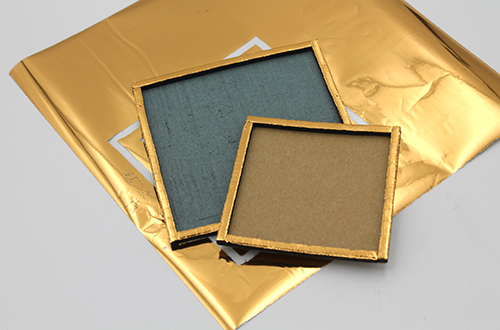
Now using the Metallic Transfer Foil Sheets Nature Colors, cover the 3D Foam Strips 3mm Black creating the gilded frame card pieces.
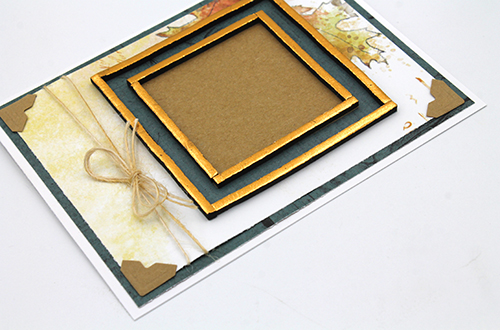
Adhere the flat layers together using the E-Z Dots® Permanent Dispenser. Leaving the 2 patterned pieces separate for now.
Add a burlap string bow to the bottom of the card front and then attach it to the card base using Creative Photo Corners Kraft.
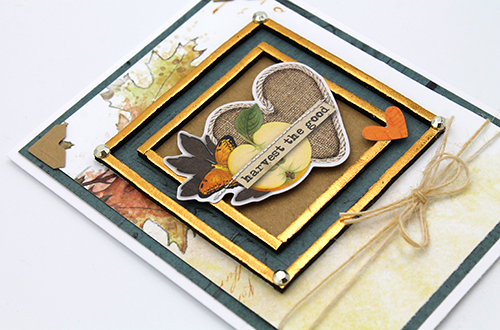
I added the sentiment ephemera to the card using some left over bits of 3D Foam Strips 3mm Black. Then I added the small heart using Adhesive Dots Micro. Add a few gems to the large frame to complete the gilded frame card.
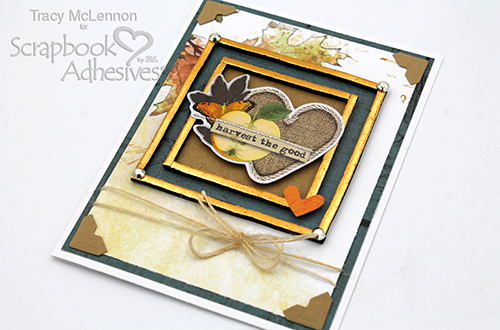
Thanks so much for stopping by!
Tracy
Creative Time: 30 mins
Skill Level: Intermediate
Materials Needed:
Scrapbook Adhesives by 3L®
Adhesive Dots Micro
3D Foam Strips 3mm Black
E-Z Dots® Permanent Dispenser
Creative Photo Corners Kraft
Metallic Transfer Foil Sheets Nature Colors
Other: Simple Vintage Autumn Collection; Burlap String; Gold Gems; Kraft and White Cardstock
Save to Pinterest!
Visit our Website and Blog!
Sign up for our Newsletter so you never miss a contest or giveaway!





