
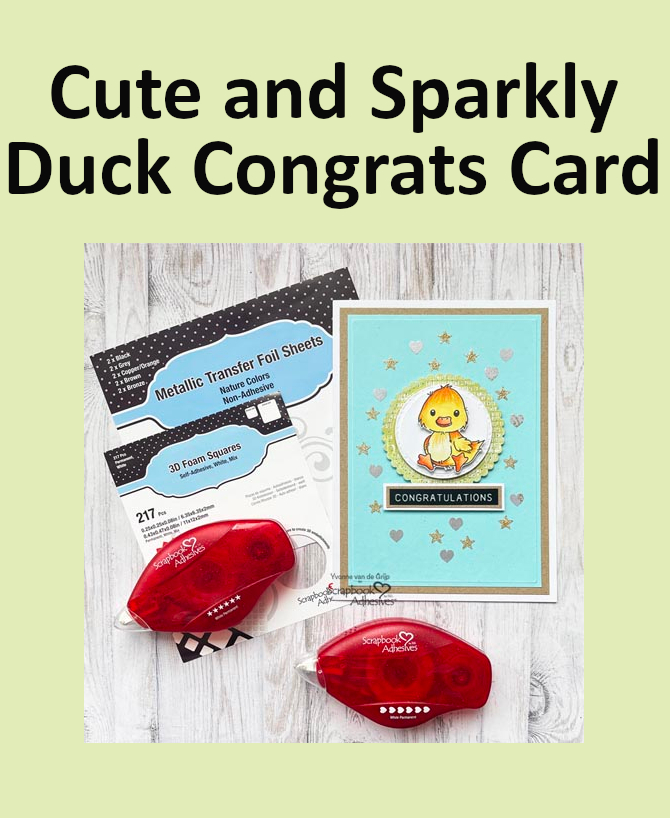
Hi everyone, Yvonne here with a Cute and Sparkly Duck Card. Sometimes embellishing your card is ever so easy and simple. For interest, I used a combination of dimension and the Wear Your Adhesive on the Outside technique to make my card special. This is super fun to create and perfect for beginner card makers! Shall we get started?
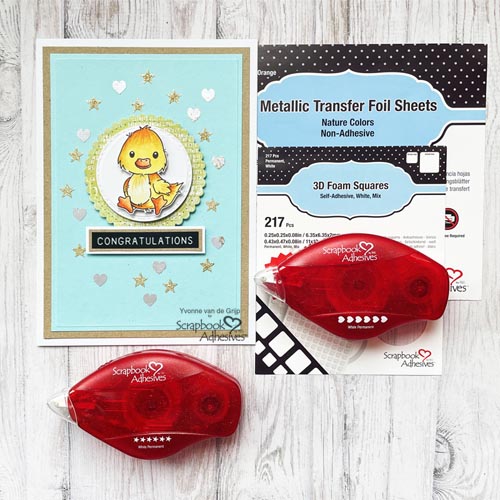
Make a Duck Card Panel
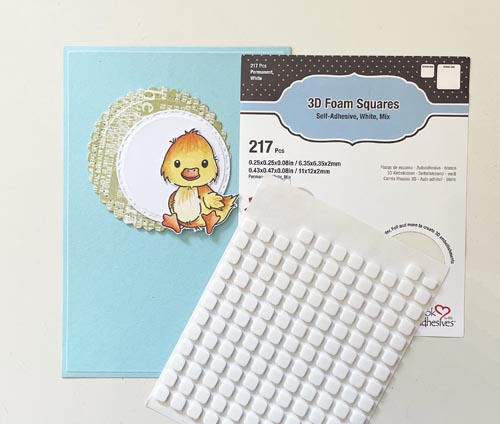
Stamp and color the duck image on white cardstock and fussy cut using scissors. Die-cut and emboss a rectangle from blue cardstock, a scalloped circle from green patterned cardstock and a circle from white cardstock. Adhere the circles and the image onto the blue rectangle panel of the Duck Card using 3D Foam Squares White Mix.
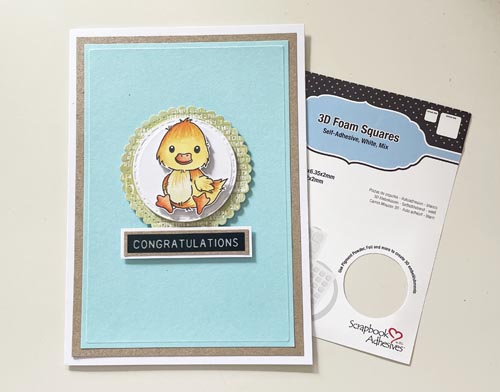
Create a card base with white cardstock. Mat the Duck Card panel to a piece of Kraft card panel and adhere to the card base with the E-Z Runner® Permanent Strips Refillable Dispenser.
Sentiment
For the sentiment on the Cute Duck Card, I used a sticker quote which was adhered onto a kraft banner. Then I added a white banner using the E-Z Runner® Permanent Strips Refillable Dispenser. To make it stand out even more, I layered it with 3D Foam Squares White Mix.
Wear Your Adhesive on the Outside with E-Z Runner Hearts and Stars
For extra sparkle and a sequin placement alternative to my card, I randomly placed several E-Z Runner® Hearts Refillable Dispenser and E-Z Runner® Stars Refillable Dispenser shapes onto the blue card panel. Designer’s Tip: I used a pin for precise positioning the hearts and stars.
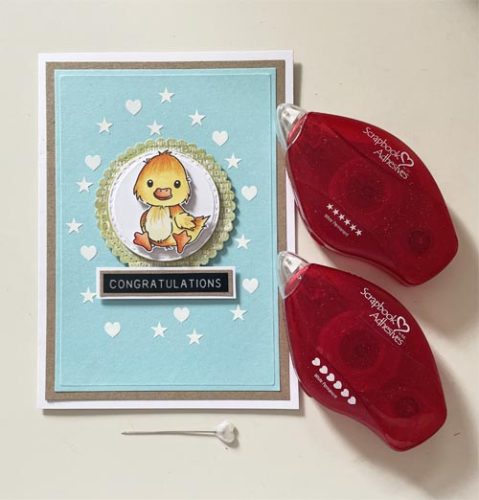
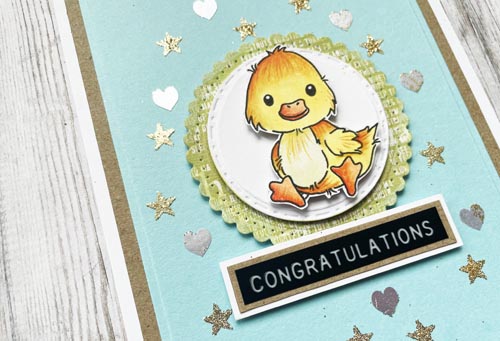
With your choice of foil colors from the Metallic Transfer Foil Sheets Nature Color, place the foil (color side facing you) over the sticky shapes you want to foil and rub to transfer the color.
Next I sprinkled gold glitter over the sticky stars, rubbed the glitter to secure and tapped off the excess. This application in making your adhesive shine as embellishments is called Wear Your Adhesive on the Outside technique! EASY!!!
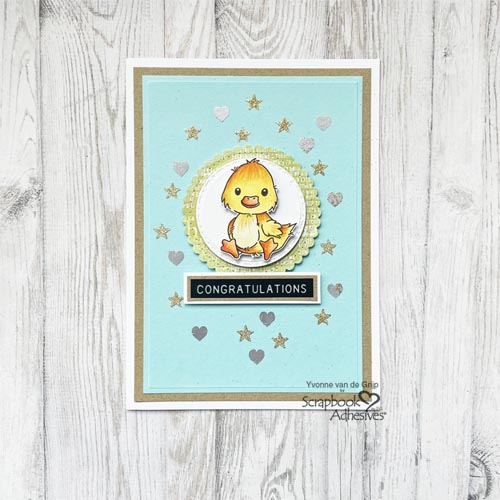
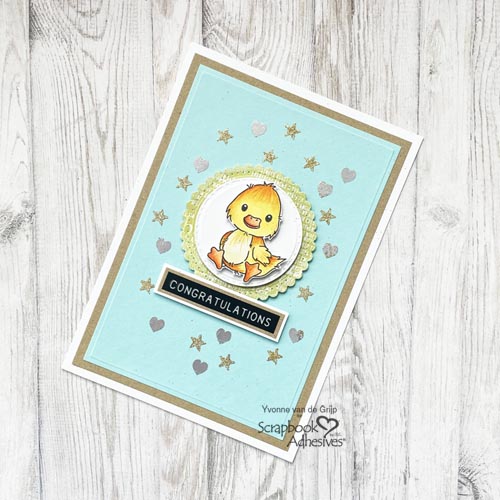
And voilá, the Cute and Sparkly Duck Card is ready. Easy and simple! I hope you enjoyed this tutorial and wish you happy crafting.
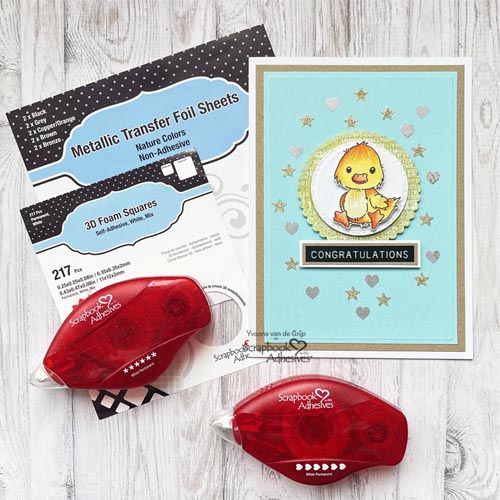
Creative Time: 45 minutes
Skill Level: Intermediate
Materials needed:
Scrapbook Adhesives by 3L®:
E-Z Runner® Permanent Strips Refillable Dispenser
E-Z Runner® Stars Refillable Dispenser and E-Z Runner® Hearts Refillable Dispenser
Metallic Transfer Foil Sheets Nature Color
Other: Stamp (Lili of the Valley™: Digi stamp: Cute Creatures Collection); Sentiment: Tim Holtz®: idea-ology® (Label Stickers); Craft Dies and Die-Cutting Machine: Spellbinders® Paper Arts (5×7 Matting Basics A Card Creator Etched Dies, Fancy Edged Circles Etched Dies; Platinum 6 Die Cutting and Embossing Machine); White, Blue, Kraft and Patterned Green Cardstock; Coloring Pencil); Gold Glitter; Paper Trimmer; Scissors; Pin
Save to Pinterest!
Visit our Website and Blog!
Sign up for our Newsletter so you never miss a contest or giveaway!





