
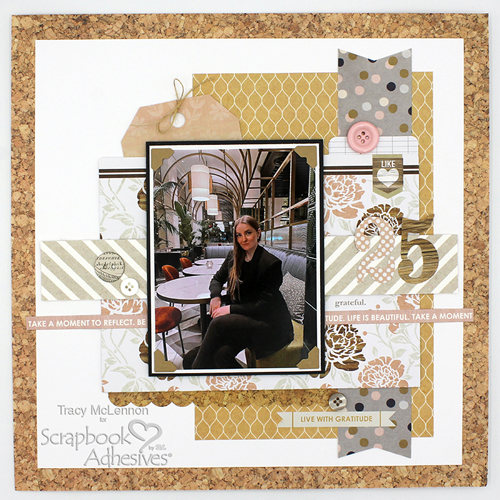
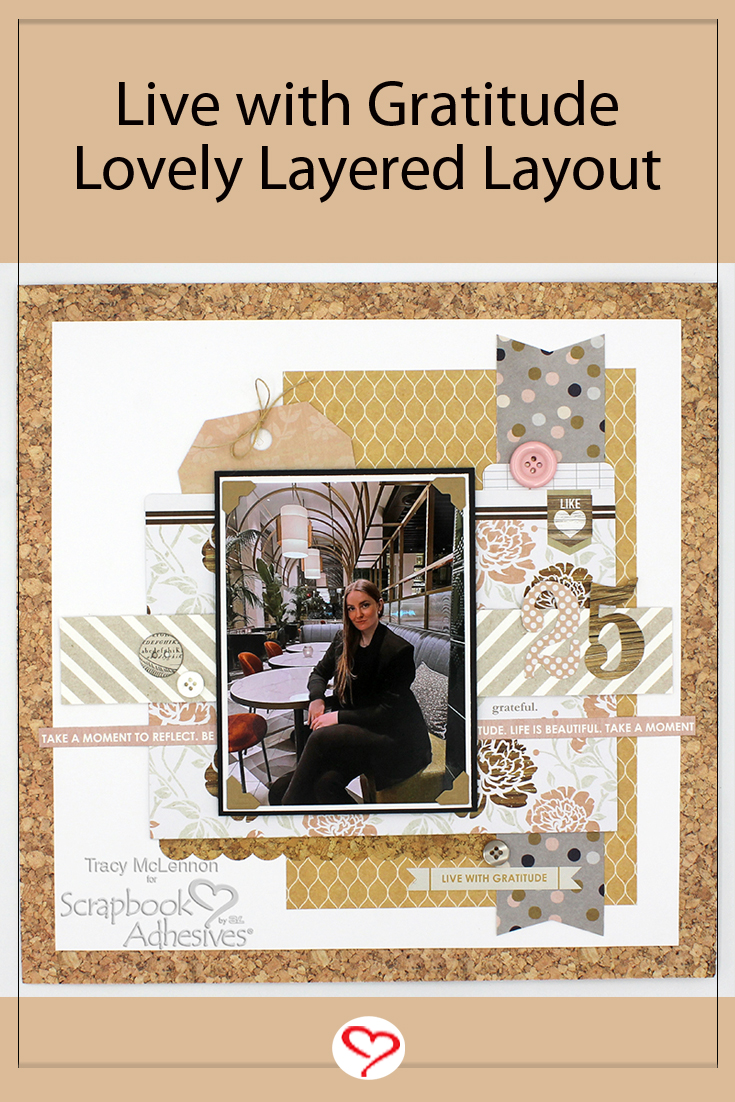
Hello crafty friends! Tracy here, and today I have a lovely layered layout to share and all of the details on how I created it.
Let’s Get Crafty!
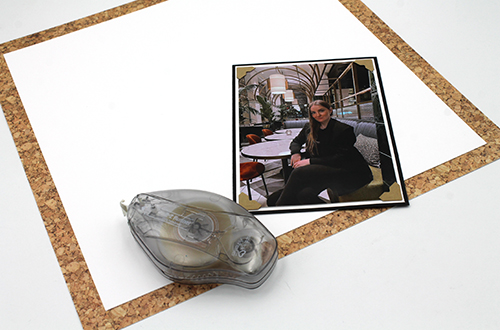
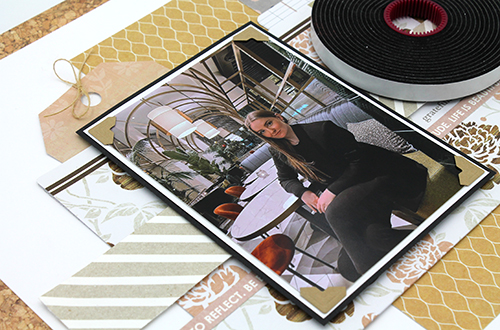
The first step is to create the simple layered background using white cardstock and cork patterned paper. Adhere these layers together using the E-Z Runner® Ultra Strong Refillable Dispenser. Mat the 4×6 photo in white and then black cardstock. Adhere together, again using E-Z Runner® Ultra Strong Refillable Dispenser and Creative Photo Corners Kraft.
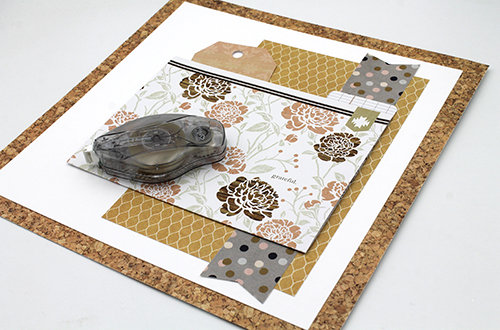
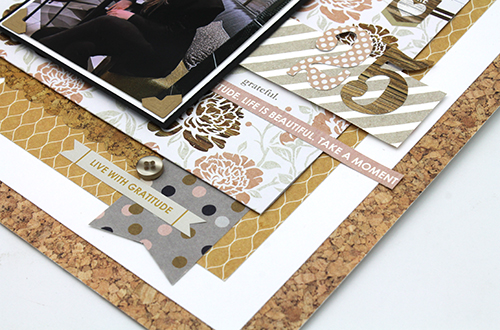
Cut and gather your other background pieces. I used a large coordinating folder as a guide and cut the different pieces accordingly. Adhere all these pieces to the background using the E-Z Runner® Ultra Strong Refillable Dispenser.
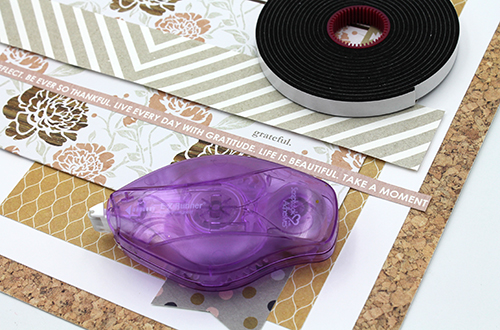
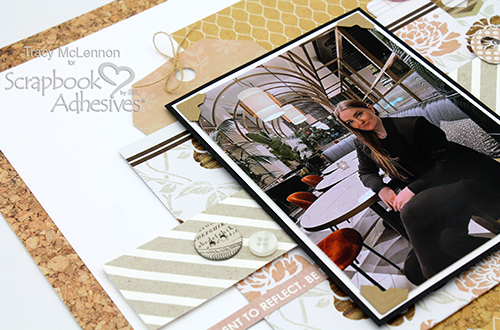
Add the striped strip of patterned paper to the lovely layered layout background using Crafty Foam Tape Black. Then add that tint narrow strip of patterned paper using the E-Z Runner® Micro Refillable Dispenser.
Add the previously matted photo to the layout using 2 layers of Crafty Foam Tape Black. This adds so much added dimension to the lovely layered layout.
The final touch is to add a few more small embellishments to the lovely layered layout. This included stickers, buttons, and die cuts.
Thanks so much for stopping by!
Tracy
Creative Time: 60 mins
Skill Level: Intermediate
Materials Needed:
Scrapbook Adhesives by 3L®
E-Z Runner® Ultra Strong Refillable Dispenser
E-Z Runner® Micro Refillable Dispenser
Crafty Foam Tape Black
Creative Photo Corners Kraft
Other: Teresa Collins Collection; Burlap String; White Cardstock
Save to Pinterest!
Visit our Website and Blog!
Sign up for our Newsletter so you never miss a contest or giveaway!


