
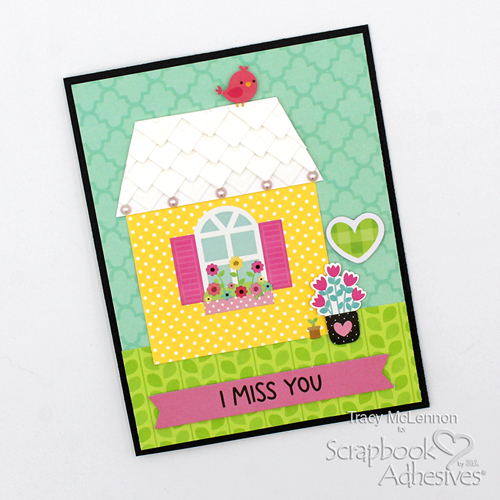
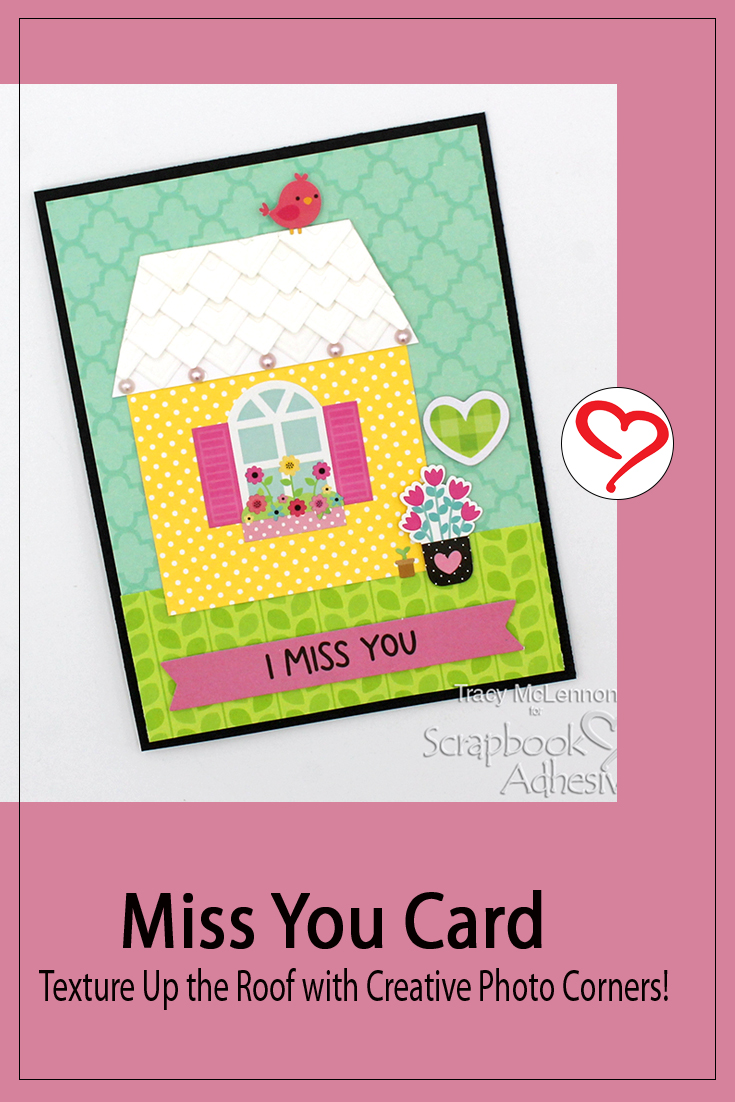
Hello, crafty cardmaking friends! Tracy Here and today I have a fun little Miss You Card to share. Here are all of the details.
Let’s Get Crafty!
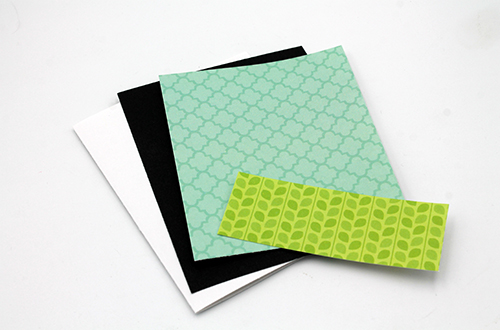
Start by cutting your card base layers. The card base is white cardstock. Then a layer of black cardstock to cover the entire card front. Then cut the patterned paper top layers.
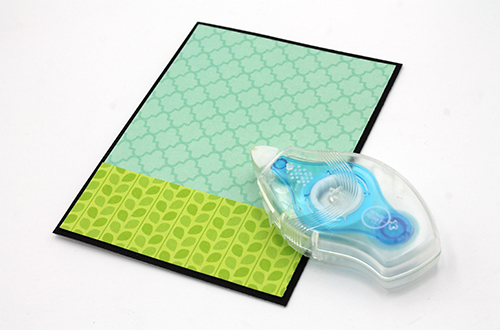
Adhere these Miss You Card layers together using the Double-Sided Tape Runner Petite Dots Permanent.
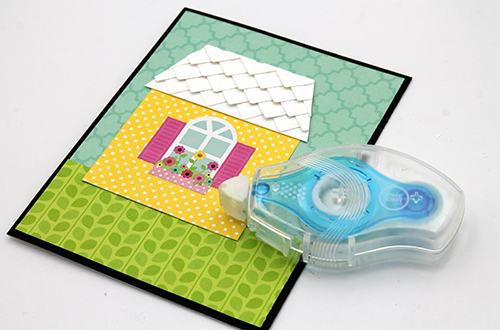
I wanted to create this sweet little house around the sweet window cardstock sticker. Cut a piece of yellow patterned paper for the house and a piece of white cardstock for the roof.
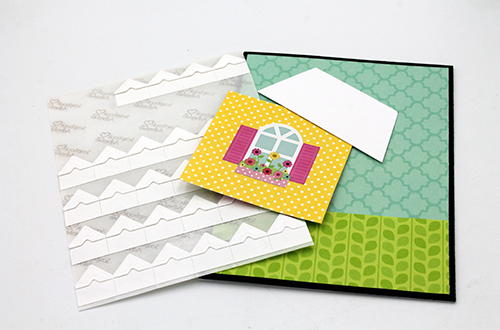
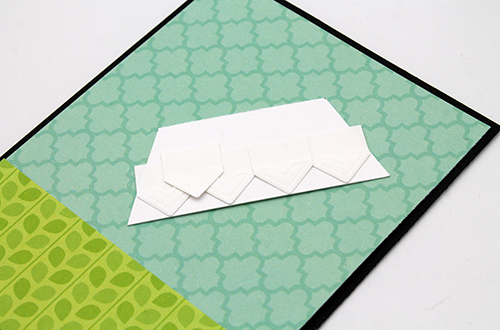
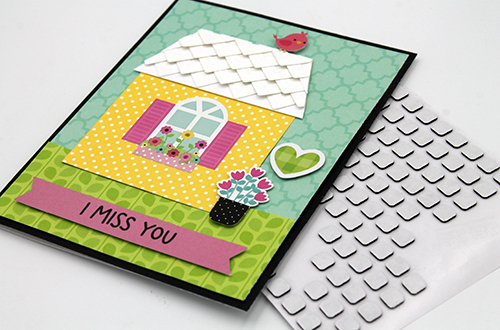
Adhere Creative Photo Corners White along the bottom edge of the roof piece. Then start the second layer of Creative Photo Corners White, up a little bit and between the previous pieces.
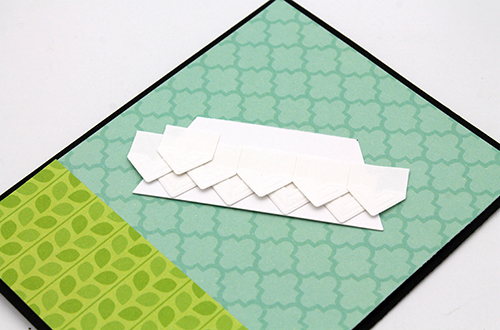
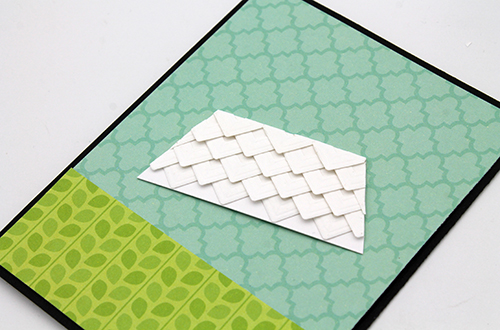
Continue these layers of Creative Photo Corners White, until the entire piece of cardstock is covered. Then using scissors, trim off any pieces that are hanging over the edges. This is your complete roof for the Miss You Card.
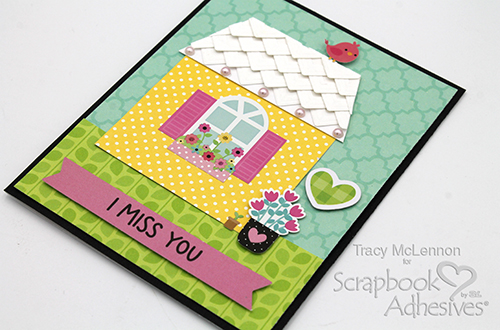
Adhere the pieces of the house to the card front using Double-Sided Tape Runner Petite Dots Permanent.
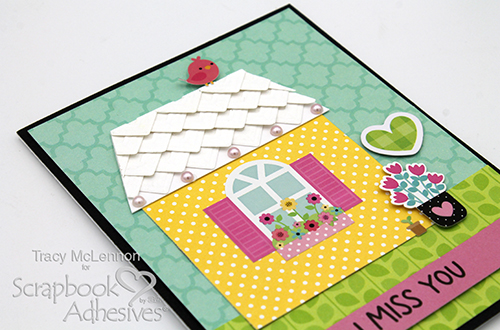
Choose some die cut and cardstock sticker pieces for the Miss You Card and adhere the top of the card front using Thin 3D Foam Squares Black Mix for just a little bit of dimension.
Add some pink pearls along the edge of the rooftop to finish this Miss You Card.
Thanks so much for stopping by!
Tracy
Creative Time: 30 mins
Skill Level: Intermediate
Materials Needed:
Scrapbook Adhesives by 3L®
Double-Sided Tape Runner Petite Dots Permanent by HomeHobby™ by 3L
Thin 3D Foam Squares Black Mix
Creative Photo Corners White
Other: Doodlebug Designs Collection; Black and White Cardstock; Pearls
Save to Pinterest!
Visit our Website and Blog!
Sign up for our Newsletter so you never miss a contest or giveaway!


