
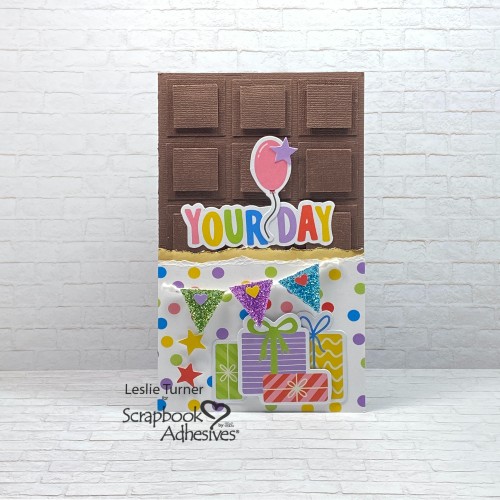
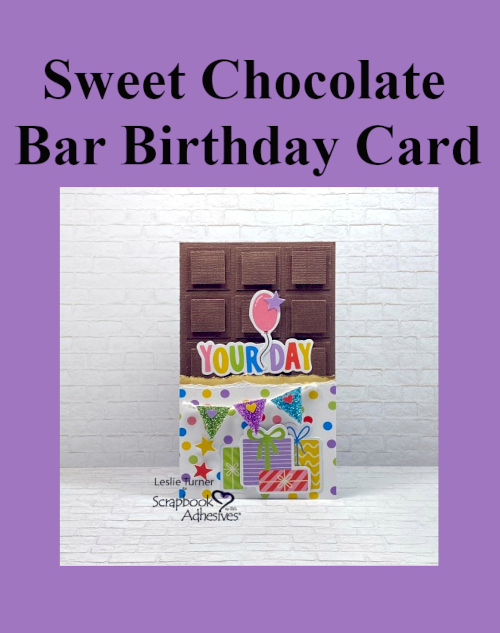
Hey everybody, happy weekend! I hope you have plans to do something fun! Do you have kids or grands with an upcoming birthday? If so, I have the sweetest birthday card to share… pun intended! Leslie here with a tutorial for making a Chocolate Bar Card – an oldie but goodie and one of my favorites. I used cardstock, birthday papers and die cut pieces in my stash, and quite a few Scrapbook Adhesives products. It’s a great mini slimline size, so let me show you how to make this!
Cut Card Base & Layers
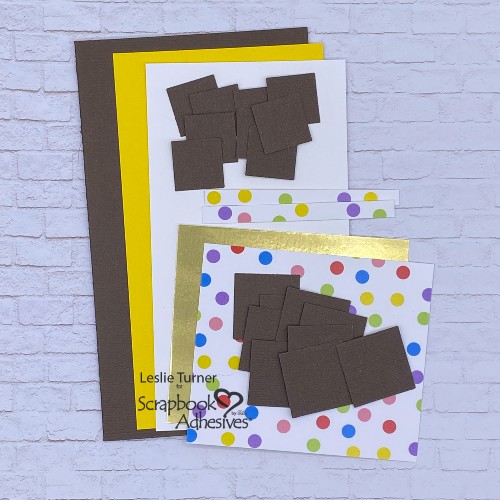
BROWN CARDSTOCK:
Card base: 6″ x 7″, scored at 3-1/2″ on long side. This makes a 3-1/2″ x 6″ size mini slimline that fits perfectly into a #6-3/4 business size envelope.
Chocolate bar pieces: Punch nine 1″ squares and eighteen 3/4″ squares.
YELLOW CARDSTOCK:
Inside layering panel: 3-1/8″ x 5-5/8″.
WHITE CARDSTOCK:
Inside sentiment panel: 3″ x 5-1/2″.
GOLD FOIL CARDSTOCK:
Front inner wrapper: 3-1/2″ x 3-1/2″ with approximately 1/2″ torn off the top (tear away from you).
PATTERNED PAPER:
Front outer wrapper: 3-1/8″ x 3-1/2″ with approximately 1/2″ torn off the top (tear toward you).
Inside embellishing strips: Approximately 1/4″ x 2-15/16″ (cut two).
Adhere Layers
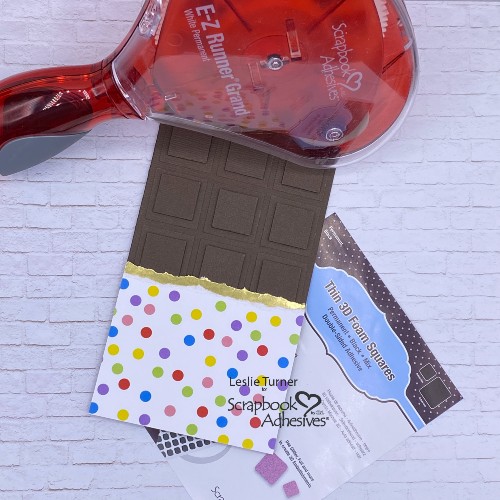
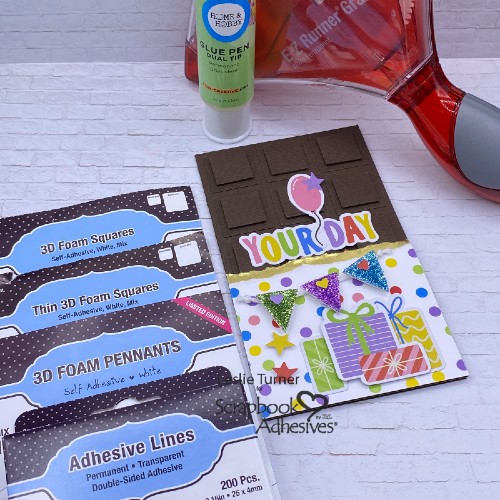
First, build the chocolate bar. Use the E-Z Runner® Grand Permanent Strips Refillable Dispenser to adhere the nine 1″ squares to the top of the card. You’ll want about 1/8″ distance from the edges and 1/8″ between the squares. Next, glue pairs of the 3/4″ squares together with Dual Tip Glue Pen to make a total of nine. Apply one Thin 3D Foam Squares Black Mix to the back of each square. Then adhere them to the 1″ squares on the card front. Yum, that chocolate bar is looking good!
Additionally, adhere the torn patterned paper to the torn gold foil cardstock using the E-Z Runner® Grand Permanent Strips Refillable Dispenser. Affix this piece to the card front with Thin 3D Foam Squares Black Mix. That wrapper looks pretty authentic, doesn’t it?!
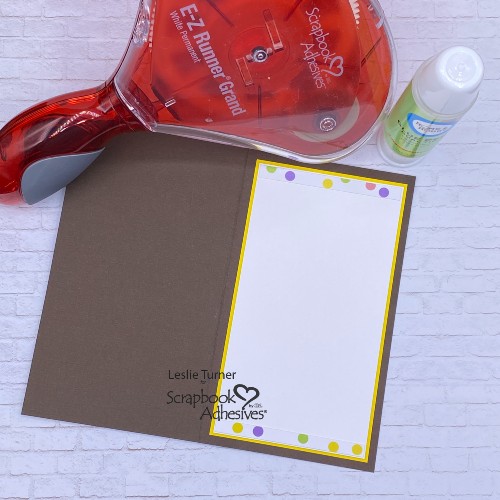
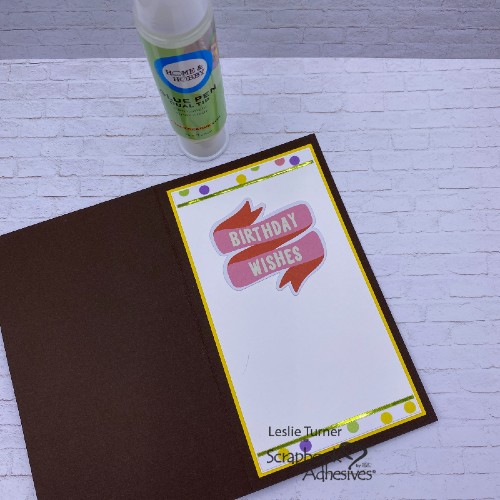
Now let’s work on the inside. Use the E-Z Runner® Grand Permanent Strips Refillable Dispenser to adhere the white and yellow panels together. Then adhere them to the inside of the card base. Grab the Dual Tip Glue Pen and adhere the embellishing strips across the top and bottom of the white panel.
Embellish Chocolate Bar Card Front
So let’s create the banner using the ‘Wear Your Adhesive on the Outside’ technique. With green, purple and blue glitter along with the 3D Foam Pennants. For additional stability, I stuck the pennants to white cardstock and trimmed around the edges. Remove the liner from one pennant and sprinkle glitter over it. Press with your finger to secure and then tap off the excess. Repeat the glitter steps on the remaining pennants. Apply Adhesive Lines to the top of the pennants and affix them to a length of white twine with knotted ends. Also apply a 3D Foam Squares White Mix to the back of each pennant and add them to the card front.
Afterwards, add an assortment of die cut pieces using 3D Foam Squares White Mix and Thin 3D Foam Squares White Mix. The different thicknesses of the foam squares adds different levels of dimension. Pull out the Dual Tip Glue Pen again and glue a few more die cuts flat (without dimension).
Complete Chocolate Bar Card
To complete the card, adhere another die cut piece (sentiment) to the inside panel using the Dual Tip Glue Pen. As a final touch, I added narrow green pinstripe peel-off stickers to the panel for a little interest.
Thanks for visiting!
Leslie
Creative Time: 45 mins
Skill Level: Intermediate
Materials Needed:
Scrapbook Adhesives by 3L®
E-Z Runner® Grand Permanent Strips Refillable Dispenser
Thin 3D Foam Squares Black Mix
3D Foam Pennants
Adhesive Lines
3D Foam Squares White Mix
Thin 3D Foam Squares White Mix
HomeHobby™ by 3L
Dual Tip Glue Pen
Other: Cardstock/Paper: CutCardStock Vanilla Bean Brown, Bright Gold Foil, and Lessebo Sunflower Yellow cardstock; Neenah Classic Crest Solar White cardstock, Keep It Simple Paper Crafts Happy Birthday Paper and Die Cut Pieces
Dies/Punches: EK Success 1″ and 3/4″ Square Punches, Stampin’ Up Cookie Cutter Punch (tiny hearts)
Accessories: Fiskars 12″ ProCision Rotary Bypass Paper Trimmer, Making Memories Green, Purple and Blue Glitter, Doodlebug Design Lily White Doodle Twine, Love From Lizi Green Pinstripe Peel-Off Stickers
Click Preferred Retailers List
Save to Pinterest!
Visit our Website and Blog!
Sign up for our Newsletter so you never miss a contest or giveaway!


