
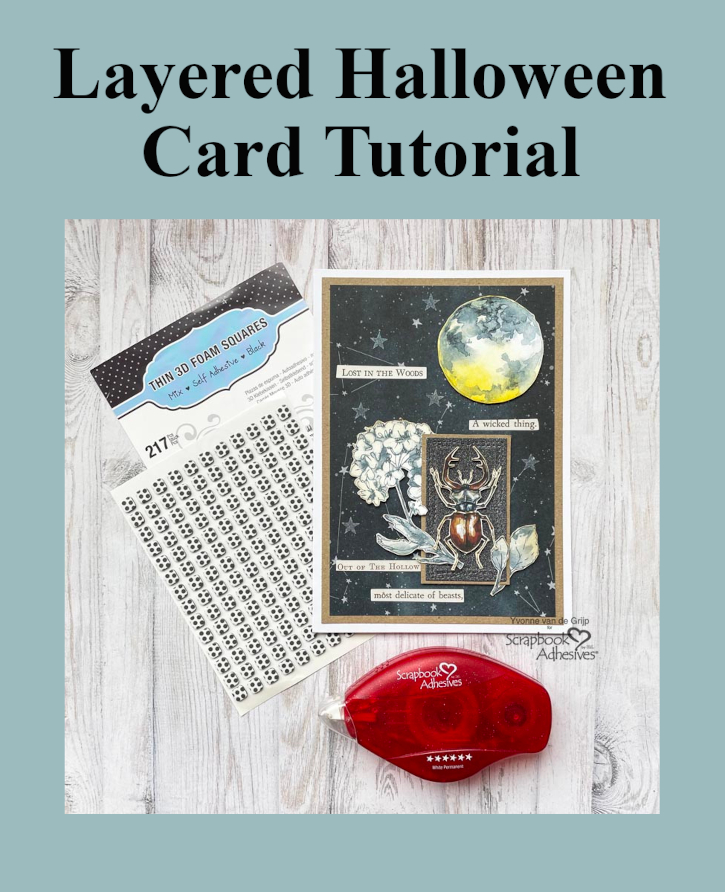
Hi everyone, Yvonne here! With Halloween coming up soon, I thought thought you might like some inspiration to get creative. So, with that in mind, I made this Layered Halloween Card. And yes, it is quite easy to create. Shall we get started?
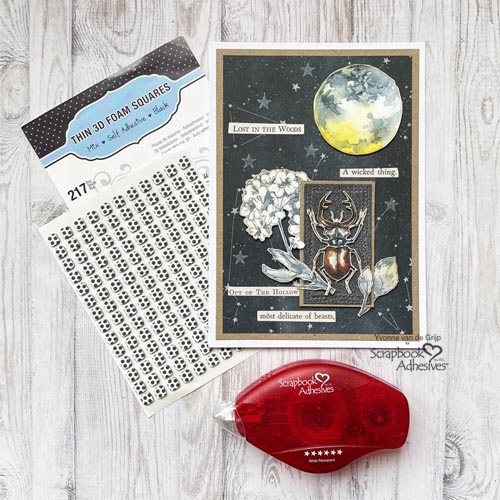
Layered Halloween Card Base
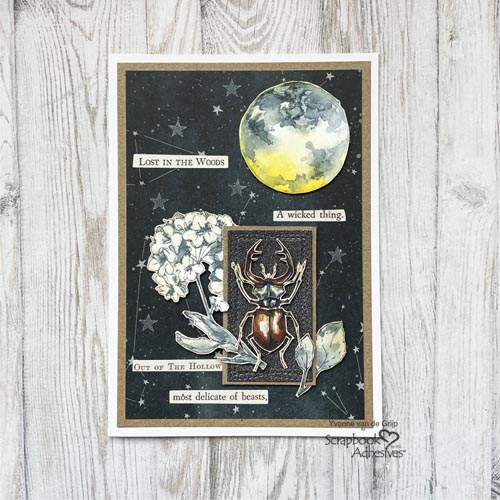
To create the card base frot he Layered Halloween Card first adhere a starry card panel onto a kraft card panel. Then mat upon a white card base using the E-Z Runner® Permanent Strips Refillable Dispenser.
Create Some Paper Elements
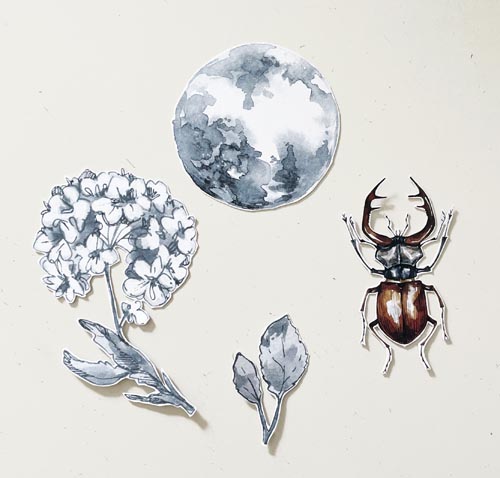
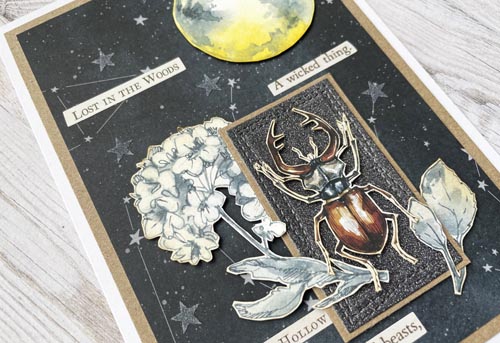
Fussy cut some some images. Next use an ink blending tool to distress the images. For the bug and flowers I used brown ink and for the moon I used yellow ink.
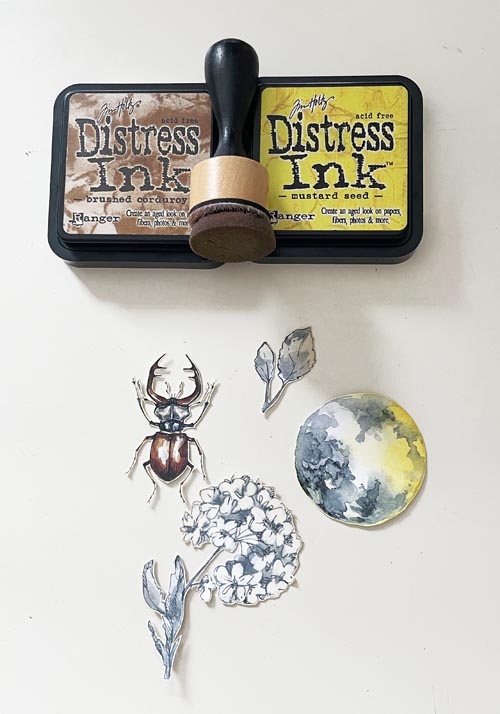
Then die-cut and emboss a rectangle shape from dark grey glitter cardstock. Mat this die-cut rectnagle onto a kraft panel with the E-Z Runner® Permanent Strips Refillable Dispenser.
Adding Layers
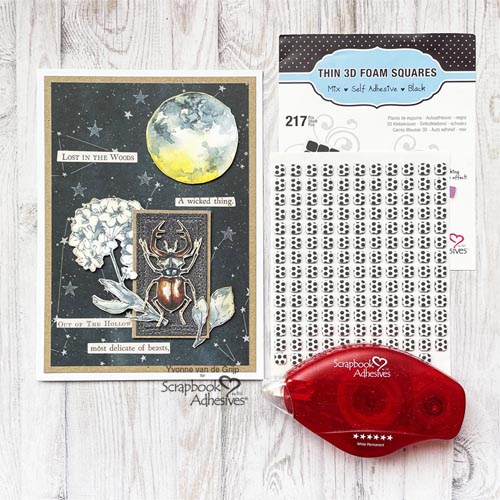
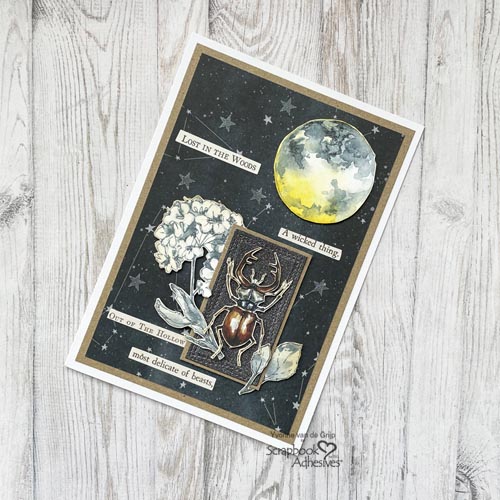
First adhere the moon onto the card using Thin 3D Foam Squares Black Mix. Then adhere the flower partly tot he back and front of the layered glittered panel. Next adhere it tot he cardbase using Thin 3D Foam Squares Black Mix. Then adhere the leave around the glittered panel again using Thin 3D Foam Squares Black Mix.
Finishing touch
First adhere some halloween tehemed sentiment stickers onto the card. Then for some very subtile detailling adhere some E-Z Runner® Stars Refillable Dispenser on the card . I like to use tweezers for precise positioning of the stars.
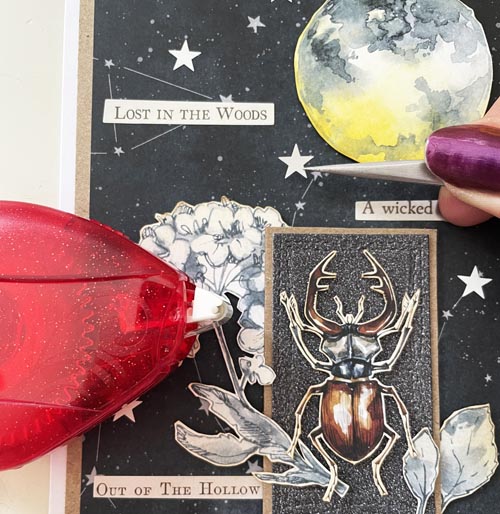
Then sprinkle dark grey glitter upon and rub the glitter. Tap off the excess glitter. This technique making your adhsive shine is known as Wear Your Adhesive on the Outside. And voilá, the Layered Halloween card is ready.
I hope you enjoyed this tutorial and wish you happy crafting!
Creative Time: 45 minutes
Skill Level: Intermediate
Materials needed:
Scrapbook Adhesives by 3L®:
E-Z Runner® Permanent Strips Refillable Dispenser
Thin 3D Foam Squares Black Mix
E-Z Runner® Stars Refillable Dispenser
Other: Cardstock (White, Kraft); Patterned Paper and elements (Piatek: New Moon 12×12”Designer Paper Pack); Die-cutting and embossing Machine (Spellbinders® Paper Arts: Platinum 6 Die Cutting and Embossing Machine); Etched Dies (My Favorite Things: Wocky Rectangle Stitch Stax); Ink pads (Ranger: Tim Holtz® Distress ink: Brushed Corderoy, Squeezed Lemonade); Ink Blending Tool; Sentiments (Tim Holtz®: idea-ology®: Sticker Book Curiosities); Glitter (Dark Grey); Paper Trimmer; Scissors; Tweezers
Save to Pinterst!
Visit our Website and Blog!
Sign up for our Newsletter so you never miss a contest or giveaway!





