
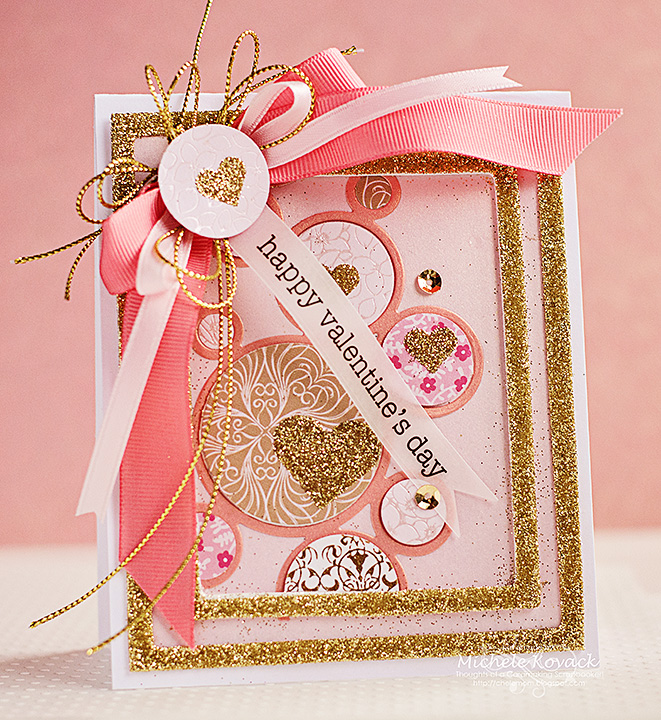
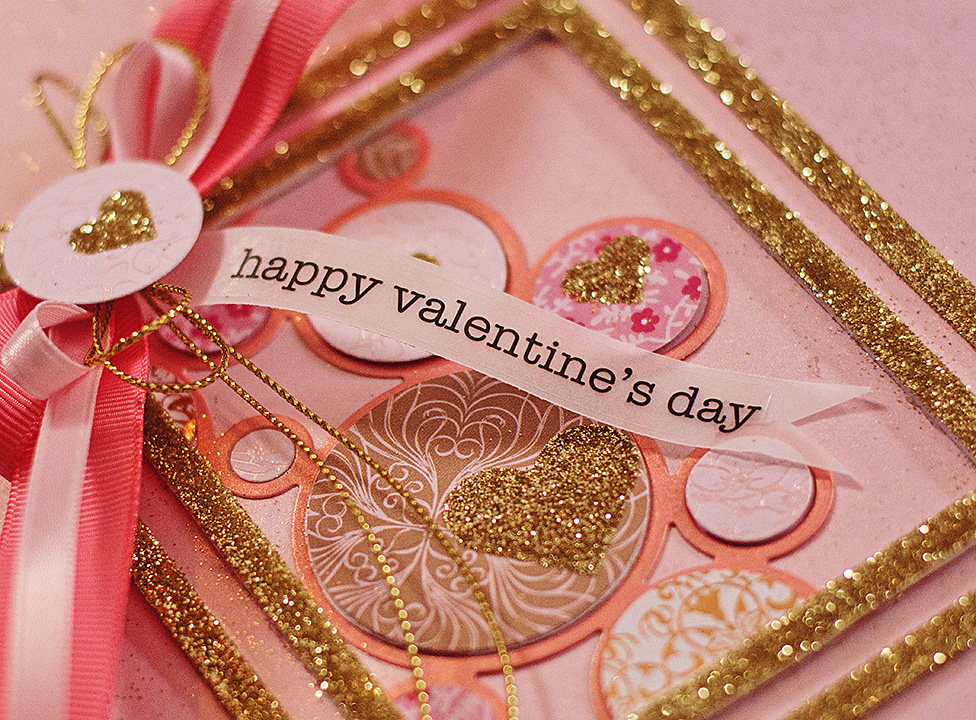
Michele here with a Valentine’s Day card! I’ve noticed that I have been on a pink/coral/gold kick these days! So please forgive me if I am being somewhat repetitive. I used some of my favorite Scrapbook Adhesives by 3L products to create my glittery dimensional card.
I have a step by step photo tutorial to share my chaotic creative process! 😉

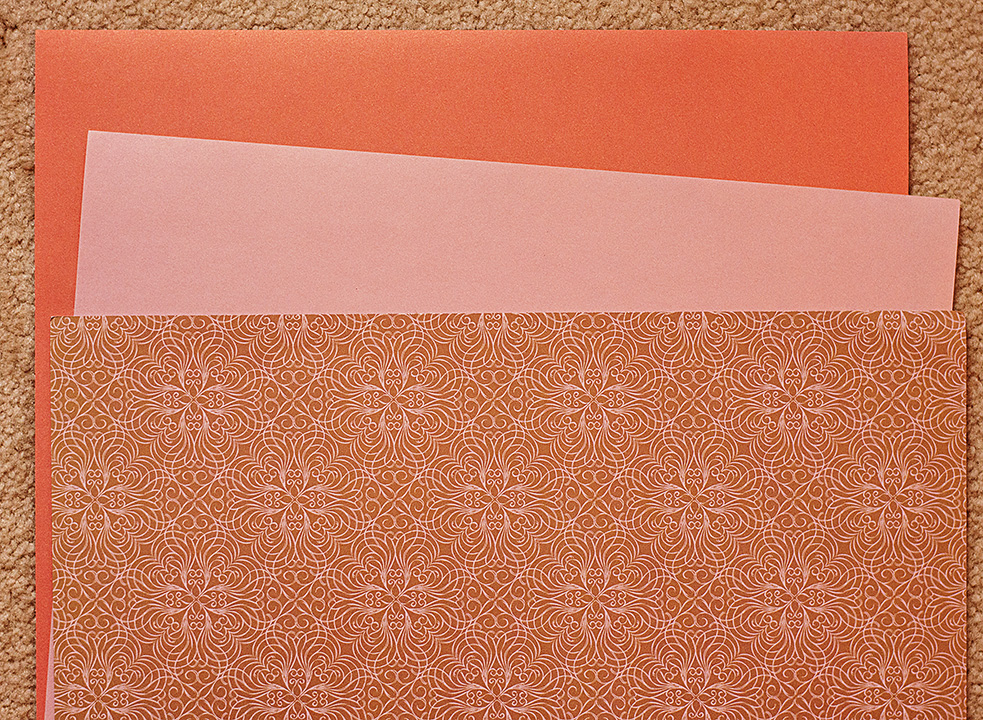
I’ve been asked many times if I have a plan when I am starting a card. Nope, not really. Though I do try and pick papers first to inspire me. From there the project takes on a life of its own. For today’s card I used some older papers in my stash. (I’ve got lots and lots of old paper!)
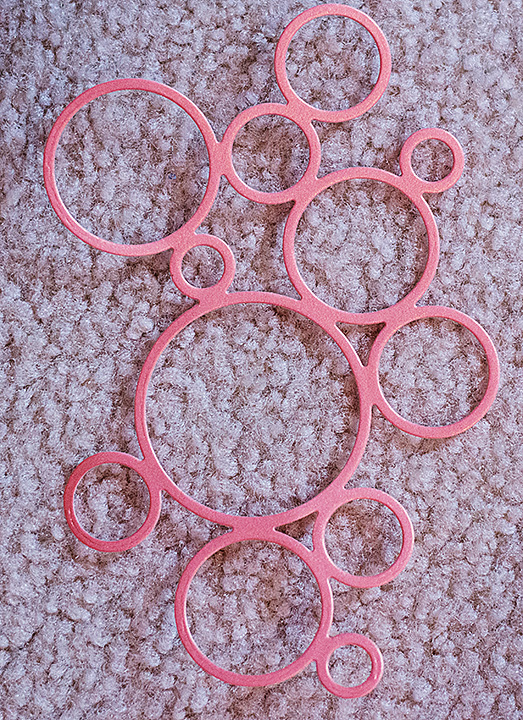
Does this die cut also look familiar? I can’t seem to get away from some of my favorites. They just seem to suck me in!
I love these 3D Foam Frames. Such an easy way to add dimension to a card without a crazy amount of bulk!
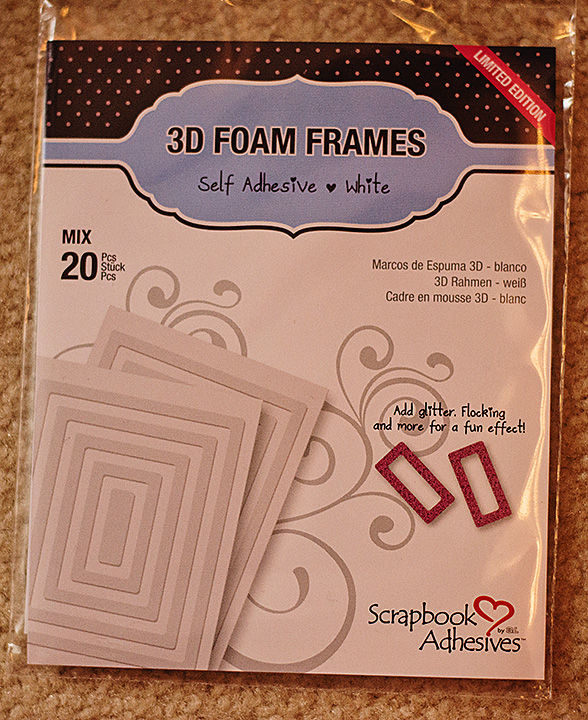
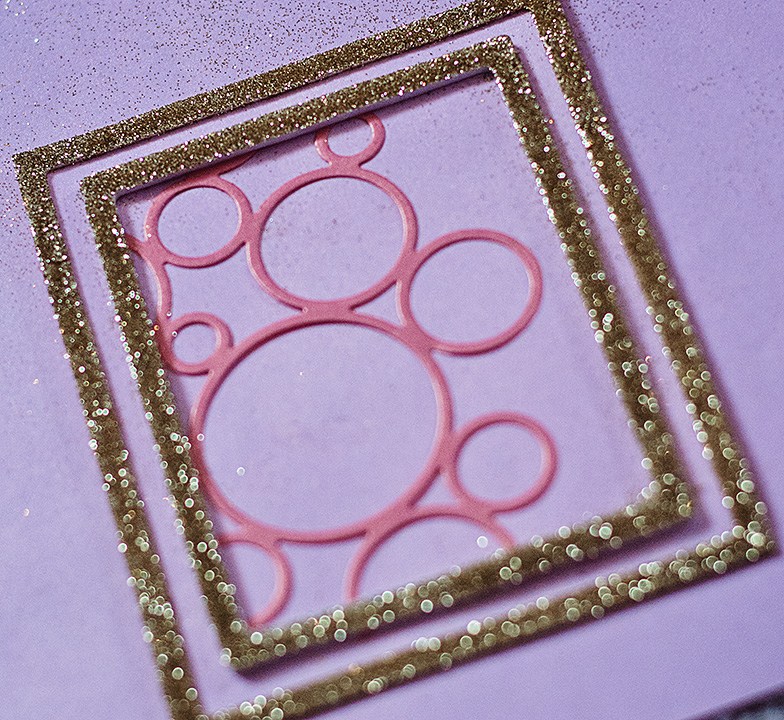
The frames are double sided so I peeled one side off and stuck it directly to my pink background paper.
I peeled the other side off and dumped my gold glitter over it.

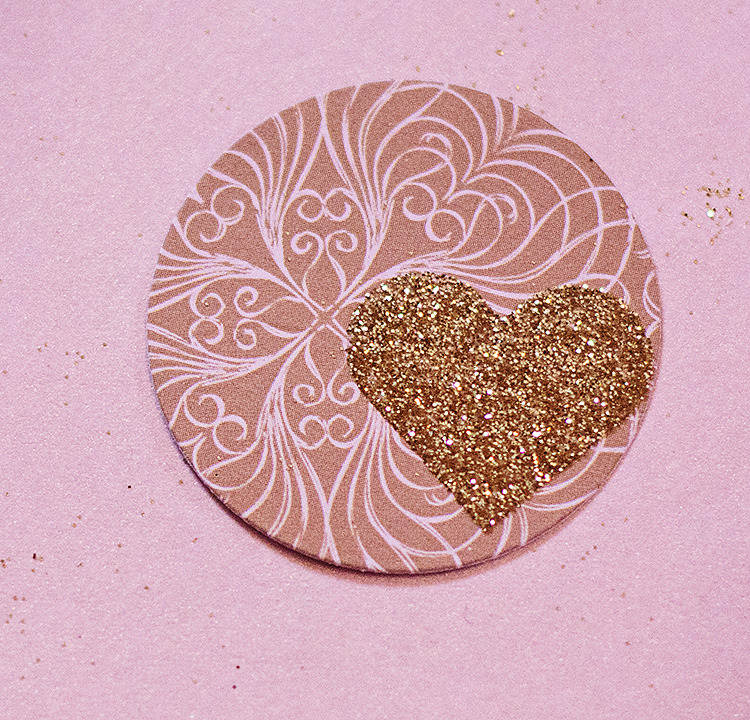
I had several different circles from the die cut above and knew I wanted to place many of them back into the die cut. But first I added 3D Foam Hearts to random circles.
And of course, add more glitter!
I placed the circles on my paper and decided that I wanted a second frame.
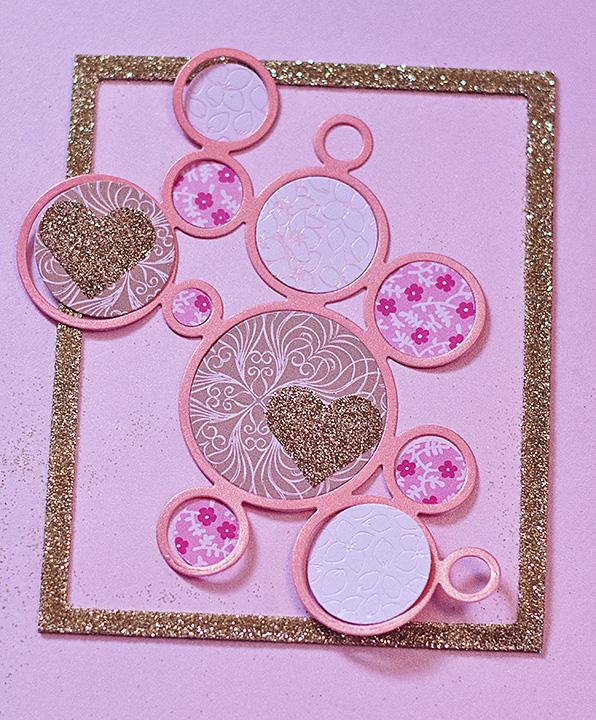
I added the second 3D Foam Frame and cut off any excess circles.
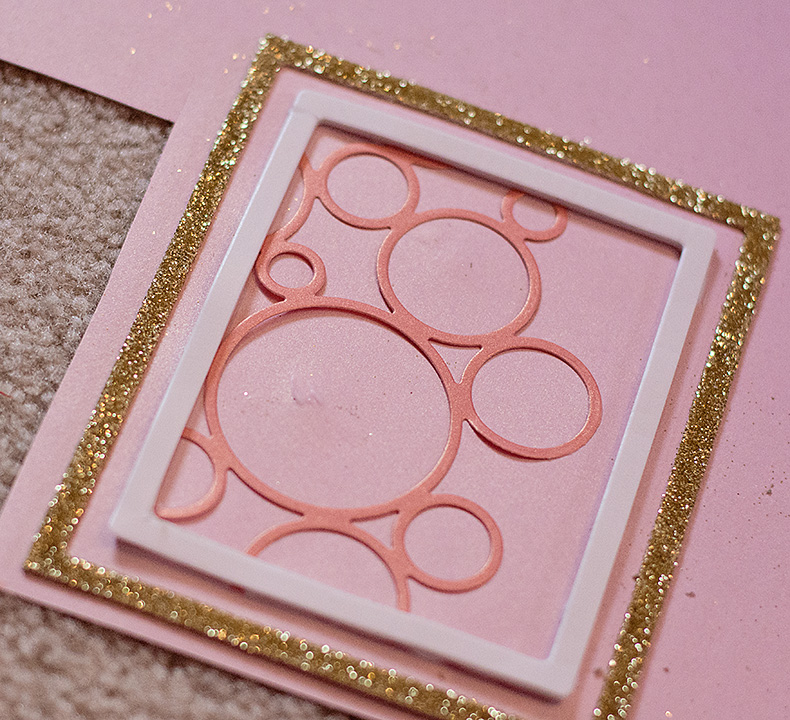
Once again, I dumped more glitter over the frame.
I am often asked about my bows. I rarely “tie” a bow the traditional way. Instead I overlap each loop and pinch in the center. For this card I did this with two bows and placed them on top of one another.
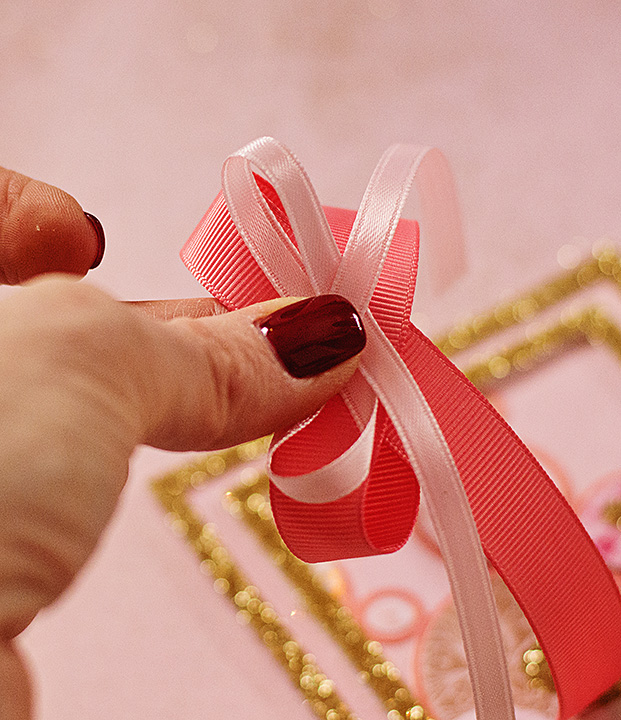
Then I take coordinating string and tie it off in the center.

I added a sticker to vellum and placed it under my bow. I didn’t like how the sentiment was resting on the card. I wanted it curved a bit.
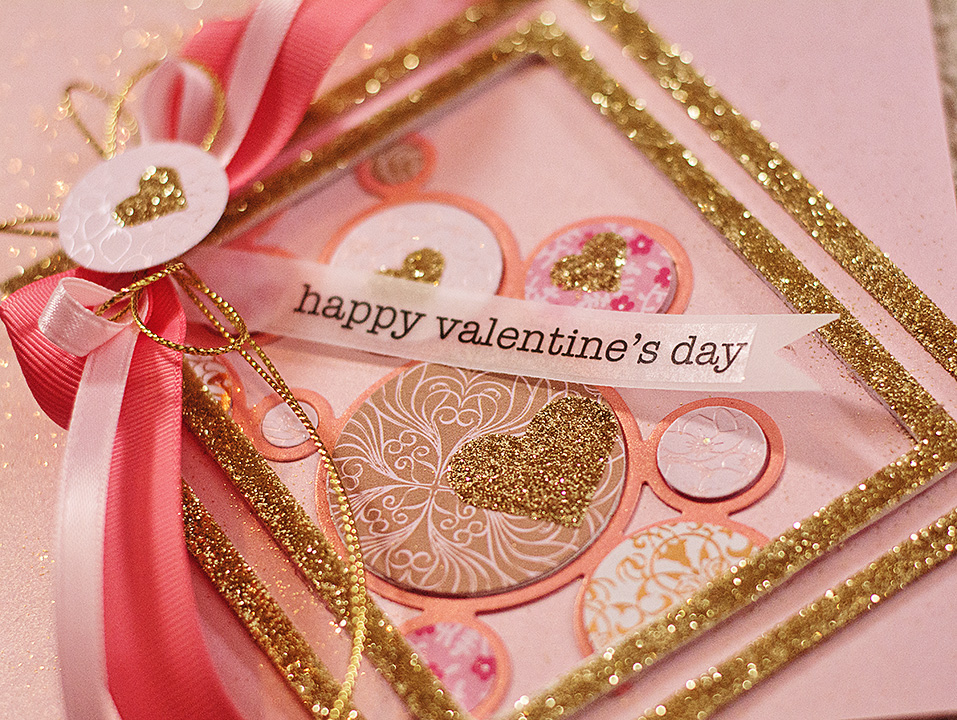
So my Dodz™ Small came to the rescue! Just place a small Dodz™ at the end of the sentiment….
Voila! A curved, dimensional sentiment!
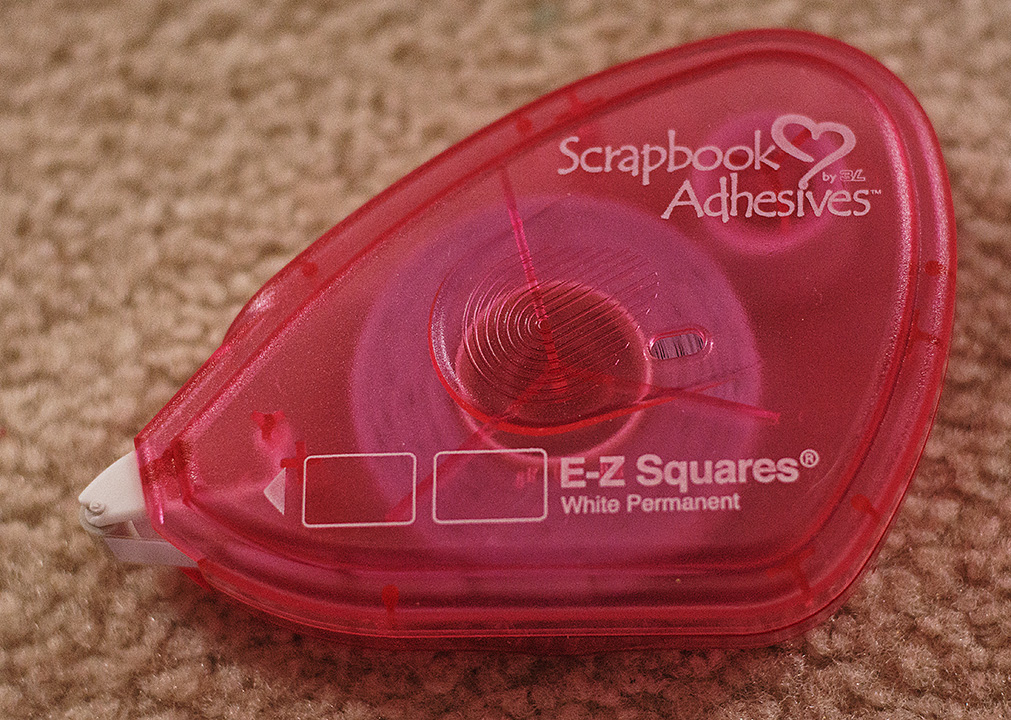
The whole thing was adhered to the front of my card using E-Z Squares®.
Here is one last look at the finished card. 🙂
Thank you so much for stopping by today!!
Supplies:
- Dodz™ Small
- E-Z Squares®
- 3D Foam Hearts
- 3D Foam Frames
Other Supplies:
- Circle die
- Sticker
- Vellum
- Ribbon
- Gold cord
- Sequins
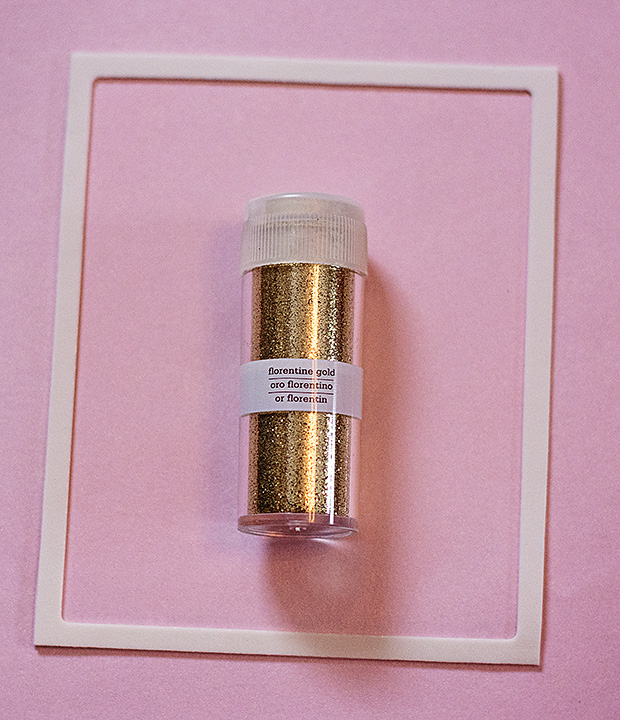
- Gold glitter
By Kimberly February 12, 2015 - 7:50 pm
GORGEOUS Card!!