
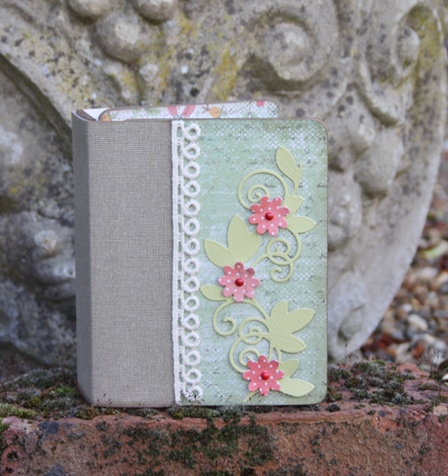
Hi everyone, Christine here today with a chipboard album tutorial using lots of brilliant tapes from Scrapbook Adhesives by 3L®.
 I’ve used three chipboard pieces to create the mini album, two cover pieces and a spine piece. The central ring clip is held in place with brads/fasteners.
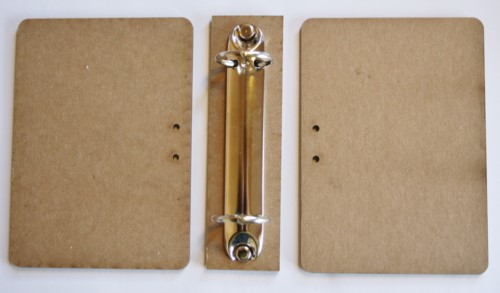
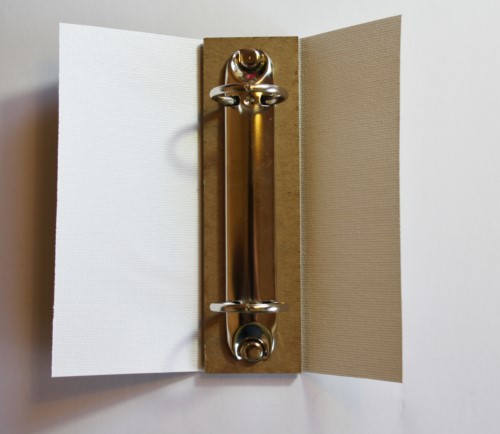
I used a piece of canvas paper and secured this to the spine area using Crafty Power Tape. It is so easy to remove the backing of this tape and with its red core I thankfully don’t misplace (bury) it on my craft table!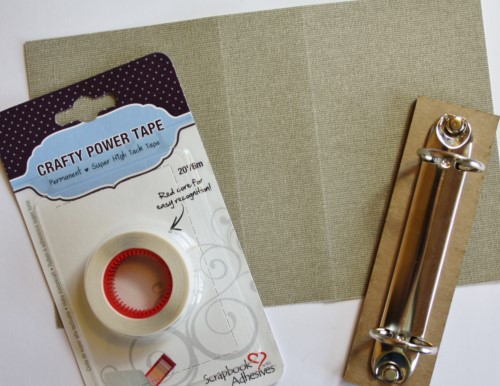
To affix patterned paper to the chipboard covers I used Premium Double-Sided Tape, being 1″ thick it didn’t take many strips.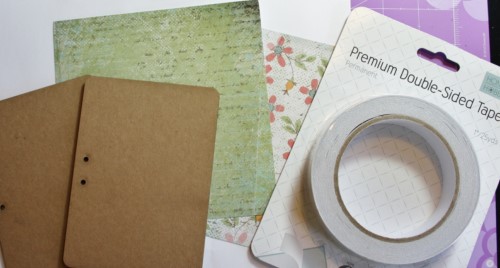
Continuing with decorating the mini album, to affix ribbon I turned to Extreme Double-Sided Tape 1/2″ – this tape is super strong!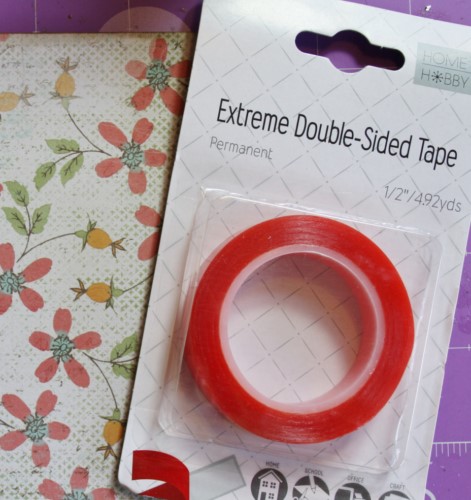
I inked the edges of my album lightly with distress ink to add a subtle vintage look.
The final touches to the album were some die cuts, the flowers are affixed with 3D Foam Squares – White, Small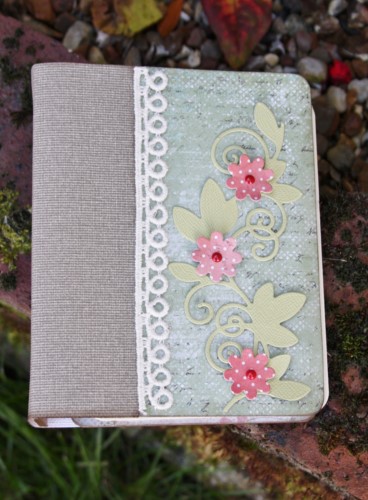
Thanks for stopping by today and don’t forget to check out the wonderful selection of tapes on the website – there’s a tape for every craft project imaginable!

Products used:
- Crafty Power Tape,
- Premium Double Sided Tape 1″,
- Extreme Double-Sided Tape 1/2″,
- 3D Foam Squares White Small,
- Spellbinders dies: Floral Bundle, Pretty Petals C
- Chipboard album pieces
- Paper – Studio Light
- Canvas paper
- Distress ink
By Elaine September 20, 2015 - 1:41 am
Beautiful x
By Janice September 20, 2015 - 7:25 am
Lovely notebook Christine, great, clear instructions a too.
Thank you
Janice x
By Deborah S September 22, 2015 - 8:32 pm
This is a very elegant album! Thank you for the great tutorial.