Are you a planner addict? If you are, I am going to share how I used Adhesive Sheets 12×12 inch to create planner stickers. Yes, you read right! Planner stickers are amazing but the selection can be overwhelming! You can make your own…yes..you really can. Hi, Shannon here and it’s my first post today! I am excited to show you!
Planner Sticker Creation
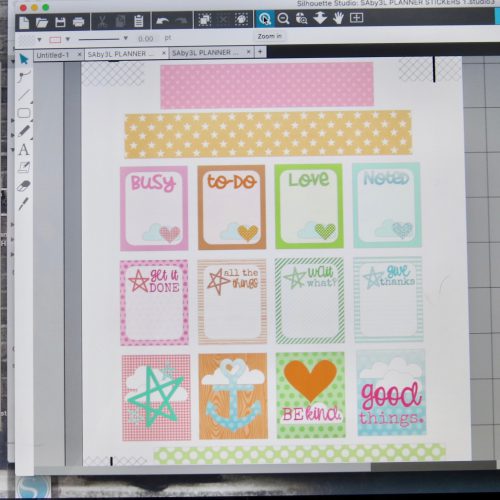
What you’ll need for this project are: Adhesive Sheets 12×12 inch, white cardstock, an electronic cutting machine and your computer. I found a free planner size template online so do a search. I made mine simple and added plain shapes, titles and fonts from my machine. Then filled with colors or patterns.
Here’s a sample of one of the sheets I created. Tip: add registration marks to your sheet or they won’t cut correctly.
Next, print out your “sticker sheet” onto cardstock. Afterward, adhere it to the Adhesive Sheets 12×12 inch. It will look like the image below. Oops! Kinda big 🙂 Smooth it out, get rid of air bubbles and trim to size. For the next sheet, I trimmed the Adhesive Sheet to 8.5 x 11″ and applied to the back of the cardstock. HA! The adhesive sheets are so easy to use. They cover a large area for edge-to-edge adhesive. I wanted to show you that even us designers make mistakes!
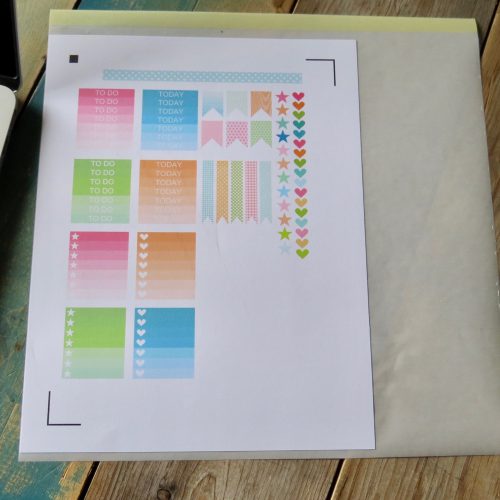
Cut the designs from the sheet. Each machine is different but I set mine to cut thick, heavy cardstock. Pictured below are the two sheets ready to be used.
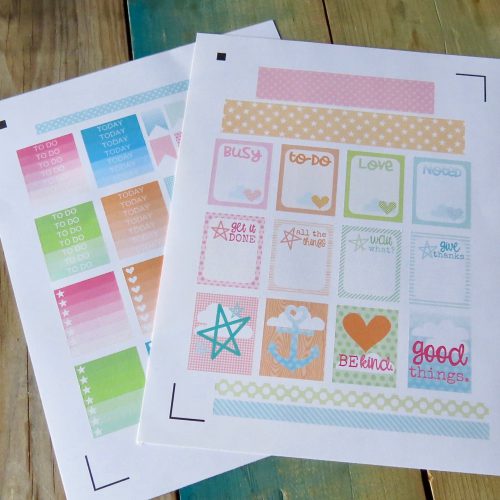
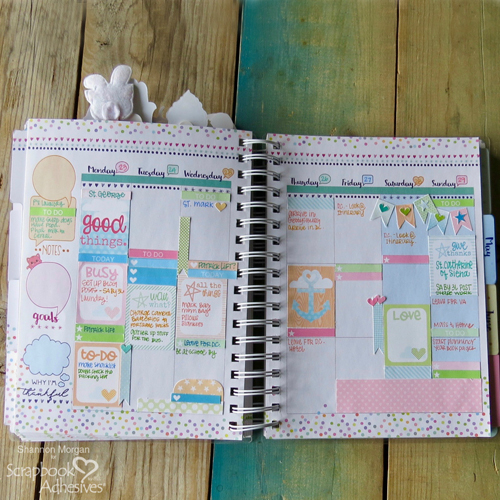
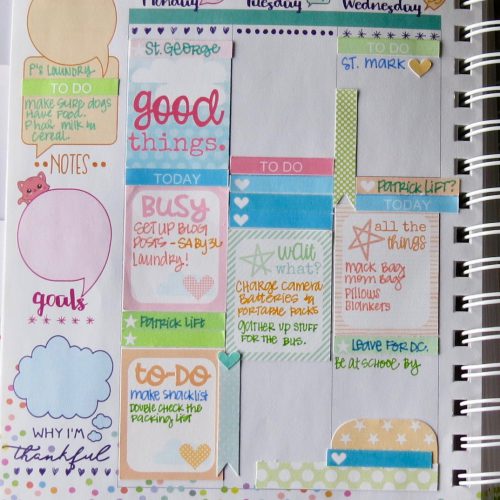
Now let’s plan! Use them all, some or hang onto them for future weeks! Here are close-up of my stickers.

Hope you enjoyed my project! Thanks for stopping by!
Shannon Morgan
Scrapbook Adhesives by 3L®:
Adhesive Sheets 12×12 inch
Other: White cardstock, Paper House Productions: Kawaii Planner, Electronic Cutting Machine, Papermate Flair Pens
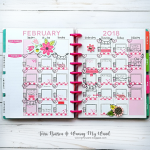
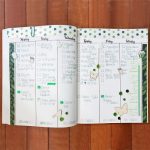
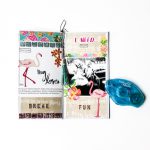
See more planner and traveler’s notebook ideas below.