
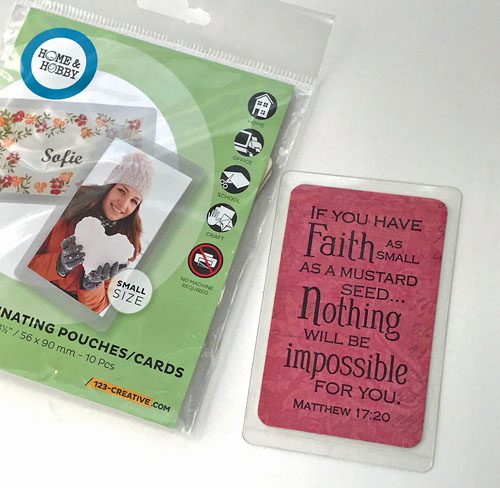
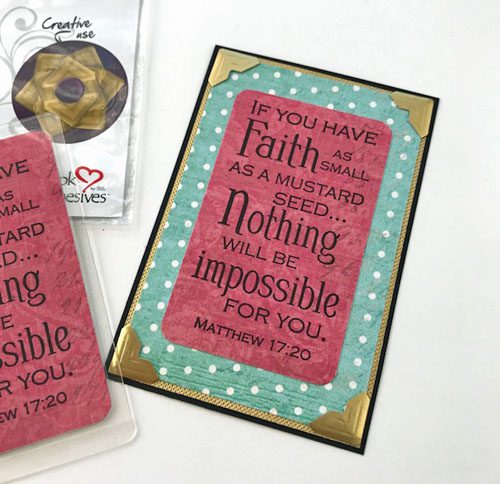
I have an inspiration card with a small pocket inspiration card, made with Self-Laminating Pouches – Cards Small, attached to the card base. Used a combination of Creative Photo Corners Gold and Adhesive Sheets 4 x 6 inch to assemble and Thin 3D Foam Squares Black Mix for a little dimension.
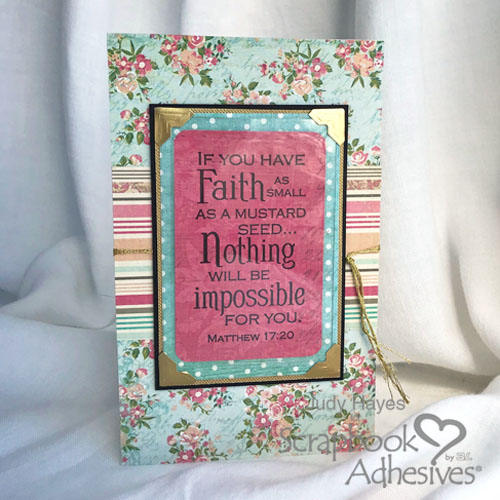
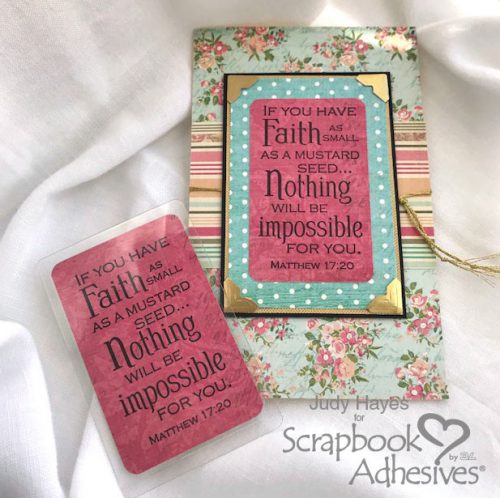
A quick design tip: when the pocket inspiration card is removed, the same verse is underneath so the greeting card still looks complete!
Pocket Inspiration Card Making
Cut paper to 2.25 x 3.5 inches to fit Self-Laminating Pouches – Cards Small, round the corners and stamp the verse.
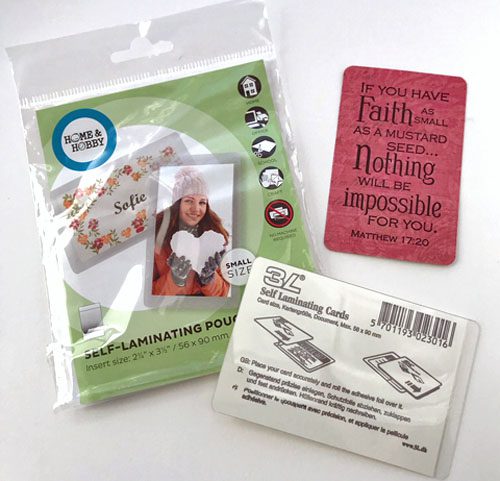
Place in Self-Laminating Pouch.
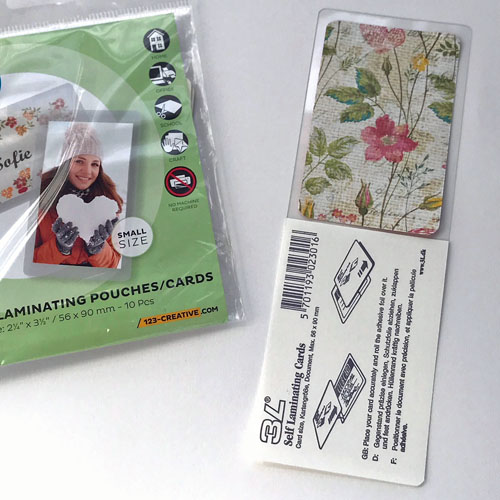
Note that I placed verse side against the hard side of Self-Laminating Pouch which doesn’t have adhesive as shown in the photo.
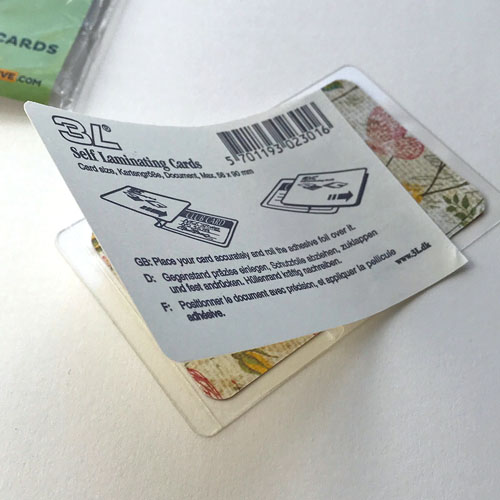
Burnish/press Self-Laminating Pouch firmly to seal it well.
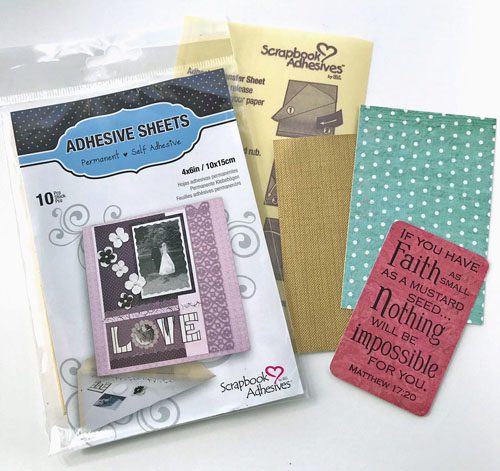
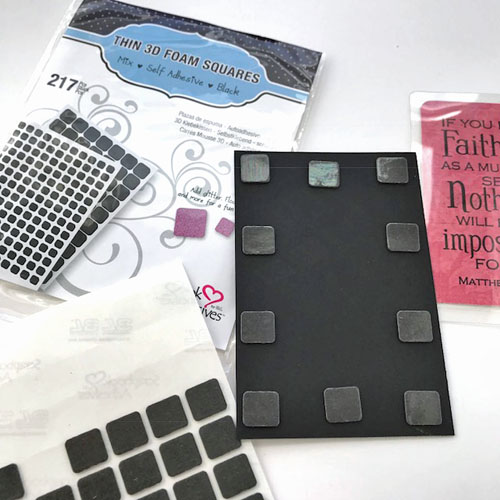
The card panels were backed with Adhesive Sheets 4 x 6 inch. This makes assembly easy and all the edges sealed well so they won’t catch when removing or replacing pocket inspiration card. The verse piece is cut smaller (2 x 3.25 inches) to hide behind the laminated pocket inspiration card.
Assembling the Card
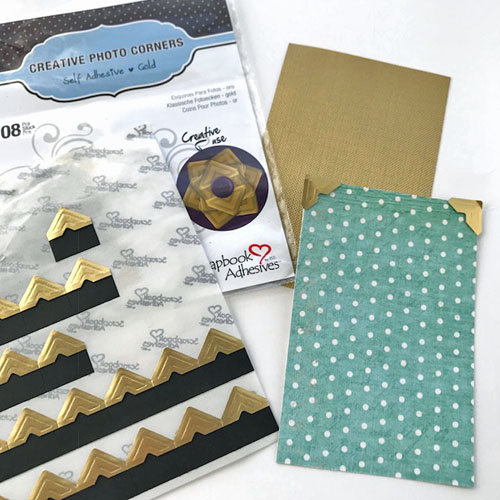
Peel adhesive backing from just the corners of dot card panel and place Creative Photo Corners Gold on each corner. The Adhesive Sheet will hold photo corners in place.
Next, fully peel backing and place dot card panel on the gold card panel. Peel backing from gold card panel and place on black mat. The black mat does not have Adhesive Sheets on its back. Peel backing from verse paper and center onto the dot card panel.
Add Thin 3D Foam Squares – Black Mix to back of the black mat.
Form 4 x 6.5 inch cream card base and cut patterned paper to fit it. Cut a band of stripe paper and fasten with E-Z Dots® Permanent Refillable Dispenser to patterned paper. Tie gold cord in a knot. Wrap ends around stripe paper to back and fasten with E-Z Runner® Ultra Refillable Dispenser. It’s really strong to hold the cord.
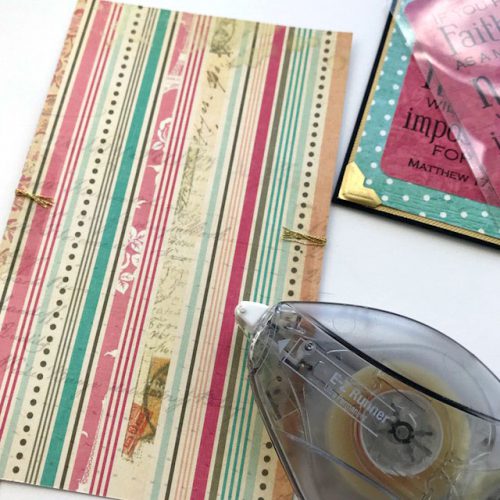
Fasten to card front with E-Z Dots® Permanent Refillable Dispenser and
E-Z Runner® Ultra Refillable Dispenser. I use the Ultra adhesive at the corners and the Dots adhesive along edges.
Fasten the assembled inspiration card panel to card front by removing the backing from Thin 3D Foam Squares. Insert pocket inspiration card into photo corners and it’s ready to share with someone!
Thanks for visiting and Happy Creating!
Judy Hayes
Scrapbook Adhesives by 3L®:
Adhesive Sheets 4 x 6 inch
Creative Photo Corners Gold
E-Z Dots® Permanent Refillable Dispenser
E-Z Runner® Ultra Refillable Dispenser
Thin 3D Foam Squares – Black Mix
HomeHobby by 3L®:
Self-Laminating Pouches – Cards Small
Other Supplies:
Photo Play Paper: Memories, Dolled Up, Antique; Gold Paper; Cardstock: Black, Cream; Imagine Crafts/Tsukineko Versafine Onyx Black Ink; Our Daily Bread Stamp: Mustard Seed; Gold Cord
Explore other fabulous projects using Self-Laminating Pouches – Cards Small, click below.


By Deborah S April 16, 2018 - 2:04 pm
What a lovely card/gift. I love that the card will still be in tact when the laminated piece is removed very clever tfs