
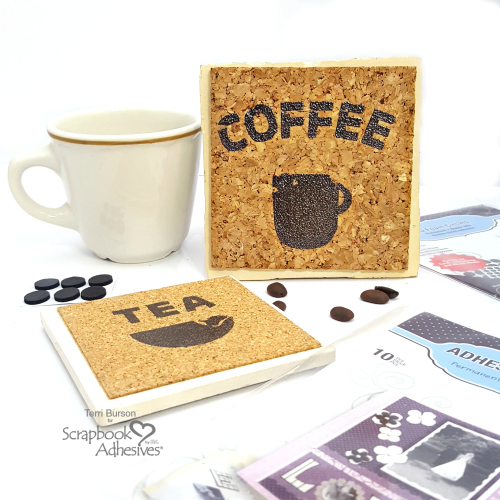
Today’s project features upcycled heat embossed coasters. I’ve had this idea for awhile and finally visited some thrift stores. looking for something I could use. Bingo! I found just what I needed on my first stop. Terri here, with a video tutorial for this altered project. “Stick” around!
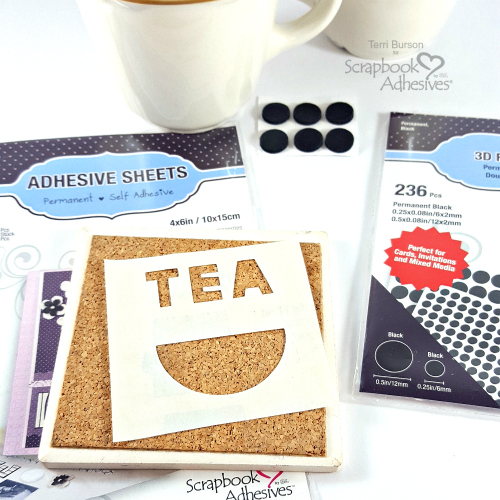
Items Needed for Upcycled Coasters
I have two different sized coasters measuring 4×4 inch and 3×3 inch. For this project, I used an electronic die cut machine to scale down my measurements. However, alphabet die cuts would work, using a manual die cut machine, as long as the sizes work accordingly. Here’s a short list:
- Coasters
- Manual or Electric die cut machine
- Adhesive Sheets 4×6 inch
- 3D Foam Circles Black Mix (or white)
- Brown Embossing Powder or choice of color
- Craft Heat Tool
- Burnishing Tool
- Sharp tool or toothpick
- Baby powder
- Optional washi tape to mask area
- Optional dryer sheet
Bonus Tips and Advice
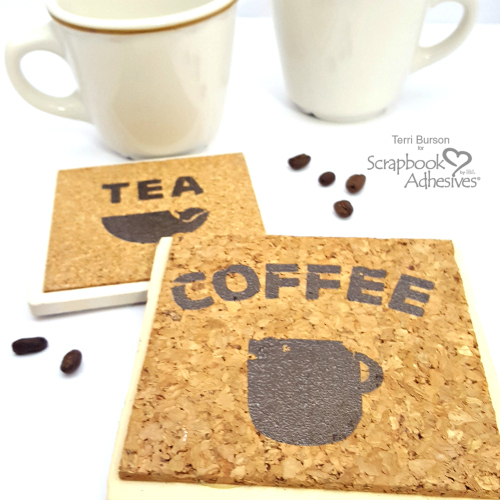
Working on this project, there were two things I knew going in. One, I was not expecting perfection. In fact, I was hoping for a vintage feel and slight imperfections. This is an upcycled project and as such, maintaining authenticity and a distressed look was key. This was such fun to create and a great way to “Wear Your Adhesive On The Outside”!
I tried a couple things on the “coffee” coaster first. That included masking parts of the cork area with washi tape. My thought was, avoid getting embossing powder in the nooks and crannies of all that open cork space. I did not use the masking process on the second coaster and it turned out great! I did however, swipe both coasters with a dryer sheet. It’s a little trick used to repel excess powders from accumulating. If you’ve seen crafters use an embossing buddy (powder filled pouch), the dryer sheet does the same thing. Craft hack! Lastly, I also thought it might be possible to use stencils, for those who don’t have die cutting equipment. Try pressing your Adhesive Sheets 4×6 inch into the stenciled area and rub well. Let me know how that works!
I’ve got a video tutorial for this fun, upcycled coasters! There is key information not included here, so don’t miss it. 3D Foam Circle bumpers and baby powder? Another craft hack found in the video.
You’ll also find the full listing of product links on my blog at Waving My Wand. Have a crafty day, everyone! Terri
Creative Time: Beginner to Intermediate (30-45 min)
Materials Needed:
Scrapbook Adhesives by 3L®
Adhesive Sheets 4×6 inch
3D Foam Circles Black Mix
Other:
Coasters, Embossing powder, Craft heat tool, Die-cutting machine and Burnishing tool
By Amy Tsuruta May 23, 2018 - 10:41 am
these are awesome!
By Terri Burson May 23, 2018 - 12:58 pm
Thanks so much Amy! ❤