
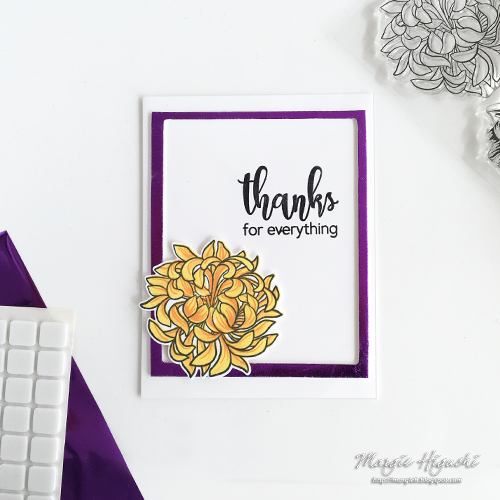
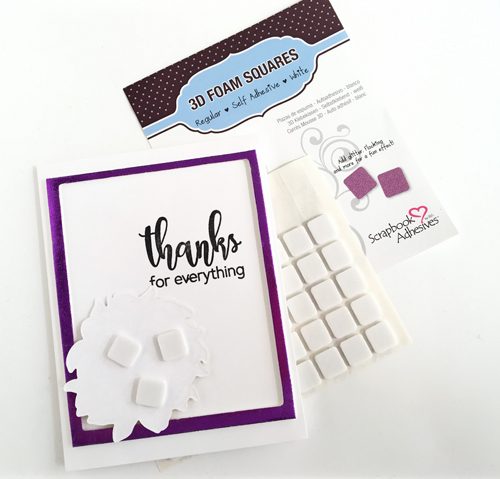
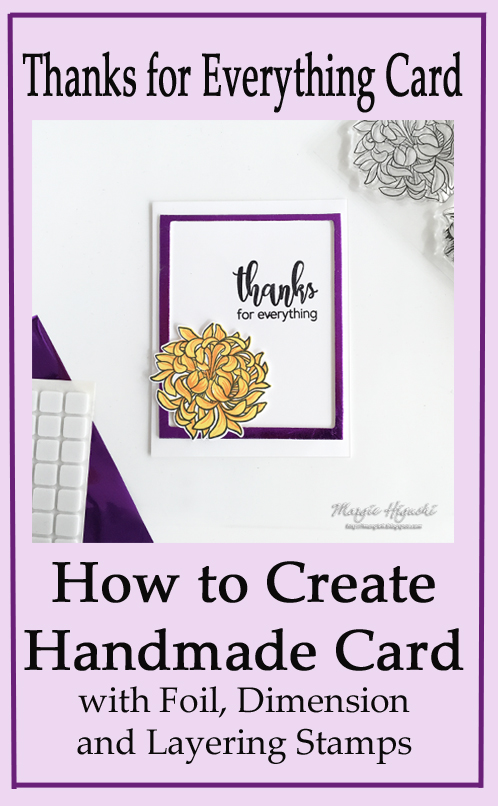
For a simple and clean style card, I choose to use Metallic Transfer Foil Sheets Variety Pack and 3D Foam Frames shape to make a foiled frame. This will anchor my stamped flower and a stamped sentiment. I love the look! Don’t we all need a thank you note ready to go? I’d like to share how I created mine so let’s get started!
Create a Foiled Frame
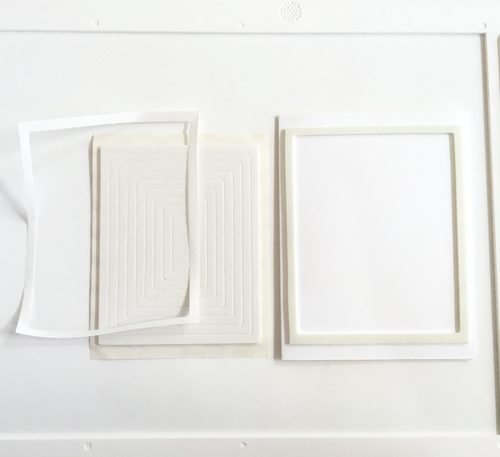
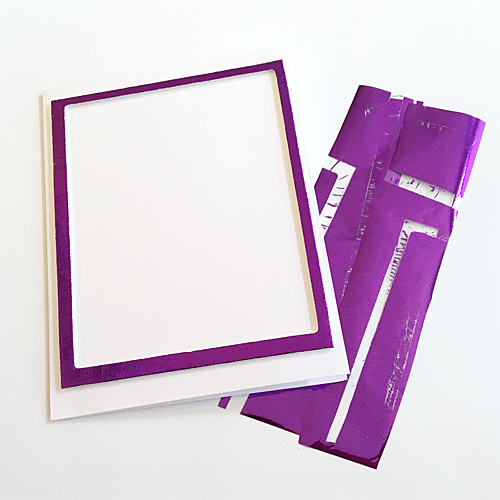
On a white A2-sized (4.5 x 5.5-inch) card base, I placed the largest frame from the 3D Foam Frames shape by removing the top liner. Then flip it over to adhere on top of the card base.
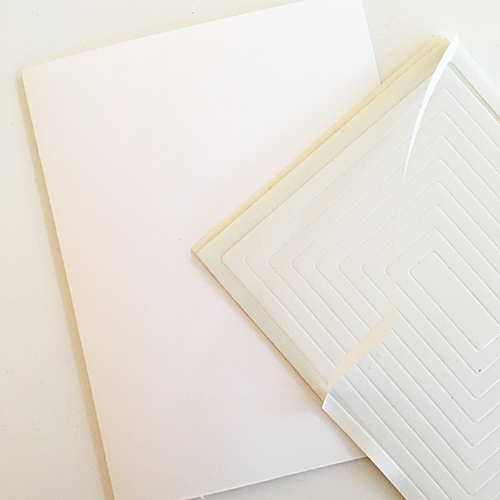
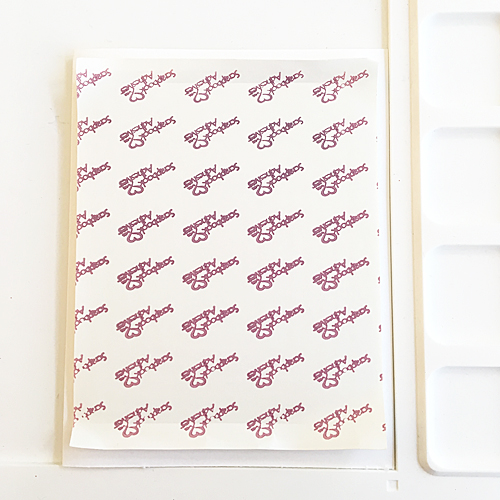
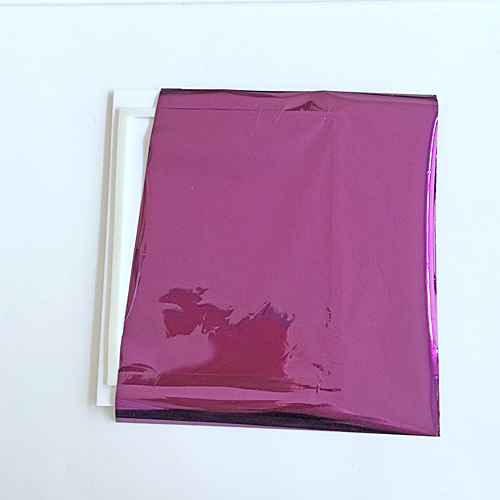
Once the frame is in place, remove the liner and apply the Metallic Transfer Foil Sheets Variety Pack in purple. Make sure the color side is UP and gently rub with your fingers to transfer the color to the frame shape. You can touch up/refoil until the frame is covered completely.
Stamping the Flower Accent and Sentiment
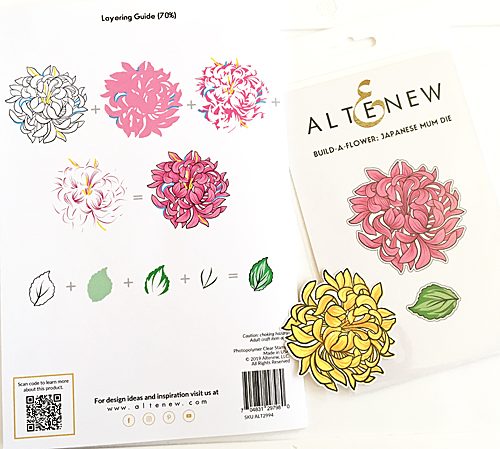
Using the directions on the packaging, it was SO easy to stamp each layer without fail. Next, cut the image with its coordinating die through a manual die-cutting machine.
I stamped the sentiment with black ink, in the upper right corner of the card inside the foiled rectangle.
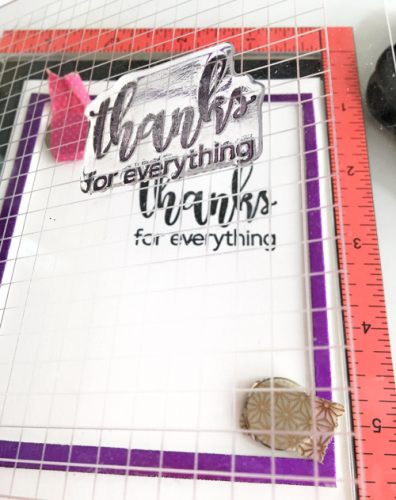
Lastly, add three 3D Foam Squares on the back of the stamped flower die cut and place it in the lower left corner.
The simple design with dimension and sparkle is a fabulous look. I hope you will try these elements in your next card making creation!
Thanks for stopping by!
MargieH
Creative Time: 30 minutes
Skill Level: Intermediate
Materials Needed
Scrapbook Adhesives by 3L®
Metallic Transfer Foil Sheets Variety Pack
3D Foam Squares White in Regular Size
3D Foam Frame Shapes
Other
Stamps and Craft Die: Altenew (Build-A-Flower Bundle: Japanese Mums and Japanese Mums Craft Die Set); Tools: Spellbinders® Paper Arts (Platinum 6 Die-Cutting and Embossing Machine), Waffle Flower (Water Media Mat) and My Sweet Petunia (MISTI); White Cardstock; Yellow and Black Inks
Love It. Pin It!
Visit our Website and Blog!
Sign up for our Newsletter so you never miss a contest or giveaway!


