
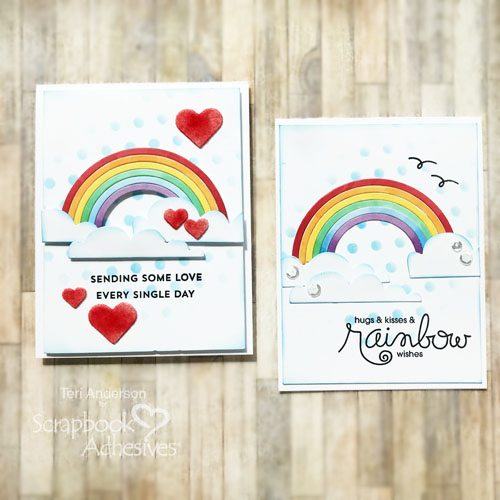
Hi, friends! Want to make someone smile? Teri here, and I’ll show you how to put together a couple of quick rainbow cards to pop in the mail and make the ones you love smile! Let’s get started!
Create a Rainbow with Pop and Dimension
Start by die-cutting a rainbow and some clouds from white cardstock. Don’t have a rainbow die? You can make rainbow bands by using nested circle dies together.
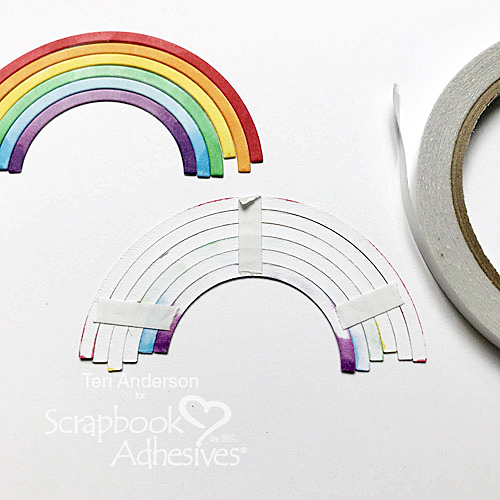
Take your rainbow bands and apply color to them with markers. Flip your rainbow over and add a few strips of tape to them to hold them together.
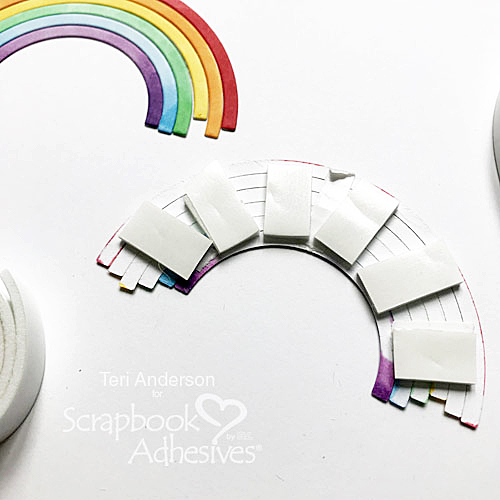
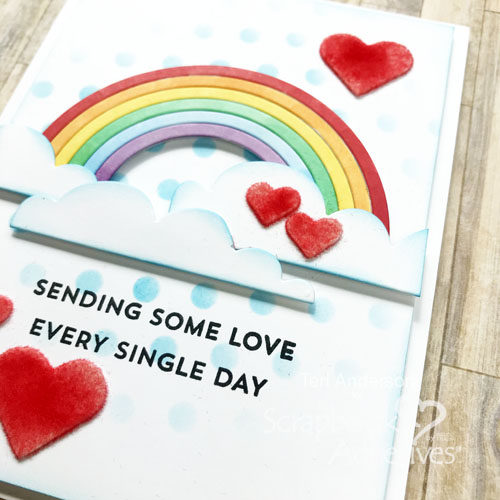
Make your rainbow pop by adding some small strips of Crafty Foam Tape to it.
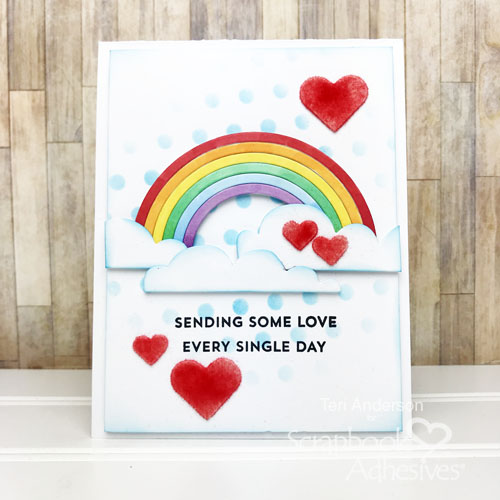
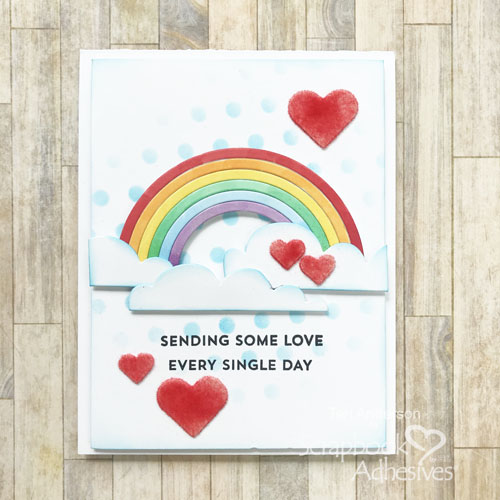
Stencil a pattern onto a piece of cardstock (or use it plain), and adhere your rainbow to it. Add your clouds and a stamped sentiment.

Give your rainbow an extra happy feel by adding some 3D Foam Hearts to it, as well as around it. Coat the hearts with flock or glitter!
Rainbow Card with Less Pop
Worried about sending a card through the mail with a lot of bulk? You can easily make a rainbow card without any Crafty Foam Tape or 3D Foam Hearts.
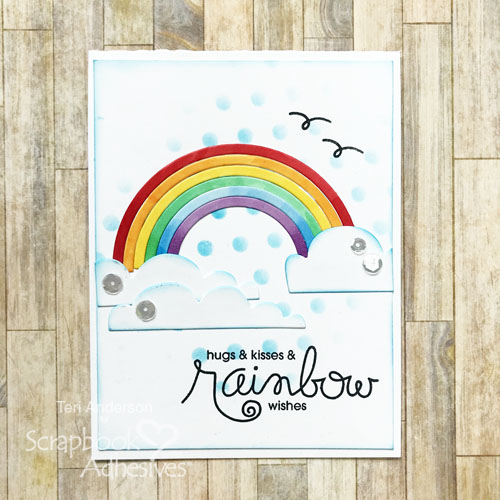
Change your design by adhering everything to your card with a “flat” adhesive, like Dots or Strips. Also, look for ways to add to the overall design. Stamped birds or butterflies in the background are a great way to do that!

You can also add sequins to your clouds with Adhesive Dots. Sequins are a great embellishment for cards because they are mostly flat and don’t add much bulk to cards!

I hope you enjoyed today’s tutorial and are inspired to make rainbow cards of your own!
Happy creating!
Teri Anderson
Creative Time: 45 Minutes
Skill Level: Intermediate
Materials Needed
Scrapbook Adhesives by 3L®
- E-Z Dots® Permanent Refillable Dispenser
- E-Z Runner® Permanent Strips Refillable Dispenser
- 3D Foam Hearts
- Crafty Foam Tape White
- Adhesive Dots Micro
HomeHobby™ by 3L
Other
White Cardstock: Neenah Paper; Dies: Paper Smooches (Rainbow), Simon Says Stamp! (Clouds); Stamps: My Favorite Things (From the Heart Stamp Set), Paper Smooches (Luminous Spring); Stencil: My Favorite Things; Sequins: Pretty Pink Posh; Blue Ink Pad: My Favorite Things; Black Ink Pad: Ranger Ink; Flock: Stampendous!; Markers: Copic
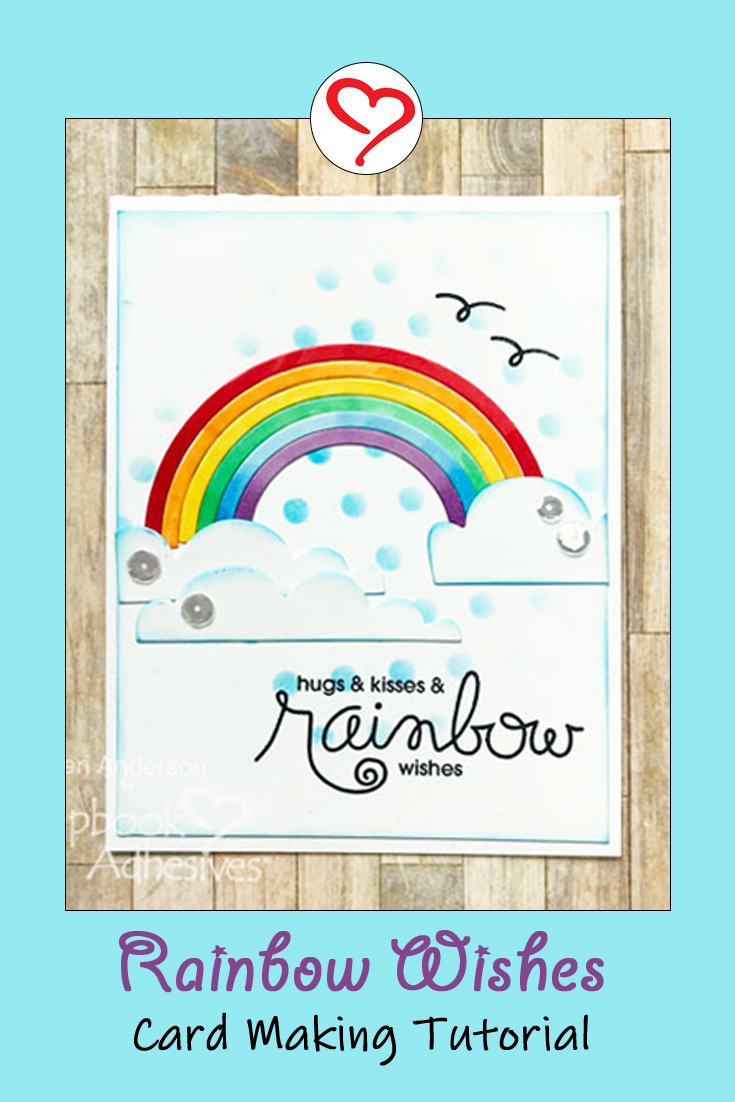
Save it on Pinterest!
Visit our Website and Blog!
Sign up for our Newsletter so you never miss a contest or giveaway!


By Cindy in Boise May 25, 2020 - 10:55 pm
What a great tutorial, Teri! Super cute card, too 😁