
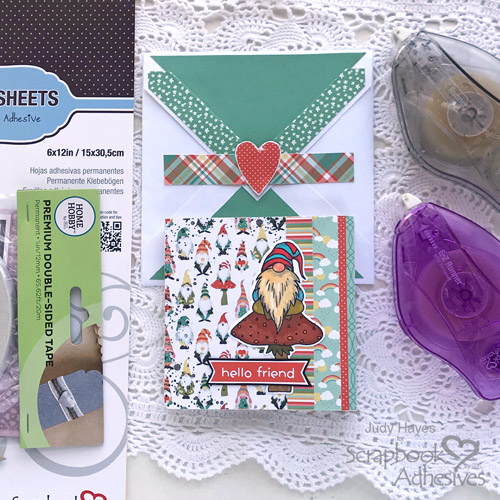
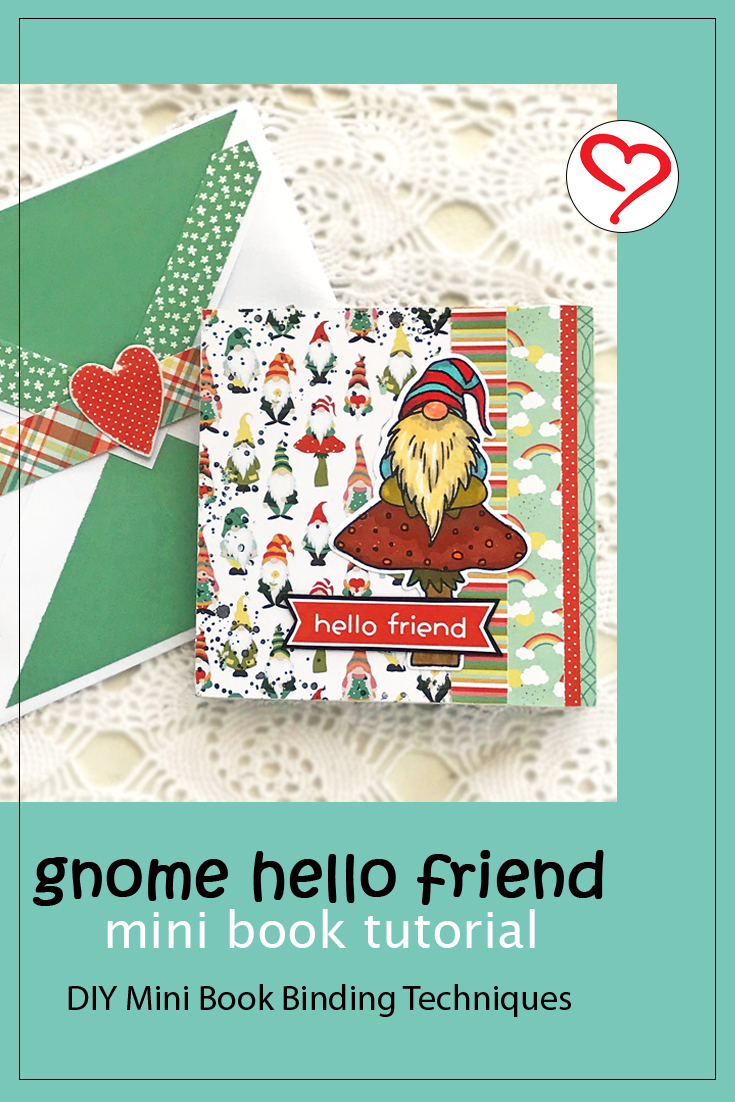
Hello crafty friends! Judy here to share a fun gnome Hello Friend Mini Book. It’s a perfect little book to give a special friend! I also put together an envelope to make this into an adorable ensemble!
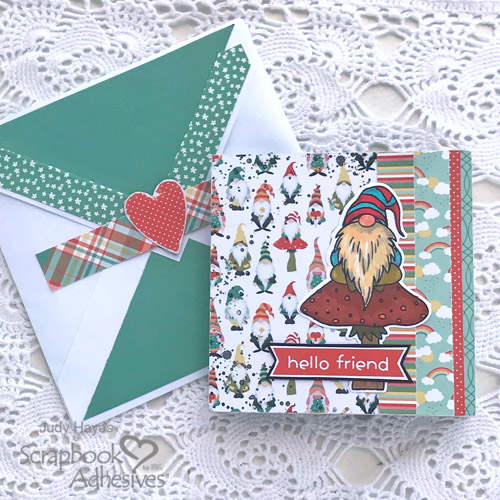
Hello Friend Mini Step Outs
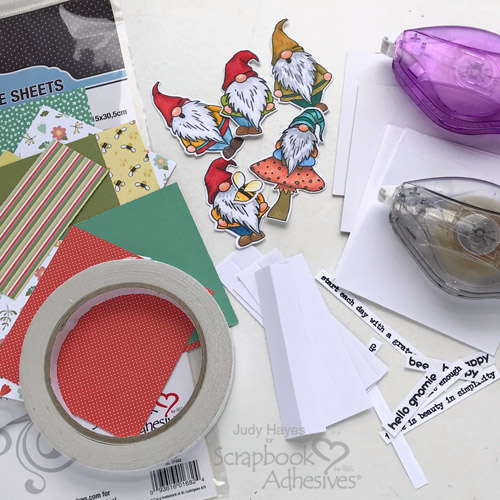
For a little “head of time” prep work, I stamped with black ink and applied Adhesives Sheets on the back before die-cutting all these cute little gnomes. Once cut, I colored each with waterbased markers. There are nine of these little cuties!
Basic Book Binding Steps
The basic book is made with a combination of mat board, white cardstock, and Premium Double-Sided Tape 1/2in.
The front and back covers are mat boards cut to 3.625-inch square.
Each page measures 3.5 inches square and made with white cardstock. There are five pages in total.
The binding is made from white cardstock cut 1 1/8 x 3.5-inches. Score each binding lengthwise in half and folded. There are six binding pieces for this book.
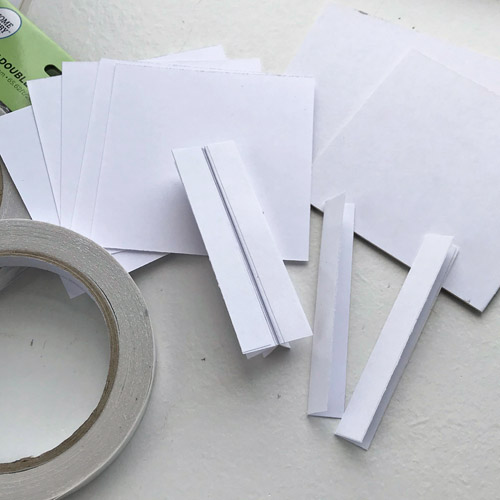
With the pieces prepped, let’s start with the binding! Apply Premium Double-Sided Tape 1/2in to one outer side of each of the folded binding pieces. Attach all the binding pieces together with folded edges even to create the spine of the book.
Next, adhere the pages and both covers to the binding, using the Premium Double-Sided Tape 1/2in. The pages are fastened to the flaps of the binding. There you have it, a basic mini book!
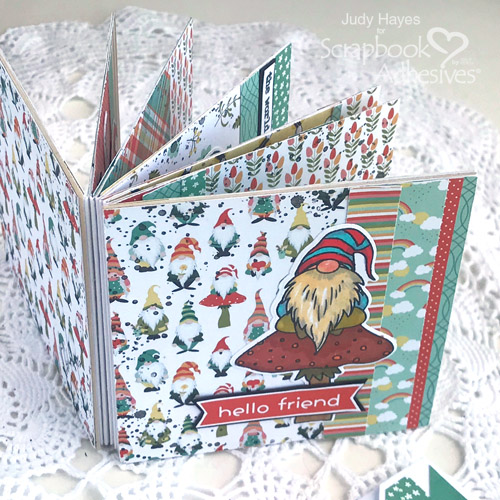
Hello Friend Mini Pages
To make page designs, it’s easier to assemble before putting them in the book. Apply Adhesive Sheets 6×12 inch on the back of the patterned papers used for pages, covers, and decorative elements (ie. borders).
There are 10 pages all measuring 3.5-inch square each. They are the inside pages attached back to back like a sandwich around the white cardstock pages already in the book. Create background page designs and set aside.
You need two inside cover pages. Cut them to 3.625-inch squares and design as desired. Set aside.
To attach your first inside page to the white cardstock page, remove the liner and place it on the first page. Add your second page to the back – remove the liner and make sure to cover the flap. Repeat for the rest of the inside pages.
Then adhere the outside covers and lastly, cover the inside front and back cover pages making sure they hide the hinge feature.
Page by Page Details
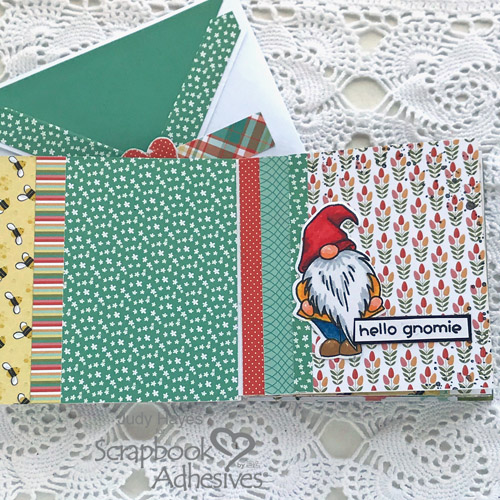
For the inside front cover and page one: Stamp “Hello gnomie” and cut black cardstock for the mat. Use the E-Z Runner® Micro Refillable Dispenser to fasten those together and in place. Remove the liner from the gnome before adhering.
Pages 2 and 3: Stamp all verses and mat with black cardstock. Adhere all with E-Z Runner® Micro Refillable Dispenser.
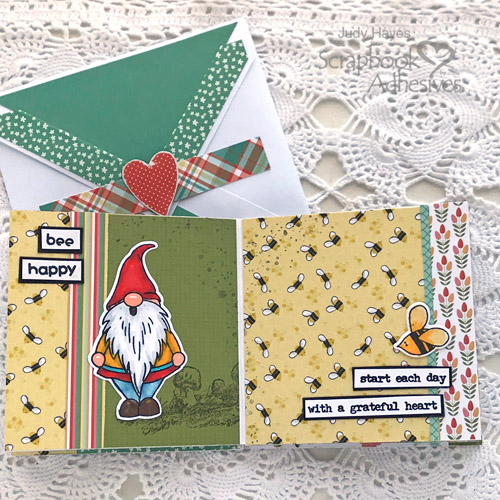
Pages 4 and 5: Stamp the toadstools design and random dots with black ink on the pages. Every page has a few dots…some are not so obvious. Add the elements with the E-Z Runner® Micro Refillable Dispenser and the gnome by removing the liner.
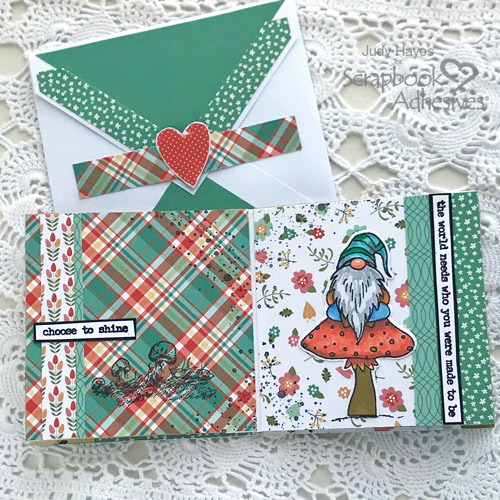
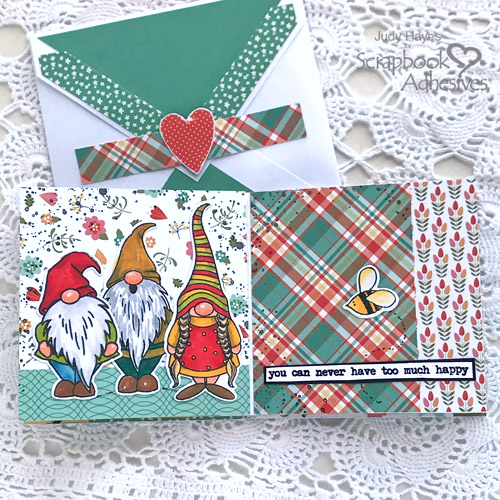
Pages 6 and 7: Attached all the elements on the page with the E-Z Runner® Ultra Strong Refillable Dispenser.
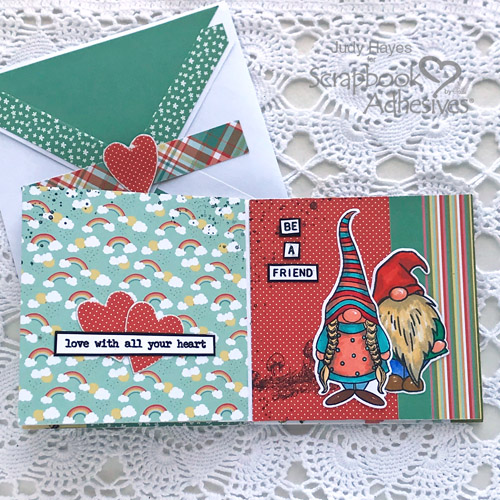
Pages 8 and 9: Trace two hearts onto the dot paper and sand the edges to give a white edge. Adhere all with E-Z Runner® Ultra Strong Refillable Dispenser.
Page 10 and inside back cover: left blank to add a personal note or for a photo or two.
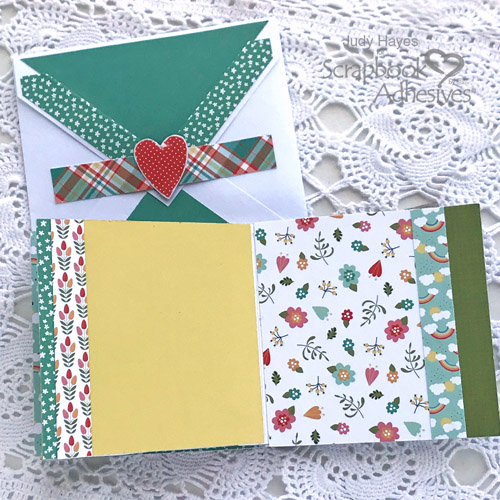
The Envelope Element
Using printer paper, I created a 4.5-inch square envelope and assembled it with Premium Double-Sided Tape 1/2in.
First, apply Adhesive Sheets 6×12 inch to the back of the coordinating patterned papers. Cut to fit the flap and its opposite side. Take the backing off and place on to the envelope.
The flap tucks under a plaid strip with a heart. Secure the plaid strip on each end with Premium Double-Sided Tape 1/2in and using the same tape, attach the heart on top to finish.
Just a side note: I learned this style of binding from a class given by Mixed Media Artist, Seth Apter. To fit my style, I adapted to make it work for this Hello Friend Mini Book! It pays to apply what you learn from others 🙂 I hope you enjoyed it!
Thanks for Visiting!
Judy Hayes
Creative Time: 60 Minutes
Skill Level: Intermediate
Materials Needed:
Scrapbook Adhesives by 3L®
- Adhesive Sheets 6×12 inch
- E-Z Runner® Micro Refillable Dispenser
- E-Z Runner® Ultra Strong Refillable Dispenser
HomeHobby™ by 3L
Other:
Patterned Papers: PhotoPlay Paper Co. (Tulla & Norbert’s Excellent Adventure Collection); Imagine Crafts/Tsukineko Versafine Onyx Black Ink; Karin Markers; Ranger Clear Embossing Powder; Stampers Anonymous Tim Holtz Stamps: Tiny Toadstools, Tiny Text; Card Stock: White, Black; Mat Board (Cardboard)
Save it to Pinterest!
Visit our Website and Blog!
Sign up for our Newsletter so you never miss a contest or giveaway!


