
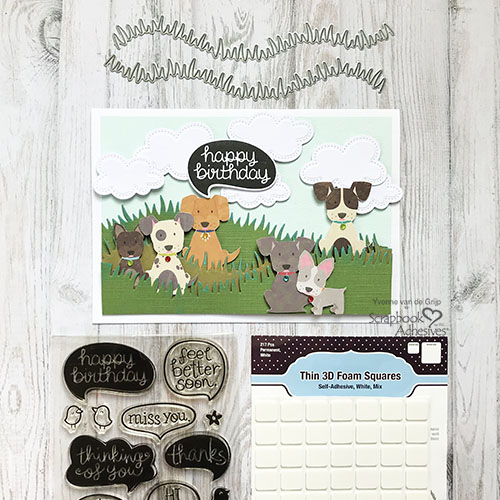
Hi everyone, Yvonne here with a doggone cute dimensional birthday card. Scrapbook Adhesives by 3L® 3D Foam Products are the best to add that little bit of extra dimension to your card.
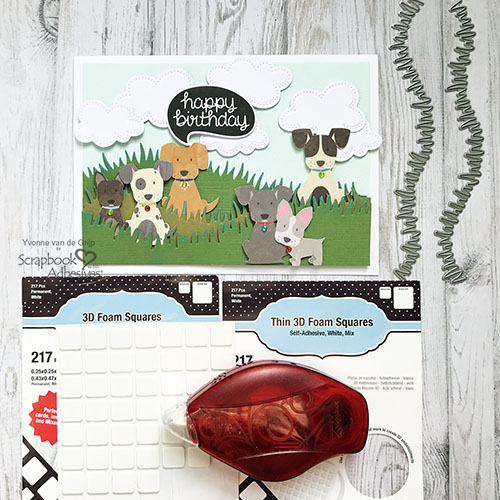
I know it may look a bit complicated, but even a beginning card maker can create this card! Let me show you how I made it.
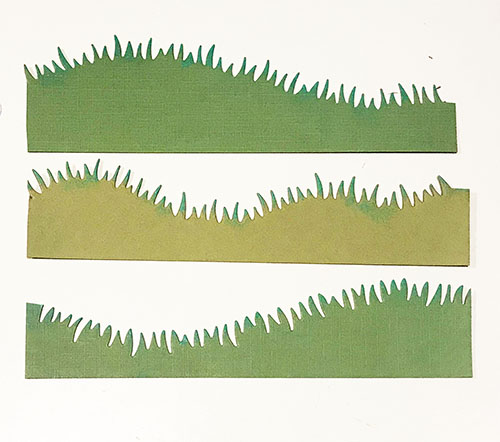
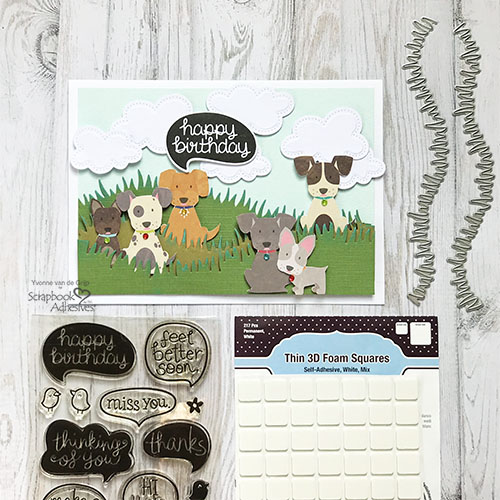
Doggone Cute Grass Layers
Die-cut several grass borders from two shades of green cardstock. Then ink the edges of the grass with green ink. Simply rub the ink over the edges directly from the ink and let dry to prevent staining.
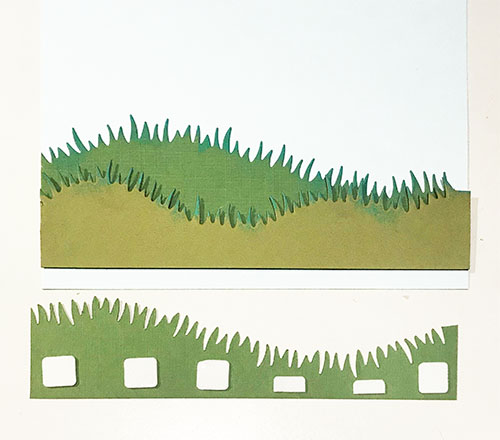
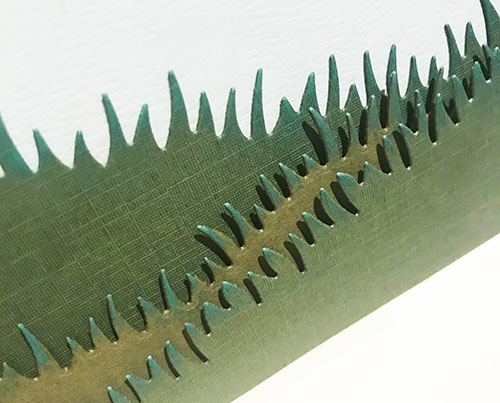
Place Thin 3D Foam Squares White Mix to the back of the grass borders but leave the liners on. Determine your layout design first before removing the liners. Start adhering the bottom layer to a piece of soft blue card panel, then the middle layer, and finally, the top layer.
Create the Card Base
Create a top-folding card with white cardstock that is slightly larger than the card panel you have just created. Then adhere the grass card panel onto the card base with the E-Z Runner® Permanent Strips Refillable Dispenser.
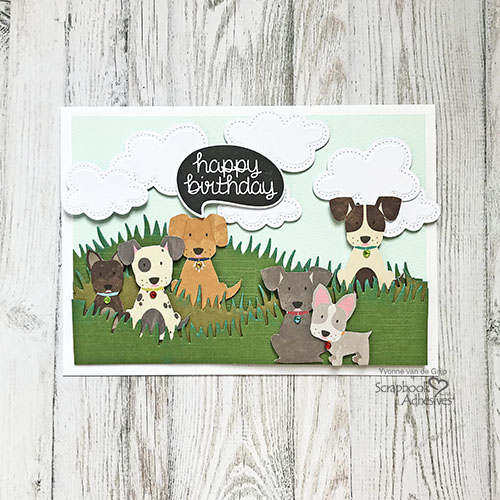
Make the Clouds
Die-cut and emboss several clouds from white cardstock. For a dimensional sky, I used a combination of 3D Foam Squares White Mix and Thin 3D Foam Squares White Mix. This way the clouds look more realistic. For some extra fun, let the clouds overlap the top (blue) layer a bit.
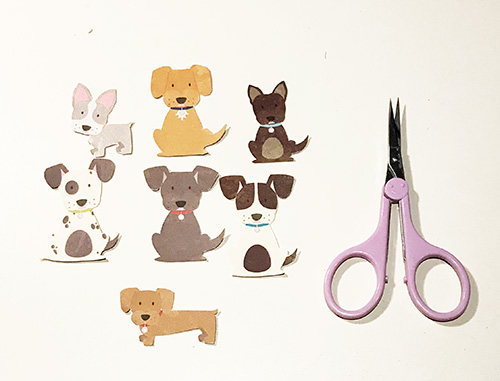
Those Doggone Cute Doggies
First, fussy cut the cute dogs from the designs in the patterned paper. To cut out the detailed dogs I used tiny scissors, but you could also use a sharp craft knife.
When finished cutting, adhere the dog shapes on and between the grass layers using Thin 3D Foam Squares White Mix for interest and dimension.
Finishing the Card
Stamp the happy birthday sentiment on white cardstock and cut with its matching die. Adhere the sentiment to the card using 3D Foam Squares White Mix.
Finally, finish the card by adhering some tiny rhinestones to the dog collars for a subtle and fun spark. And…voila…your Doggone Cute dimensional birthday card is ready.
I hope you enjoyed this card making tutorial and wish you happy crafting!
Yvonne van de Grijp
Creative Time: 40 minutes
Skill Level: Beginner
Materials Needed
Scrapbook Adhesives by 3L®
3D Foam Squares White Mix
Thin 3D Foam Squares White Mix
E-Z Runner® Permanent Strips Refillable Dispenser
Other
Lawn Fawn (Chit Chat Clear Stamps and Die-templates); Avery Elle (Die-template: Pierced Clouds Sky); Jillibean Soup (Fur Fusion: Dancing Dogs Patterned Paper); Cardstock (White, Green, Blue); Inkpads (Distress Oxide: Lucky Clover, Archival inkpad Jet Black); Rhinestones; Scissors; Paper Trimmer.
Save It to Pinterest!

Visit our Website and Blog!
Sign up for our Newsletter so you never miss a contest or giveaway!


