
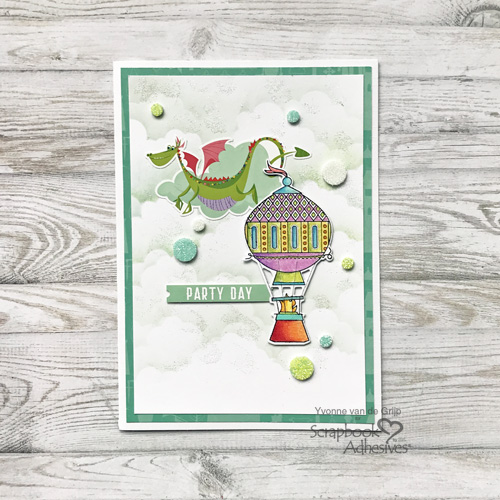
Hi everyone, Yvonne here with a new project using lots of glitter for a Dragon Party Day Card. The design and sparkle make this card perfect for a child’s birthday theme! But to be honest, I would love to receive a card like this too!
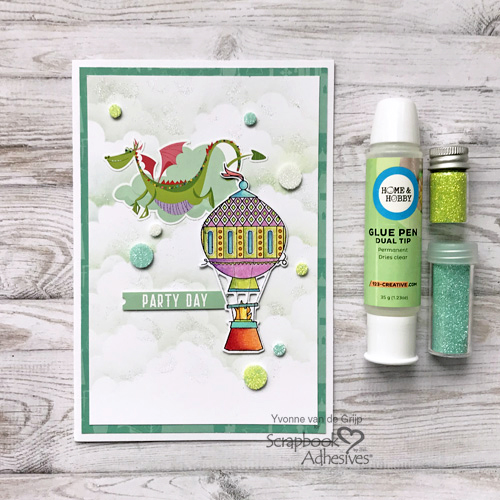
Adding subtle glitter accents to the clouds is super simple using a combination of the Dual Tip Glue Pen and 3D Foam Circles White Mix. Great for some extra bubbly glitter accents!
Dragon Party Card Card Step Outs
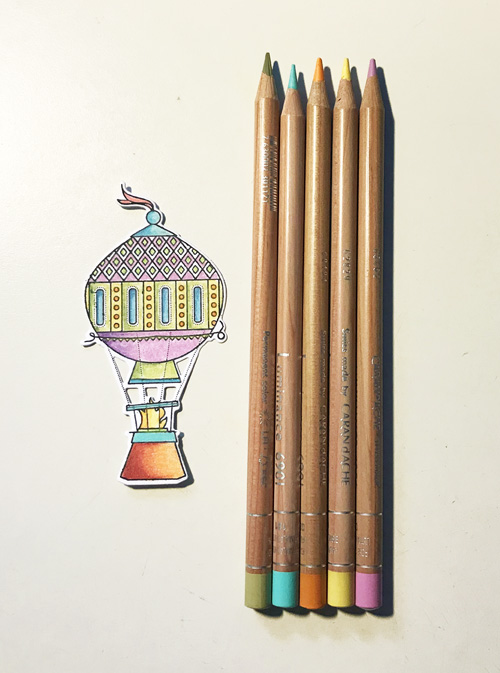
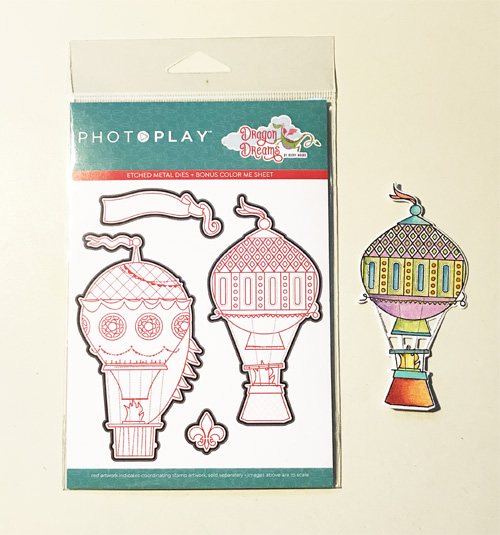
First, stamp the hot air balloon onto white cardstock using a black ink pad. Then color the balloon with colored pencils and die-cut the balloon.
Making a Cloudy Sky
First, trim a piece of white cardstock for the top layer panel for your card.
Using a cloud template or make one yourself by simply cut a cloud line from white cardstock using scissors.
To make the clouds, place the template horizontal onto the white card panel and dab soft grey ink onto the cloudy edge with an ink blending tool.
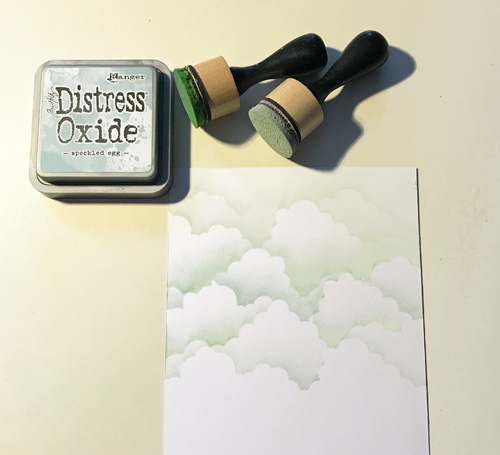
Work your way down the panel and repeat the ink dabbing to create the cloudy sky until you get your desired look.
The Card Base
Mat the cloudy top card panel onto a green patterned card panel to give it a subtle outline. Next, adhere the layered panel onto a white folded card base. To adhere everything, I used the E-Z Runner® Grand Refillable Dispenser.
Elements to the Card
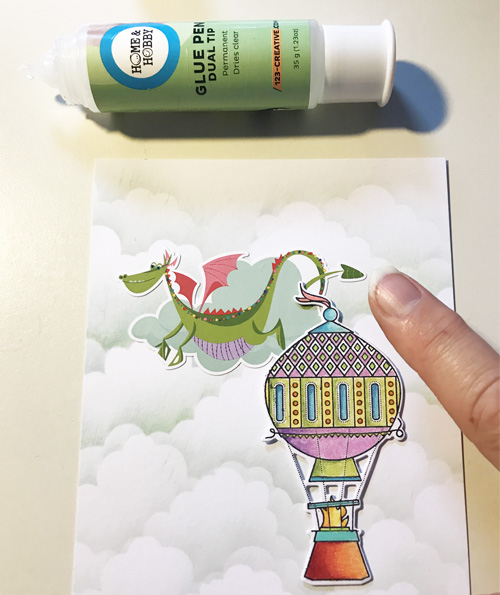
After finishing the cloudy sky, adhere the dragon and cloud sticker to the card. Let’s lift and adhere the hot air balloon die cut using Thin 3D Foam Squares White Mix. The thickness is just enough to give it a subtle uplifting effect.

Add the sentiment by adhering next to the balloon on the card panel with Thin 3D Foam Squares White Mix.
Wear Your Adhesive on the Outside
Now it’s time to add the glitter effect. Using your adhesive to shine is a technique called Wear Your Adhesive on the Outside. I used this technique in two different ways: to add glitter effects to the clouds with glue and by adding glitter bubbles to the card.
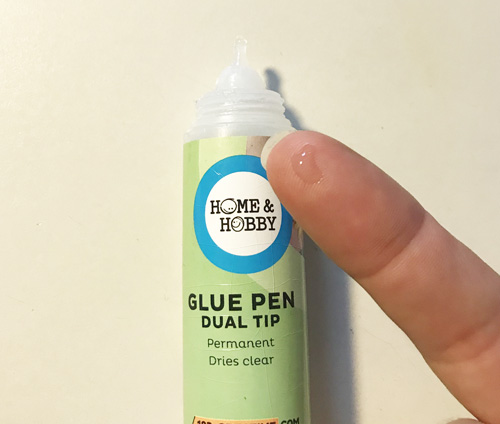
To glitter the clouds, start by putting a drop of Glue from the Dual Tip Glue Pen onto your finger and spread the glue a little over your finger top.
Simply dab your “glue finger” (while the glue is still wet) onto the clouds on the card panel.
Then sprinkle white glitter over the card panel. Tap off any excess glitter.
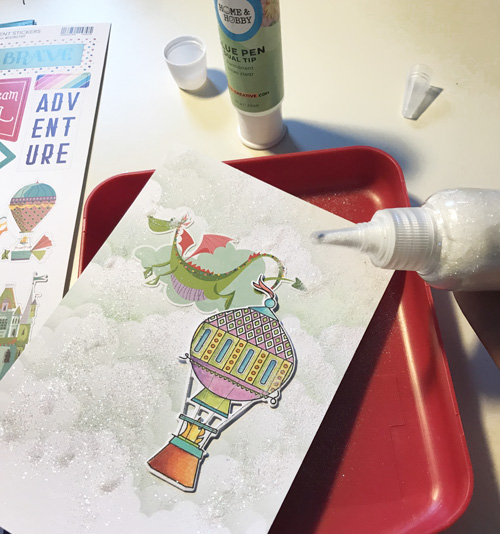
Next I adhered some 3D Foam Circles White Mix onto the card panel. Remove the liner to sprinkle green, blue and white glitter on top. Then tap off the excess glitter.
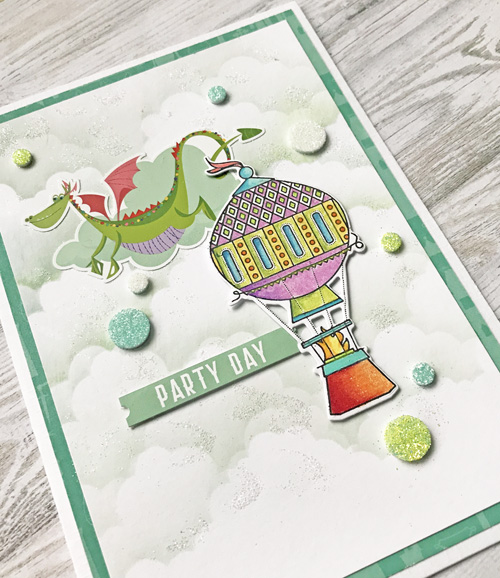
You made a shiny background! And…your Dragon Party Day Glittered card is ready to make someone very happy!
I hope you enjoyed this tutorial and wish you happy crafting.
Yvonne van de Grijp
Creative Time: 35 minutes
Skill Level: Intermediate
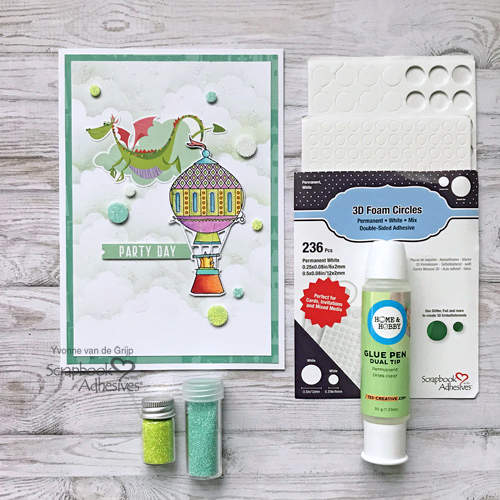
Materials Needed
Scrapbook Adhesives by 3L®
3D Foam Circles White Mix
Thin 3D Foam Squares White Mix
E-Z Runner® Grand Refillable Dispenser
HomeHobby™ by 3L
Dual Tip Glue Pen
Other
Etched Dies (Photo Play™: Dragon Dreams Up & Away Etched Dies); Die Cutting Machine (Spellbinders® Paper Arts: Platinum 6 Machine); Stamps (Photo Play™: Dragon Dreams Up & Away); Patterned Paper and Stickers (Photo PLay™: Dragon Dreams: Be Brave, Element Stickers); Inkpads (Ranger: Archival inkpad: Jet Black, Distress Oxide: Speckled Egg); Ink Blending Tool; Cardstock (White); Glitter (White, Green, Blue); Coloring pencils; Scissors; Paper Trimmer
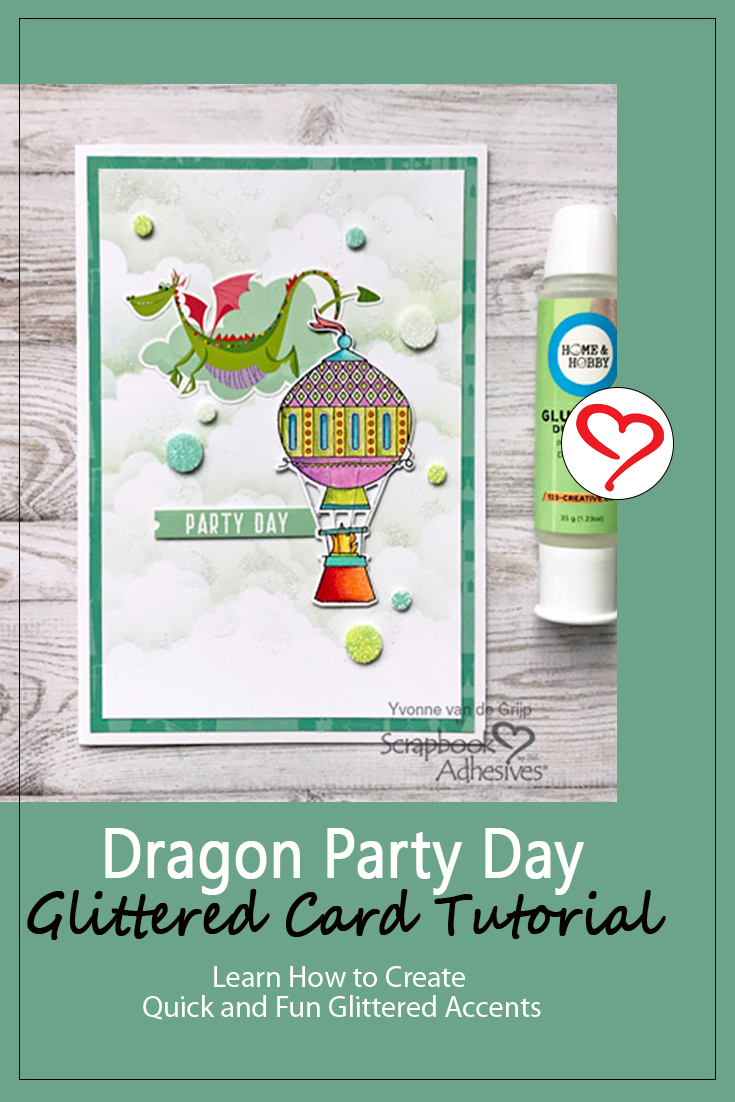
Pin It!
Visit our Website and Blog!
Sign up for our Newsletter so you never miss a contest or giveaway!


