
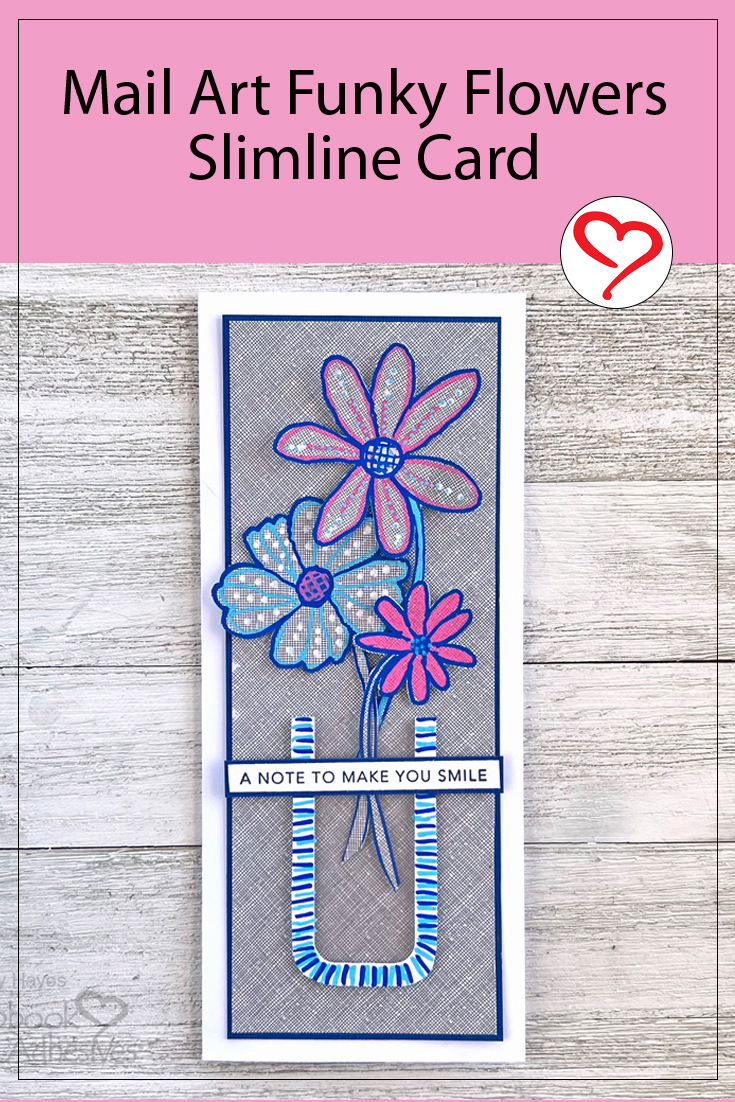
Hello crafty friends! Judy here pulling out some security envelopes that I save from my mail for today’s Funky Flower card. Do you save security envelopes? There are so many different designs! I started this mail art card while away from home with limited supplies, two window security envelopes, and paint markers.
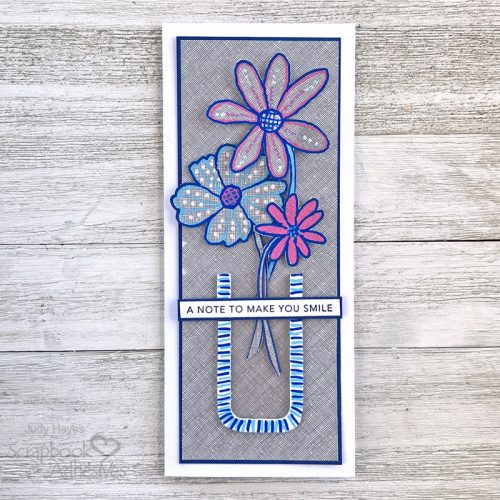
Create Funky Flowers and Vase
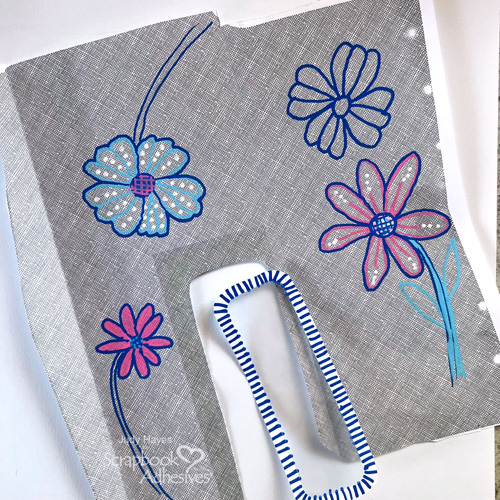
Draw three flowers on a security envelope with blue, pink, dark blue, and white paint markers. Use blue and dark blue paint markers to make lines around the window on the security envelope. Allow the paint to dry. Cut around the window leaving about a 0.25-inch border. I was inspired by a technique for making vases with window security envelopes from a post on Instagram.
Apply Adhesive Sheets to the Flowers
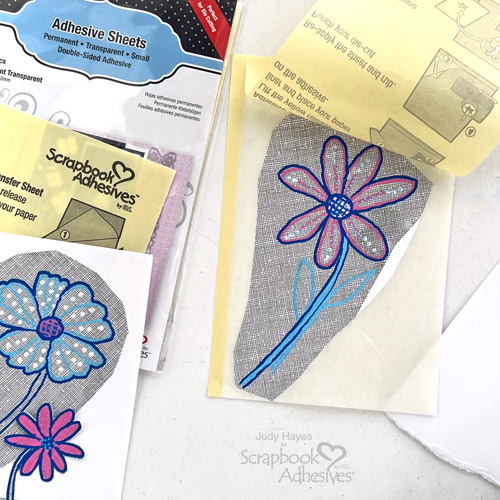
Rough cut flowers from the envelope leaving some of the paper all around them. Peel back the yellow liner of the Adhesive Sheets 4 x 6 inch and place one or two flowers on it. Replace the liner and rub over flowers to transfer adhesive, remove the liner, peel off a flower, place it on white cardstock and rub well to secure it. Repeat for other flowers. Fussy cut around each flower. Set aside.
Assemble the Card Base
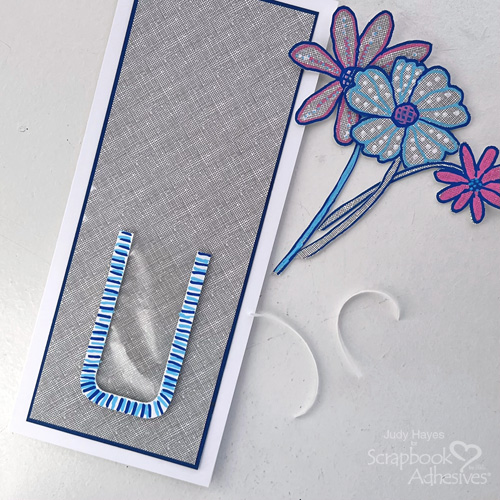
Form a 3.5 x 8.5-inch slimline card base from white cardstock. Then cut a 2.875 x 7.875-inch piece from the security envelope. and from a piece of dark blue cardstock, cut a 4 x 8-inch mat.

Attach the security envelope piece to the dark blue mat using E-Z Dots® Permanent Refillable Dispenser. Then apply the adhesive on the back of the layered card panel and place it on the card front.
Lift Up the Vase
Cut off the short end of the window to about 3 inches to form a vase shape.
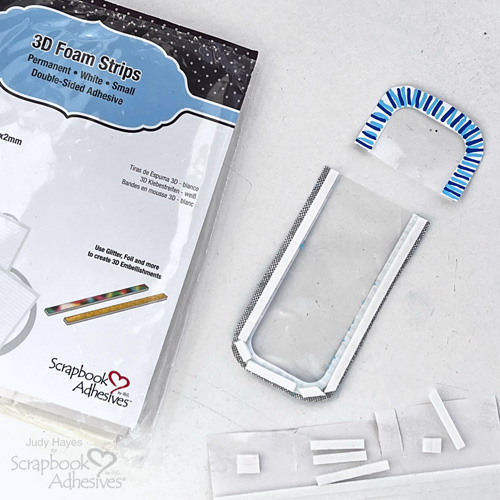
On the back of the vase, apply 3D Foam Strips around its edges trimming off as needed. Peel the liners off and place the vase on the card front
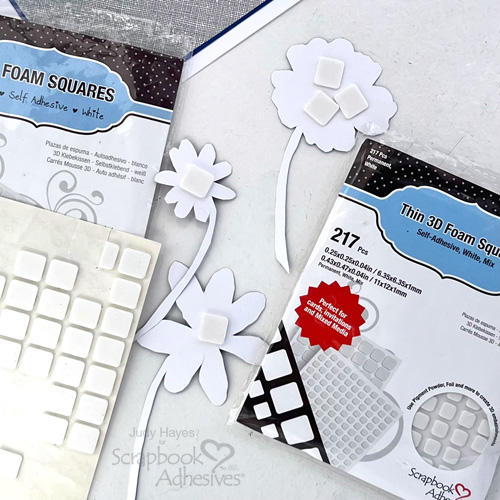
Attach the Funky Flowers
Apply Thin 3D Foam Squares White Mix to the blue flower and 3D Foam Squares White Mix to the back of other flowers. Arrange them on the card with stems in the vase, then tip back to peel the liners off, and press in place on the card.
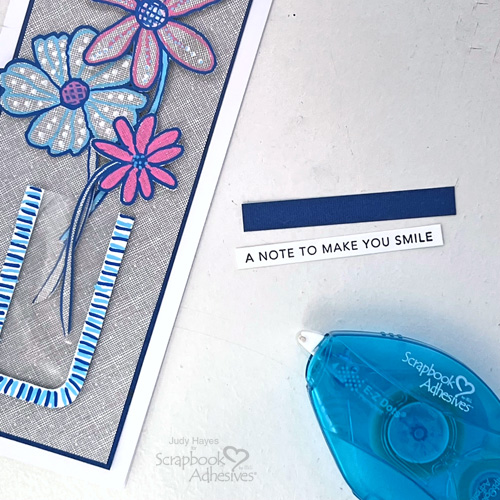
The Verse
Stamp a verse with black ink and use a coordinating die to cut a verse strip. Trim off notched ends. Cut a slightly larger mat from dark blue cardstock. Use E-Z Dots® Permanent Refillable Dispenser to apply adhesive to the back of the verse and fasten it to a dark blue mat.
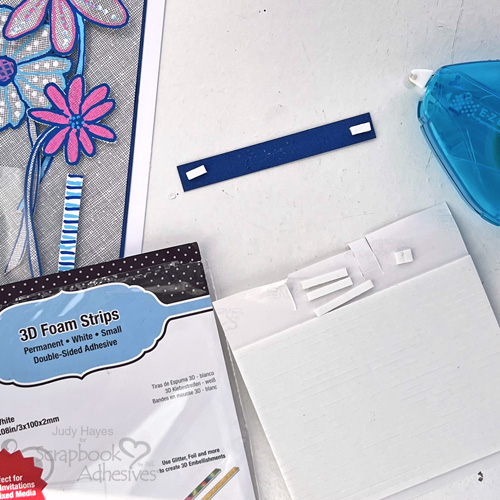
Apply small pieces of 3D Foam Strips at each end of the verse strip and apply adhesive at the center with E-Z Dots® Permanent Refillable Dispenser. Peel liners off from foam strips and attach the verse across vase on the card.
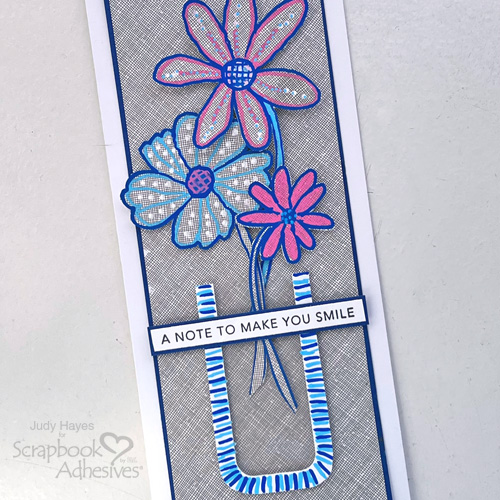
All that’s left is to send this sweet Mail Art Funky Flowers Card to someone to brighten their day!
Thanks for Visiting!
Judy Hayes
Creative Time: 30 mins
Skill Level: Beginner
Materials Needed
Scrapbook Adhesives by 3L®
- 3D Foam Strips
- Thin 3D Foam Squares White Mix and 3D Foam Squares White Mix
- Adhesive Sheets 4×6 inch
- E-Z Dots® Permanent Refillable Dispenser
Other: Imagine Crafts/Tsukineko (Versafine Onyx Black Ink), Posca Paint Markers ( Blue, White, Pink, Dark Blue), Taylored Expressions (Simple Strips Background, Simple Strips), Window Security Envelopes, Cardstock (White, Dark Blue)
Save to Pinterest!
Visit our Website and Blog!
Sign up for our Newsletter so you never miss a contest or giveaway!


