
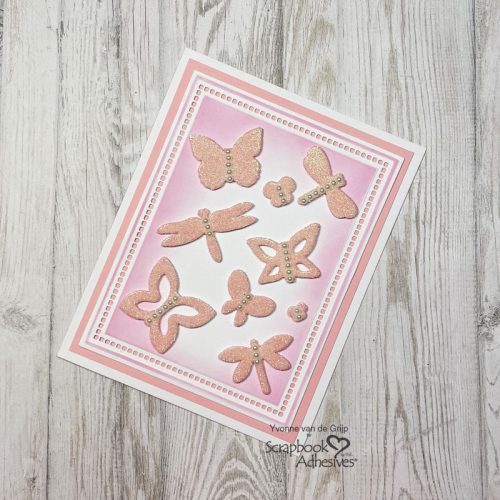
Hi everyone, Yvonne here! With Spring in mind, I made a spring-themed Glittered Butterfly Card. This card is super easy to create so also suitable for beginner cardmakers!
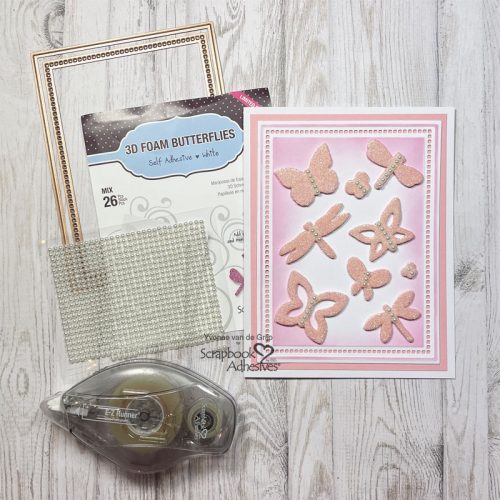
Adding a 3D effect has never been more simple than simply using 3D Foam Butterflies. Wanna join me in creating the card? Let’s get started!
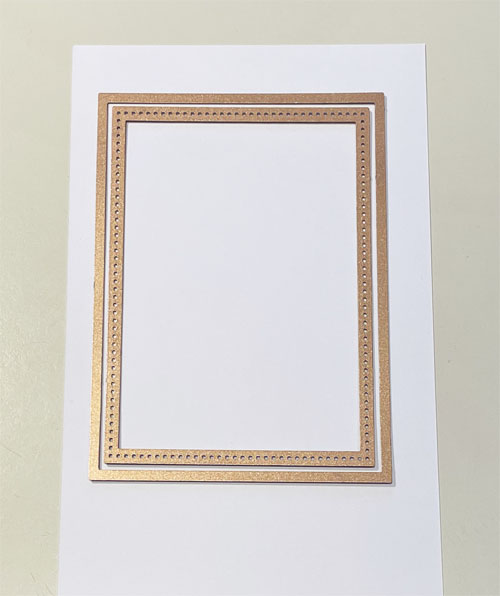
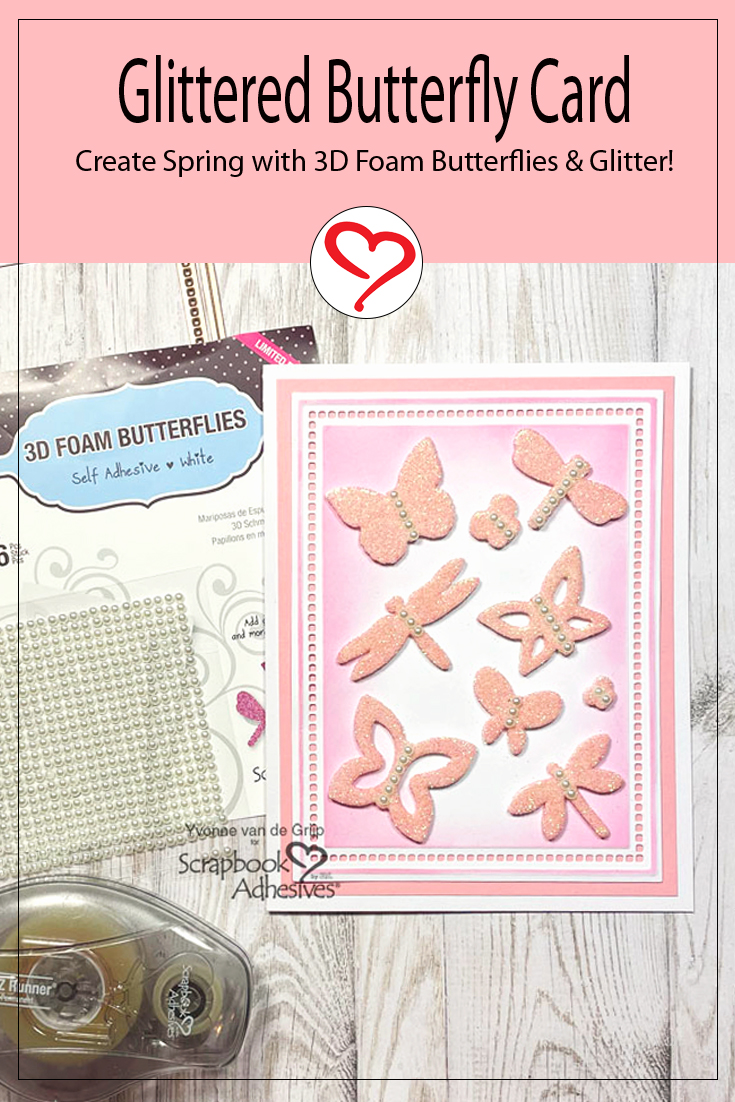
Glittered Butterfly Card Panel
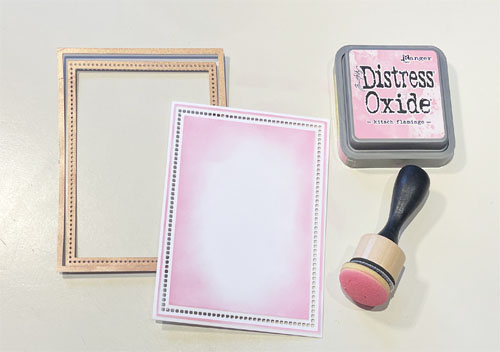
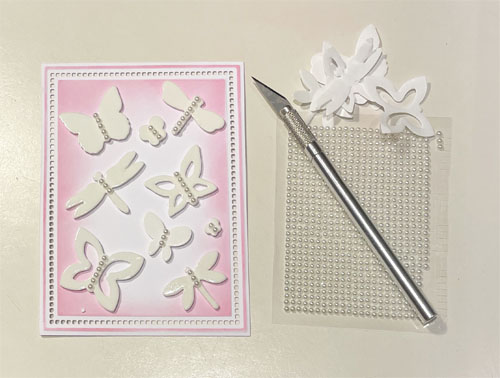
To create the top card panel for the Glittered Butterfly Card, nest two rectangular cutting dies, and die-cut from white cardstock.
Then leave the cut paper inside the die and color the edges with an ink blending tool and a pink ink pad.
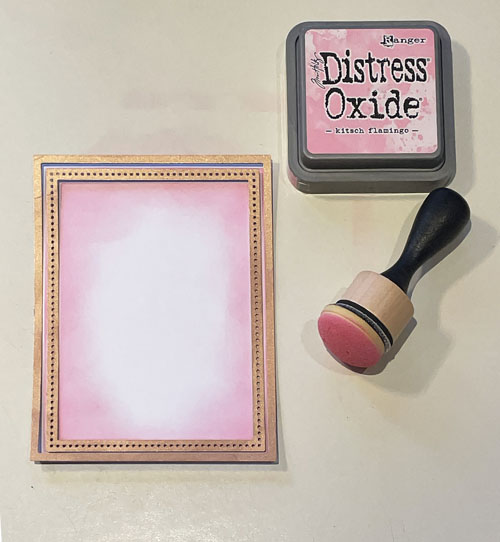
Now remove the dies and see a gorgeous pink coloring bordering around your card panel.
Wear Your Adhesive on the Outside with 3D Foam Butterflies and Glitter
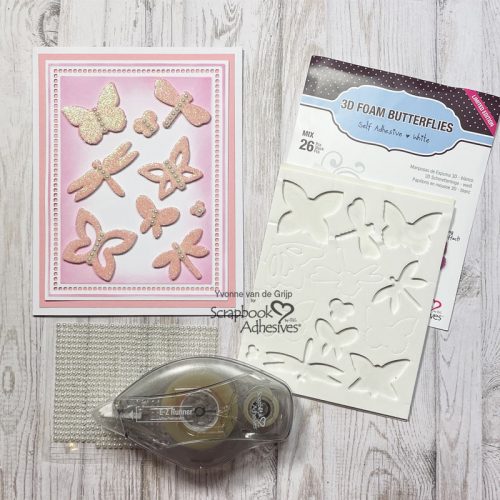
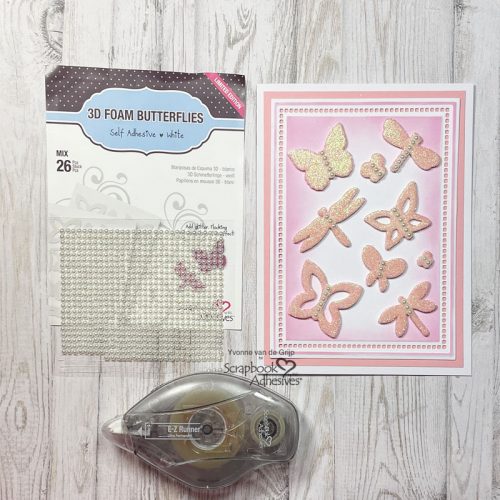
Now it’s time to add the dimension to the card. First, adhere 3D Foam Butterflies (and dragonflies) onto the inked card panel. By using 3D Foam Butterflies you create lovely dimensional embellishments. Carefully remove the top liner and adhere pearls onto the sticky foam butterflies and dragonflies. Next, sprinkle pink glitter all over, rub the glitter in to secure, and then tap off any excess.
Create the Card Base
Mat the card panel onto a pink panel with the E-Z Runner® Ultra Strong Refillable Dispenser. Add the layered panel to a white card base. And… voilá your Glittered Butterfly Card is ready! Yep..it’s that simple. Wishing you happy crafting!

Creative Time: 30 minutes
Skill Level: Beginner
Materials needed:
Scrapbook Adhesives by 3L®
E-Z Runner® Ultra Strong Refillable Dispenser
Other: Craft Die and Die-Cut Machine: Spellbinders® Paper Arts (Hemstitch Rectangles Etched Dies and Platinum 6 Machine); White and Pink Cardstock; Ink and Ink Blending Tool: Ranger Ink (Distress Oxide in Kitsch Flamingo); Pink Glitter; Self-adhesive Pearls; Scissors; Tweezers; Paper Trimmer
Save to Pinterest!
Visit our Website and Blog!
Sign up for our Newsletter so you never miss a contest or giveaway!


