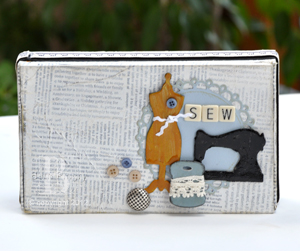
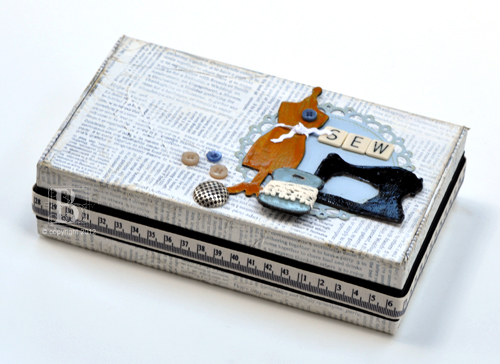
Today’s project is an altered paper box. I’m still on my sewing kick, even though I can hardly sew a button on…but at least I’m on trend, right? Here I have a tutorial for an altered Sewing Box. For other sewing inspired projects see my Spools of Creativity and My Idea of Housework Card blog posts.

 Creating the Sewing Box
For the box, I covered it first with Adhesive Sheets. Then I stamped an image onto tissue paper, crumpled the tissue paper and placed pieces onto the Adhesive Sheet covered box. I smoothed it down with my hands. To tone down the contrast I finished it with a wash of watered down white paint.
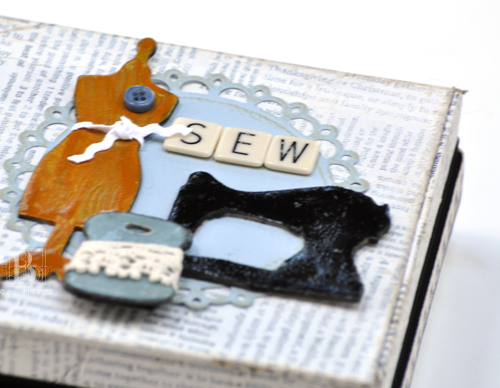
 The chipboard shapes were painted with crackle paint. I die cut the doily shape and adhered it with Adhesive Sheets. I added the crackle painted chipboard shapes with Crafty Power Tape and Crafty Foam Tape – Black. The letter tiles and button are adhered with Crafty Power Tape.
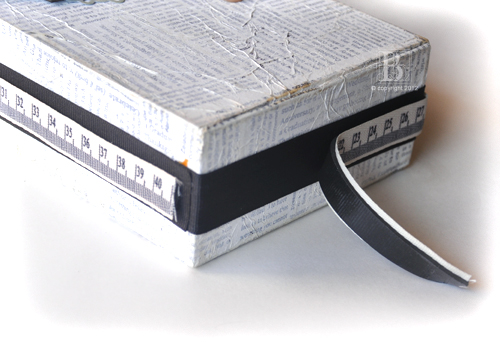
 I measured a length of black ribbon to fit around the box and secured it with Crafty Power Tape. I applied Crafty Foam Tape to the back side of the measuring tape ribbon and added it to the top of the black tape.
You can use Crafty Foam Tape to add dimension to ribbon, large items and so much more! Now in Black and White, you’ll find yourself reaching for the roll with every project!
Supplies used:
- SCRAPBOOK ADHESIVES BY 3L™: Crafty Power Tape, Crafty Foam Tape – Black, Adhesive Sheets
- Die Cut: Spellbinders Grand Calibur Machine, Picot Edge Circles die
- Cardstock: WorldWin Papers
- Stamp: Stampendous Dream Text
- Chipboard: Maya Road
- Paint: Ranger Ink Distress Crackle (Black, Gold, Blue)
- Ribbon: Creative Impressions (measuring tape), Black (from my stash)
- From my stash: Box, Buttons, Letter Tiles, Ric-Rac ribbon, Tissue Paper
Have a wonderful day!

By Maryann February 6, 2012 - 2:17 pm
I love the idea with the box here Beth, it looks really great and it´ll be a a great idea for a small gift to a sewing friend, that´s for sure. I love how it turned out here. Really great work, well done.