
Making your own luminary is easy with SCRAPBOOK ADHESIVES BY 3L™ and some wax paper from your kitchen pantry. In order to make this luminary, I adapted what is known as a 2-5-7-10 box. If you search the internet, you are sure to find directions to making a 2-5-7-10 box. For this project, I will explain what I did to adapt it so that you can make your own!

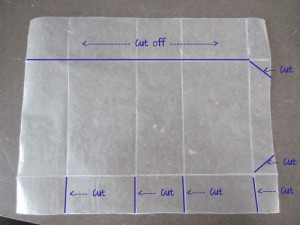
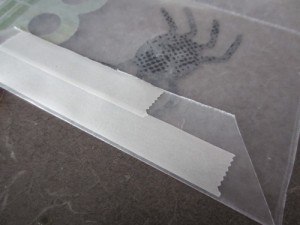
I started by cutting a piece of wax paper to 8 ½ x 11. Place the paper in landscape orientation, and from the left to right, score at 2”, 5”, 7” and 10”. Turn the paper vertically, and then score at 2” and 7”. Then, cut as noted in the photo:
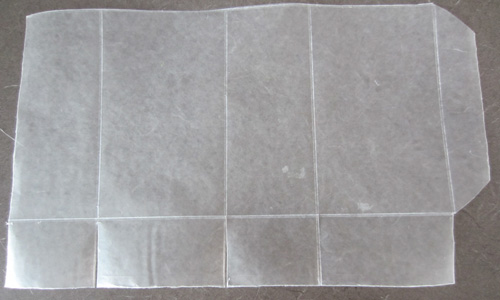
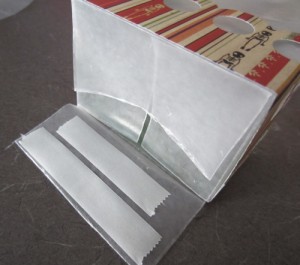
You should be left with something that looks like this:
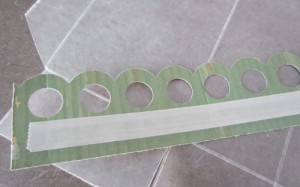
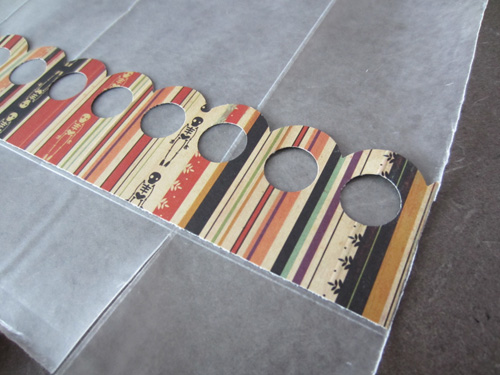
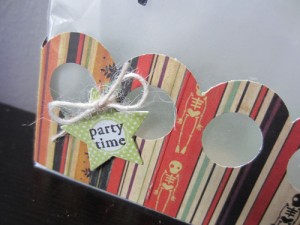
Next, I applied Crafty Power Tape to a strip that I had border punched. I adhered this to what will be the bottom of the bag. This will provide a little extra stability and help the bag to retain its shape.
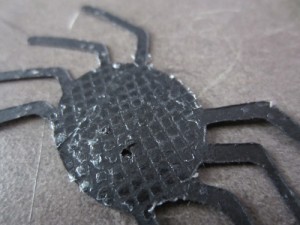
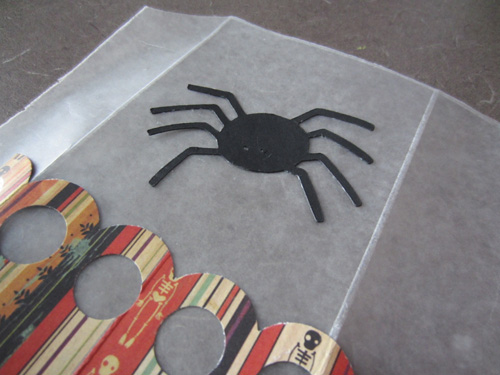
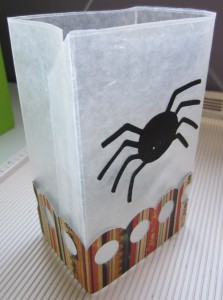
Then, before I assembled the box, I adhered the little spider decoration. I used the E-Z DOTS® Permanent to easily apply little dots of adhesive to those tiny delicate legs!
I folded up the box and adhered the flap with more Crafty Power Tape.
The last step is to close up the bottom flaps (yup, you guessed it! More Crafty Power Tape!!)
Once it is assembled it looks like this 🙂
The final step is to add a little tag to announce it is officially, PARTY TIME! Just slip a battery-operated tea light inside the luminary, turn it on, and you are good to go!!!
Happy Halloween Everyone!!
-Kristen Cohen
SUPPLIES
SCRAPBOOK ADHESIVES BY 3L: E-Z DOTS Permanent, Crafty Power Tape
Visit our Website and Blog!
Sign up for our Newsletter so you never miss a contest or giveaway!


By sandy October 18, 2011 - 11:40 am
so cute . . . would look great lined up down the driveway!
By Tanya Phillips October 18, 2011 - 6:22 pm
So cute! what a fun idea, my kiddies would love these!
By Cheryl (shestamps) October 19, 2011 - 5:20 pm
So cool! Thank you for the tutorial!