Hello everyone! Asia King here and today I have a card to share.
I subscribe to a UK’s stamping magazine that offers a small free stamp with every issue. When I recently saw this little Mackintosh-inspired rose stamp I immediately thought of stained glass windows. And I just had to have a go at creating a stained glass effect :).
I know you might first associate stained glass with Gothic cathedrals. But as I’m not too much of a ‘Gothic kinda gal’, I decided to put a shabby – chic – cottagey spin on it. Funnily enough, one of the inks I used is called Gothic Purple lol :).
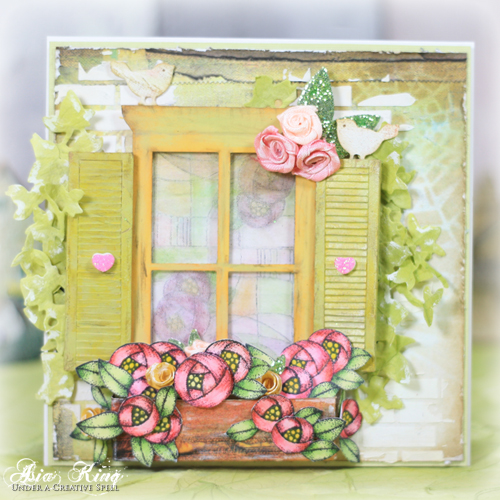
So I created a card with a stained glass window and cute shabby shutters. For the background I used a lovely patterned paper from 7Dots Studio which I embellished with some stenciling (with ink and structural paste) and adhered to the card base with MyStik® Permanent Strips.
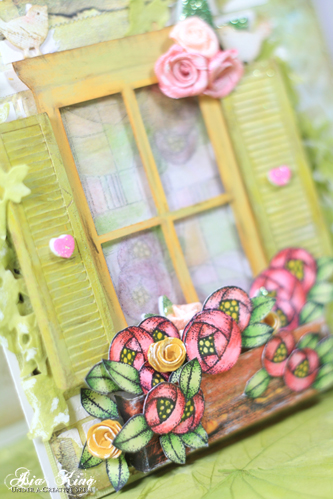
For the glass I stamped the image onto acetate with black StazOn ink and I used several StazOn colours to add colouring on the reverse side. Next I cut a window frame from cardstock and mounted it over the window pane, I mean acetate with E-Z Dots® Mini Permanent.
I fixed the window to the card with White 3D Foam Squares Regular and White 3D Foam Squares – Small. Then I added the shutters and fixed them in place with a handful of DODZ™ – 3D.
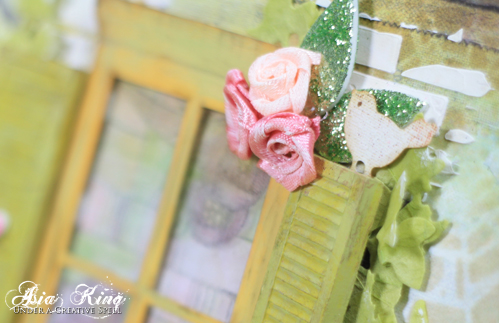
The top edge of the window was adorned with cute die cut birdies and fabric roses adhered with DODZ™ – 3D and White 3D Foam Squares – Small. I also added a couple of 3D Foam Leaves covered in glitter.
The shutters were painted with different acrylic paints, rubbed off in places for shabby cottage look. I also added cutest ever handles using twee hearts from 3D Foam Cupcakes set covered in glitter.
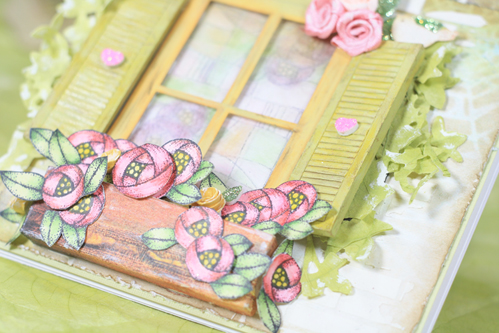
Finally I created a little window box and I filled it with the same stamped blooms coloured with watercolour pencils and alcohol markers. To build the box I used White Crafty Foam Tape and to build the layers of flowers I used DODZ™ – Small and White 3D Foam Squares – Small. I also tucked in some glittered leaves made from rain drops in 3D Foam Garden Shapes.
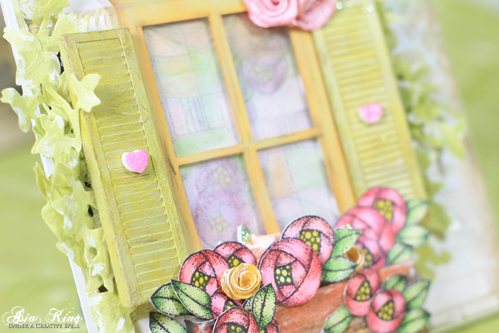
As no respectable period cottage could go without a creeper of some sort, I added a die cut ivy behind the shutters, mounted over Black 3D Foam Squares – Regular. The gaps between the ivy vines reveal some dark areas from the foam squares which created an illusion of shadows.
Supplies:
E-Z Dots® Mini Permanent, MyStik® Permanent Strips, White 3D Foam Squares Regular and White 3D Foam Squares – Small, Black 3D Foam Squares – Regular, White Crafty Foam Tape, DODZ – 3D, DODZ – Small, 3D Foam Leaves, 3D Foam Cupcakes, 3D Foam Garden Shapes.
Other Supplies:
Stamp – Craft Stamper Magazine, July 2014 free stamp; Papers: 7Dots Studio Dreamer Collection and Bazzill Basics Paper; Stencils – brick stencil, Tim Holtz Shutter; Cutting Dies: Marianne Design CR1213 and LR0205, Wendy Vecchi – Blossom Bucket – Shutters
Inks: Imagine Crafts StazOn Claret, Gothic Purple, Cactus Green, Cherry Pink, Mustard, Jet Black, Memento Tuxedo Black; Colouring: STAEDTLER ergosoft® aquarell pencils, Spectrum Noir markers, DecoArt Americana paints.
Glitters: Stampendous Pink Micro Glitter, Sea Green Ultra Fine Jewel Glitter
I hope you enjoyed reading about my little shabby cottage! Thanks for stopping by and see you again soon!
Big crafty hugs


By Lisa S July 27, 2014 - 9:34 am
So many wonderful details to enjoy! I love this stamp and it’s colored beautifully. The mixed media background looks amazing and the colors are so pretty together. Glad you opted for a shabby look. 🙂