
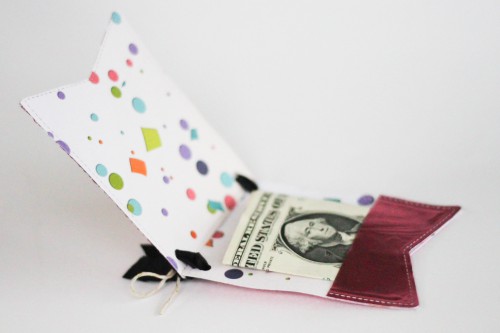
Hello, Latisha here. I have been experimenting with metals (metal/aluminum sheets) the last few days. I’m not going to lie, metal sheets are a little hard for me to work with, so playing with this type of material, helps to stretch my creativity. I made this super cute money or gift card holder.
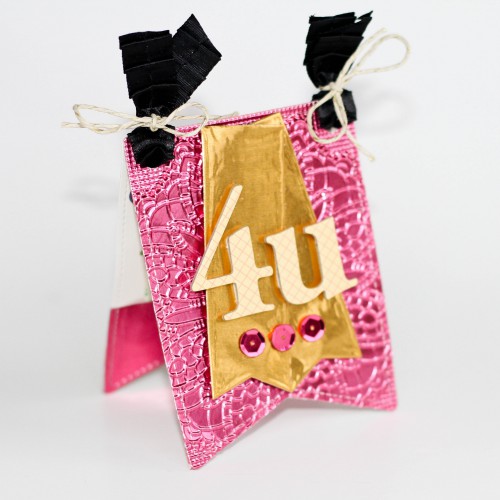
Using metal sheets, dies, a few embellishments and adhesives that I thought would work well with this kind of material, I made this bright & shiny money holder/gift card.
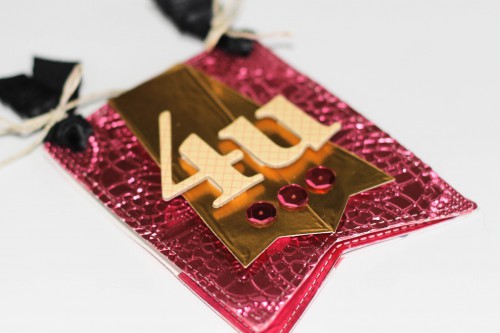
How to Make the Metal Money or Gift Card Holder
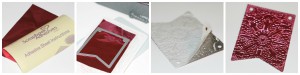
1. Trim metal sheet to size (so there is no waste) and cut an Adhesive Sheet the same size.
2. Adhesive Sheets are double sided, so carefully peel off the yellow top, and adhere it to the back of the metal sheet.
3. Die cut the metal sheet.
4. Die cut a piece of double sided pattern paper using the same die (you will need 2 of these).
5. Peel off the adhesive sheet protector on the back of the metal diecut, and adhere is to the pattern paper.
6. Diecut another piece of metal. Cut the bottom off so its around 1 1/2 inches tall.
7. Using Crafty Power Tape, place two strip on the back of the cut metal die cut.
8. Adhere to the remaining paper die cut.
9. Using a smaller banner die, die cut 2 yellow metal banners. Place 3D Foam Squares on the back, and adhere to the front embossed die cut.
10. I used old alphabet chipboard letters that lost its adhesive, so I placed 3D Foam Squares on the back of the letters. I had to trim the squares a little using scissors.
11. Apply sequins to the card front using Adhesive Dots Small.
12. Add ribbon and twine to secure the two pieces.
Materials Used:
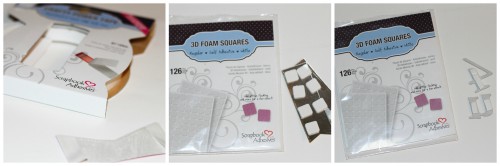
- Scrapbook Adhesives by 3L 3D Foam Squares
- Scrapbook Adhesives by 3L Crafty Power Tape
- Scrapbook Adhesives by 3L Adhesive Dots Small
- Scrapbook Adhesives by 3L Adhesive Sheets
- Lawn Fawn Stitched Banner Dies
- Lawn Fawn 4×6 Stitched Borders (small banner)
- Lawn Fawn gold/natural twine
- Lawn Fawn sequins
- May Arts ribbon
- Spellbinders Celebrations pattern paper
- scissors
- Spellbinders Doily Art embossing folder
By Deborah S August 13, 2014 - 1:16 am
Love this card and wonderful idea I love the look of metal but it does take awhile to get used to I think you did an awesome job thanks for sharing the steps!