
Hello Blogosphere! It’s Tiffany here today with a photo tutorial. I have absolutely fallen in love with all things Hazel & Ruby and found myself with a bunch of leftover tissue paper from another project, so I started thinking! Is there an easier way to adhere this tissue paper…. And, there is!
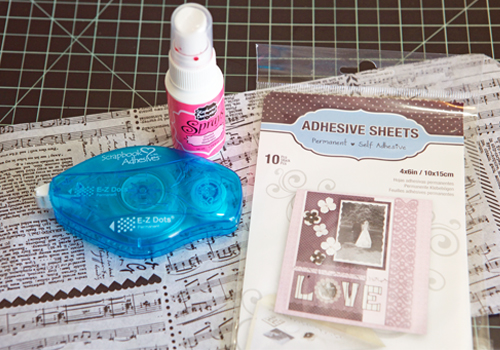
To begin, you need the following Scrapbook Adhesives by 3L®: Adhesive Sheets 4″ x 6″, E-Z Dots® Permanent- Refillable. I’m also using Hazel & Ruby’s Ephemera Collage Pass the Tissues & Chalk Art Stencil Masks, Colorbox Spray Ink (bubblegum), and Pebbles 6″ x 6″ patterned paper by Jen Hadfield.
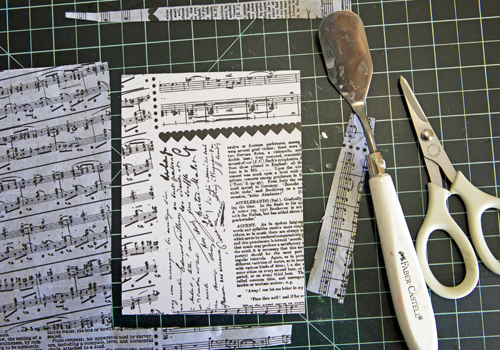
First, take your cardstock (3 1/4″ x 5″) and apply the adhesive sheet adhesive. I removed the little bit on non-stick sheet on the side so that the entire thing could fit. Then, you burnish the cardstock by rubbing back and forth. This ensures that every bit of the cardstock is covered in adhesive.

Then you apply the tissue paper, working one corner to the next. Burnish the tissue paper into the adhesive & cut excess.
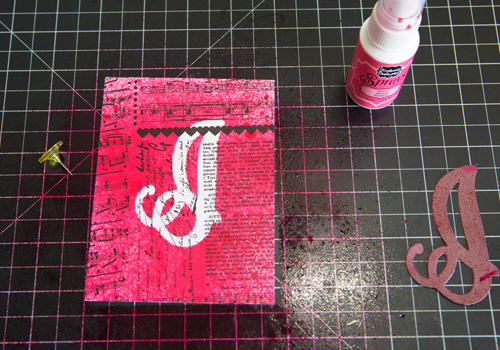
Now, you can apply your stencil mask & spray with any spray ink.
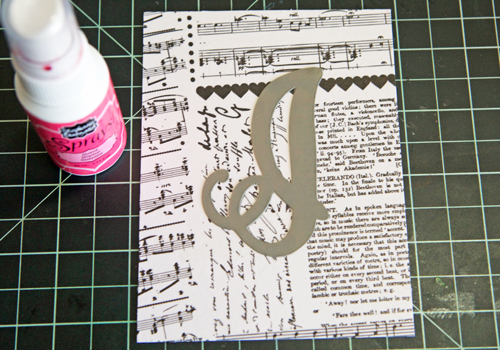
Remove the stencil mask with a thumb tack & allow time to dry.
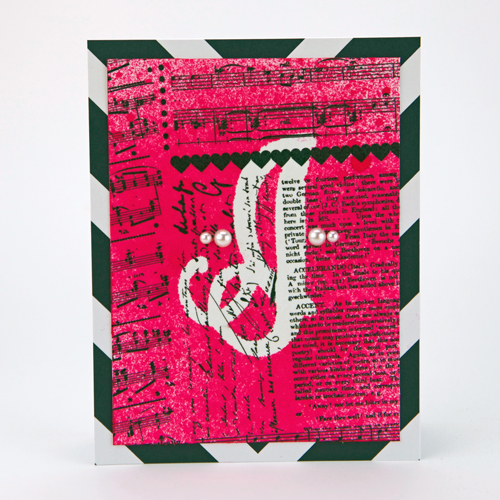
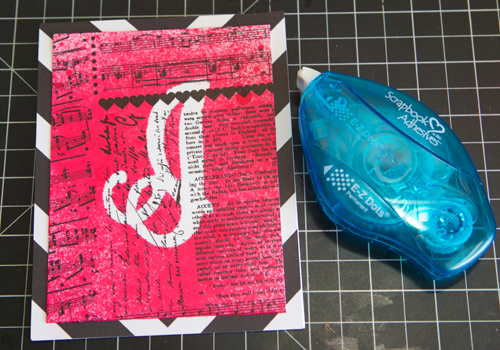
Once dry, adhere it to your card base using the E-Z Dots® Permanent-Refillable.
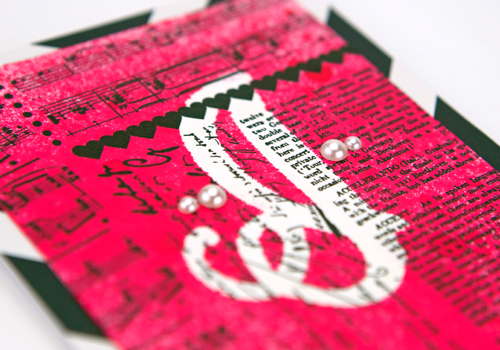
Then, you can add whatever embellishments you have!
Thanks so much for stopping by,

Scrapbook Adhesives by 3L®: Adhesive Sheets 4″ x 6″, E-Z Dots® Permanent- Refillable
Other: Hazel & Ruby (Ephemera Collage Pass the Tissues, Chalk Art Alpha Stencil Masks), Pebbles Patterned Paper by Jen Hadfield 6″ x 6″, white cardstock (3 3/4″ x 5″, A2 cardbase)
By Deborah S August 25, 2014 - 10:06 am
What a pretty card and I like that you used left overs to make it. I also Ike the way you used the spray and the stencil gives it a great effect love it!