
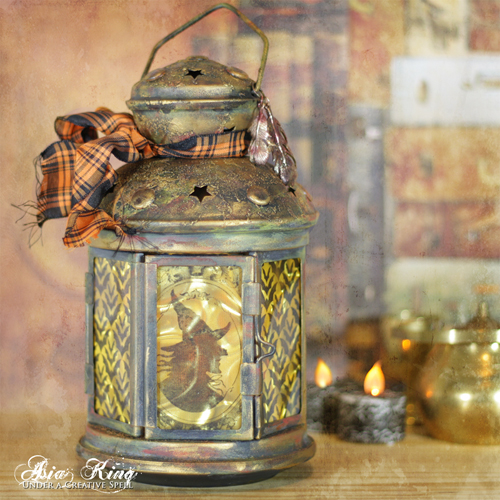
Hello everyone! It’s Asia here and today I am sharing a Halloween lantern project I had soooo much fun making. I couldn’t keep all this fun only to myself so I prepared a tutorial for you as well.
I’ve had this lantern for years and most recently kept it in the garden. Unfortunately during the recent winds the lantern fell, breaking some of the glass panes. It was a perfect excuse to put my hands on it and do some creative Hocus Pocus with my lovely media and favourite adhesives.
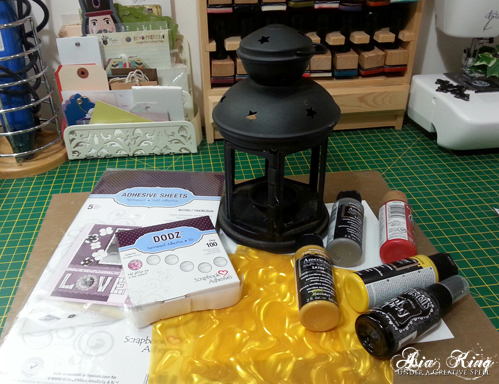
Preparing the Lantern Base
First you will need to prepare your lantern to be altered, gather Adhesive Sheets 6″x12″, Adhesive Dots 3D, embossing powder and your paints.
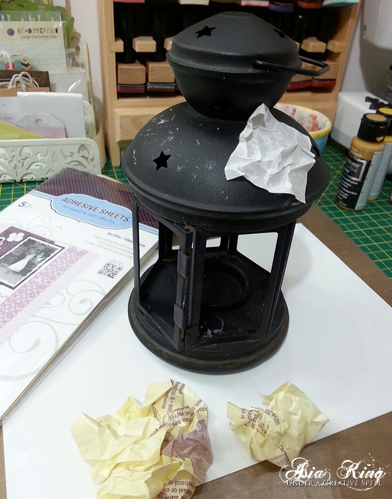
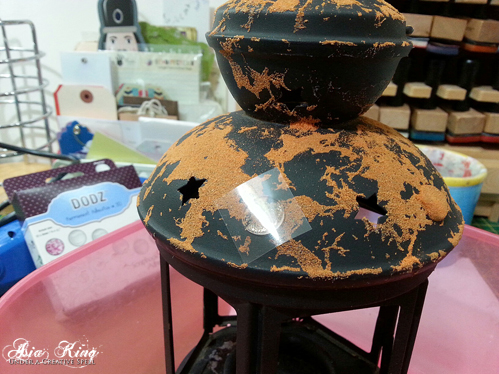
1. Tear a few pieces of Adhesive Sheets 6″x12″ and crumple them in your hands. Peel off the yellow backing sheet and apply the adhesive randomly all over the lantern. Repeat until you are happy with the amount of adhesive transferred.
2. Sprinkle the embossing powder all over the adhesive and brush off the excess.
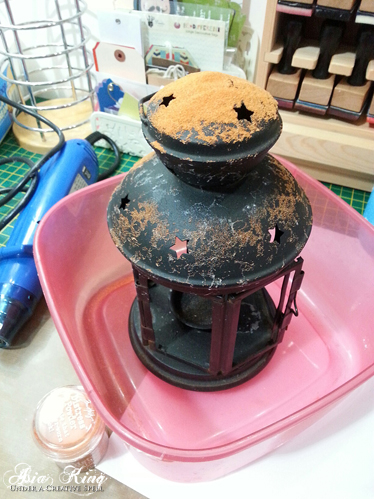
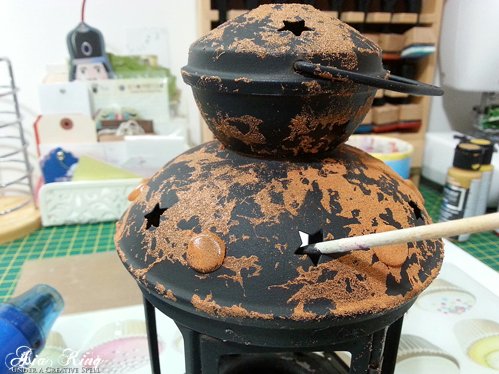
3. Add Adhesive Dots 3D around the domed parts to mimic metal rivets. Cover with the embossing powder.
4. Heat the powder with a heat tool. Use a wooden stick to rotate the lantern during the heating process – do not touch the lantern with your fingers until it had time to cool down. When the powder cools down, rub it off gently to get a gritty, distressed texture.
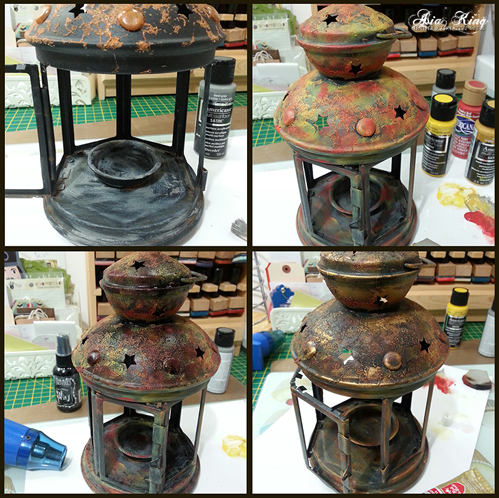
5. Now the messy part. First dry brush some Steel Grey paint for an ash dusty look. Next randomly apply School Bus, Muted Gold and Country Red with a piece of foam all over the lantern. Next spray the lantern with Black Marble and Butterscotch sprays. Heat set. Finally apply Rub’n Buff with your finger all over the piece, more in some places and less in others. Use it to highlight any raised and textured parts.
Creating the Panes
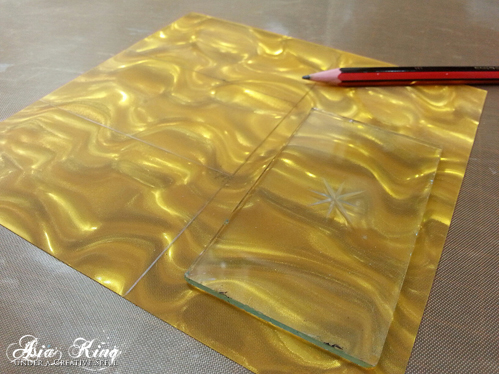
7. Using one of the ‘surviving’ glass panes as a guide, draw outlines for the inserts on your illusion film (be careful when handling the glass in case there are any sharp edges). Cut out the required number of inserts with a Stanley/craft knife.
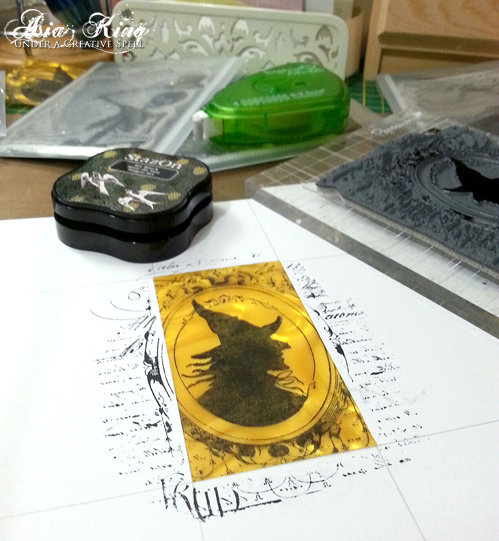
8. As I was going to use collage style stamps, to ensure clean, precise stamping onto my film inserts, I first prepared a stamping guide by drawing extended lines along each edge of the insert. I used the lines as a guide for positioning of the stamp, so the stamped impression included the intended part of the image. Before stamping I secured the inserts within the guide lines with E-Z Dots® Repositionable.
9. Stamp the panels with Halloween images using black StazOn ink.
10. Next fill the inner edges of each side/frame with Thin 3D Foam Squares Black. Cut them into smaller pieces where necessary.
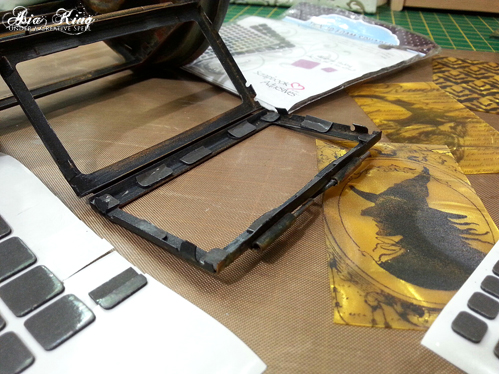
1. Peel off the protective layers from the foam adhesive and place the stamped images over them and into the frames’ recesses.
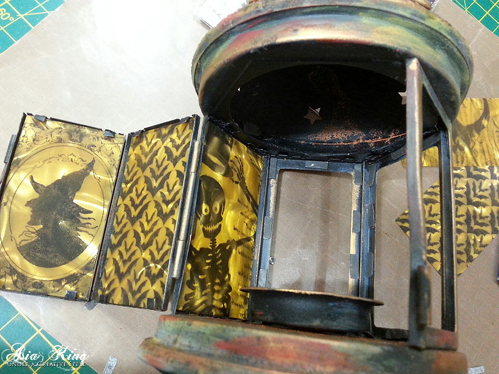
Here’s the lantern fully assembled.
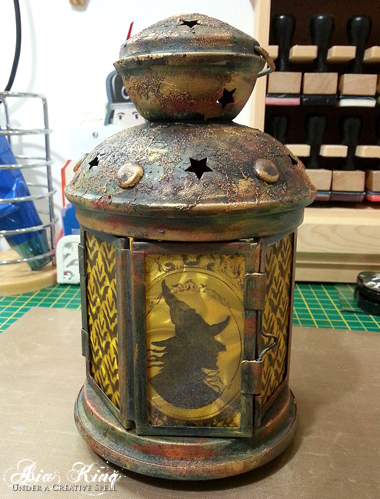
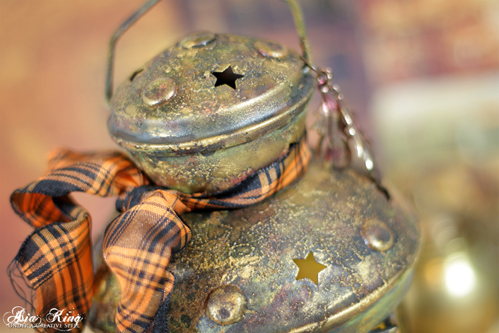
12. You can leave it as it is or add further embellishments. I added a Halloween looking ribbon around the neck and some metal feathers, coloured with alcohol inks for an aged look. The photo below shows the close up detail of the lovely texture you can achieve with your Adhesive Sheets and Adhesive Dots 3D.
And here you can see the lantern lit up as part of my Halloween decor. I love the light effects on the illusion film!
Scrapbook Adhesives by 3L® Supplies:
Other supplies: Stampendous stamps: Mirror Mirror, Raven Background, Skeleton Poem, Damask Bats Media: DecoArt Americana Country Red, DecoArt Multisurface Satin in Muted Gold, School Bus, Steel Grey; Ranger Butterscotch Color Wash, Dylusions Black Marble Ink Spray, Rub’n Buff Grecian Gold, Jet Black StazOn ink, Spiced Marmalade Distress Embossing Powder. Rowlux Illusion Film Gold Moire; metal lantern, ribbon (May Arts), metal feathers/embellishments.
I hope you’ve enjoyed today’s tutorial. Please also visit my blog if you’d like to see more of the close up pictures for this altered Halloween lantern.
Happy Halloween everyone!

Let’s Connect!
By Lisa S October 28, 2014 - 9:51 am
This is brilliant Asia! Love how you did the panels. 🙂 It’s superb and I’m off to Pin it now for future inspiration!
By Asia King October 28, 2014 - 6:18 pm
Thank you so much Lisa! <3
By Arlette Ventura October 28, 2014 - 11:53 am
What a beauty!!!! Love, love, love it!! 🙂
By Asia King October 28, 2014 - 6:19 pm
Thank you Arlette! I’m glad you like it! 🙂
By Margie Higuchi October 28, 2014 - 7:38 pm
This project is AMAZING~! Loved your tip about the Adhesive Sheet application – so clever!
By Viki B October 29, 2014 - 2:35 am
What an awesome tutorial. I love your metal treatment. So inspiring!
By Pat Wilkinson October 29, 2014 - 2:52 am
This is fabulous Asia. The effect on the metal lantern is superb
By Asia King October 29, 2014 - 2:55 pm
Thank you so much Ladies for your lovely comments 🙂 🙂