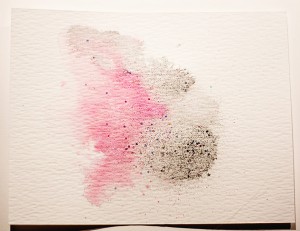
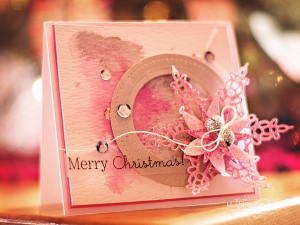
Good morning! Michele here! It is hard to believe that Christmas is just a couple of weeks away! Are you making your Christmas cards? I try to make a pretty good stash of them for the teachers, bus drivers, and some of the gals I work with. I am not really a mass producer of cards. For me, each one is unique and different. I was playing around with watercolors and produced this pretty background in silver and pink.
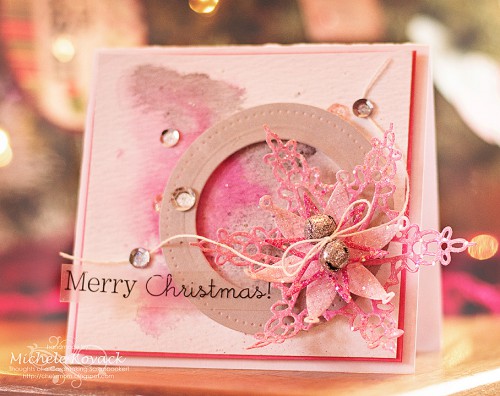
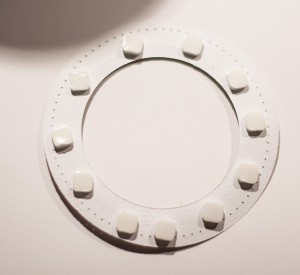
I wanted to make sure the background was visible so I die cut a circle popped up with 3D foam. I added some pretty glittery snowflakes, jingle bells, sequins, and a sentiment.
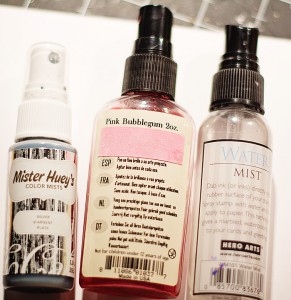
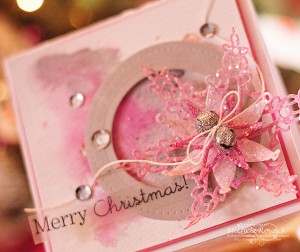 Here is a run down of how I created my card. 🙂 I grabbed a piece of watercolor paper. ( I used Tim Holtz 4×6 paper precut) I spritzed it with water then spritzed the pink and silver. I moved it around a bit until I was happy with the colors placement.
While the paint was still wet, I sprinkled a bit of glitter. Believe it or not, it actually sticks!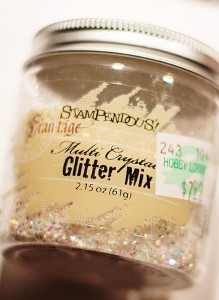
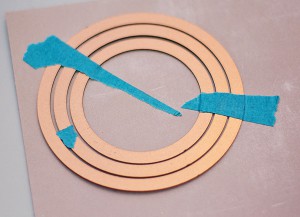
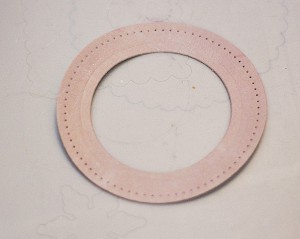
To create my circle I grabbed 3 Spellbinders dies. The center one only embosses, it doesn’t cut.
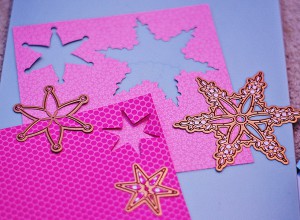
Then I cut 3 layers of snowflakes using various shades of pink paper. I used glossy accents on each and sprinkled it with a coarse clear glitter. The snowflakes, once dry, were stacked and held together using DODZ Adhesive Dots Small.
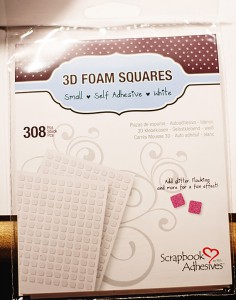
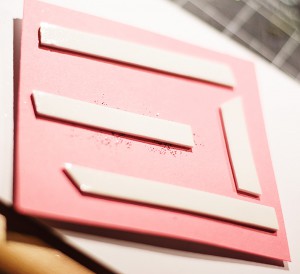
When I layered my card, I love having depth and dimension, so I grabbed my trusty 3D Foam Squares.
I lined the backside of the circle with them and placed it directly on my water color paper
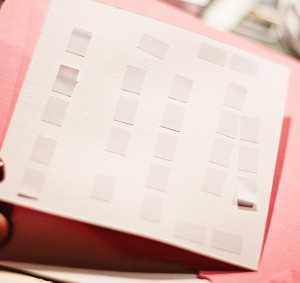
I then used E-Z Squares® to adhere the water color paper to pink card stock.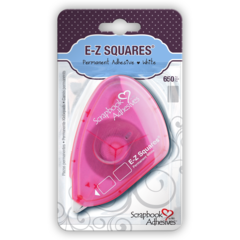
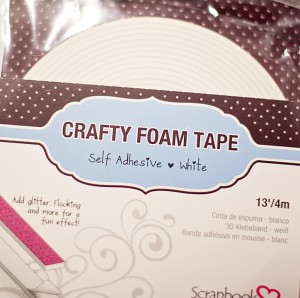
And last but not least I used the Crafty Foam Tape to adhere my watercolor/pink cardstock to the card’s base.
Here is another look at my finished card!
Thank you for popping by!
Supplies:
Scrapbook Adhesives by 3L
Crafty Foam Tape-white
E-Z Squares®
DODZ Adhesive Dots Small
3D Foam Squares Small White
Other Supplies:
watercolor paper
Spellbinders: Circle die cuts, Snowflake die cuts
Sticker
Sequins
Stampendous Glitter
Color Mists – Mr. Huey, Tattered Angels, Hero Arts
Jingle bells

