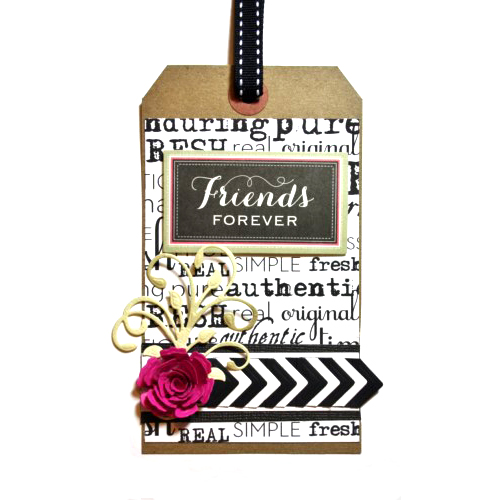
Happy New Year! It’s Christine, today I have a tutorial for a chevron design on this Friends Forever Tag. A New Year tends to make you reflective and I’ve certainly had a year where I’ve needed my friends. It’s nice to tell them occasionally how much you value them and for my best friend a handmade tag on a gift is perfect!
Creating the Chevron Design
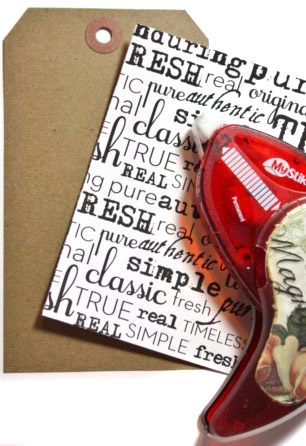
First of all I selected a kraft tag and using MyStik® Permanent Strips I cut and adhered a piece of patterned paper to the front.
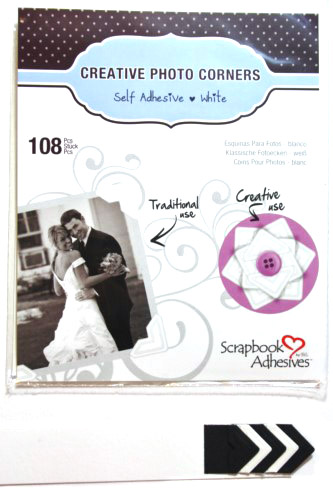
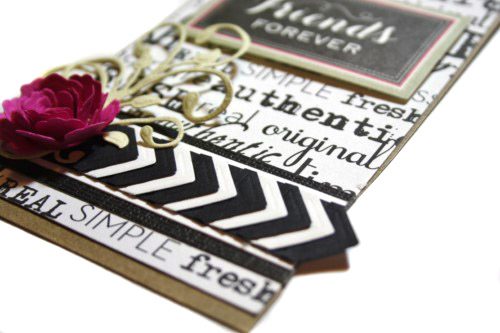
Onto a strip of white card I alternated Creative Photo Corners Black and Creative Photo Corners White to create an arrow/chevron effect.
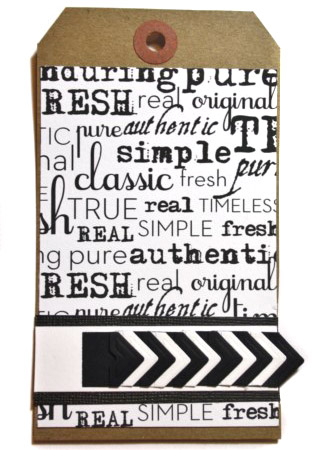
I then mounted this onto a strip of black card and positioned it towards the base of my tag.
For the finishing touches I added Sprigs die cut and Bitty Blossoms flower and the sentiment is affixed with 3D Foam Squares White Regular.
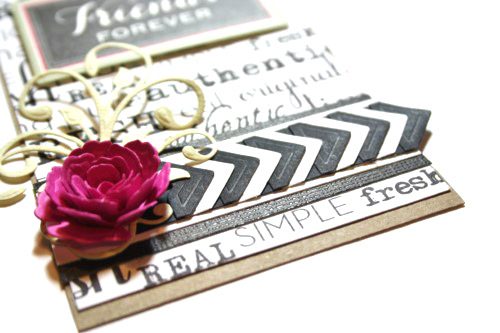
Another close up picture, alternating the color of the Creative Photo Corners looks so effective.
Thank you for stopping by today and Happy New Year.
- Creative Time: 30 Minutes
- Skill Level: Beginner
Supplies used:
- Scrapbook Adhesives by 3L®: MyStik® Permanent Strips, Creative Photo Corners Black, Creative Photo Corners White, 3D Foam Squares White Regular
- Canvas Corp Black and White Fresh Words – Paper
- Spellbinders® dies: Sprigs, Bitty Blossoms
- Anna Griffin – sentiment embellishment
- Ribbon, black, white and pink cardstock

By Susie Draper January 2, 2015 - 11:13 am
What a great project. I love the banners the best.
By Elaine January 2, 2015 - 12:17 pm
Christine this is stunning. I love what you have done with the corners x
By D~DesignsByDragonfly January 2, 2015 - 3:20 pm
OMGosh your tag is wonderful. I love how you created the deco with the photo circles. I so totally need to get mine out to play. Thanks for sharing.
Crafty hugs,
D~
DesignsByDragonfly.blogspot
By Lucycat January 2, 2015 - 4:30 pm
Christine, Great tag,I love what you have done, the photo corners look really good,
Thank you for your ideas.
By Mrs B January 3, 2015 - 2:04 am
Hi Christine. I love the tag, so easy to make but looks beautiful. The photo corners make great chevrons : ) Take care.
By Laura O Connor January 3, 2015 - 4:23 am
great tag Christine ,love your work so simple in style,Laura O
By Kathy C January 3, 2015 - 11:16 am
Love your tag. Another inspirational design.
Kathy C
By Barbara Swavely January 3, 2015 - 7:47 pm
Tag is cute, great work!
By Project: Friends Forever Tag – Stamping January 10, 2015 - 8:30 am
[…] This pretty tag has such a cool chevron embellishment and guess what it’s made of? Photo corners…how clever is that?!? The Scrapbook Adhesives blog shows how to line up alternating black and white photo corners for a unique embellishment, click here for more details. […]