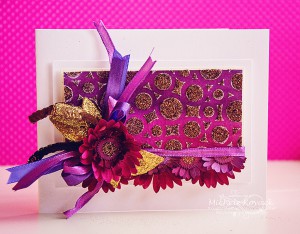
Hi! Michele here with a tutorial on how I created my card today. I have been loving my water colors so much, that lately that seems to be the medium I turn to most! With the addition of a few of my favorite adhesives, a bit of glitter, texture paste, and flowers, I have a card all ready for spring!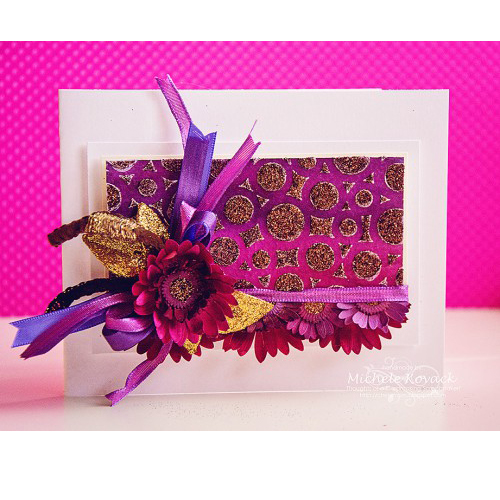
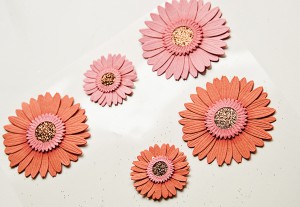
I had these flower stickers in my stash and wondered if I could color them. (Because I have literally water colored everything in sight lately!) Well, the answer to that is a resounding YES!
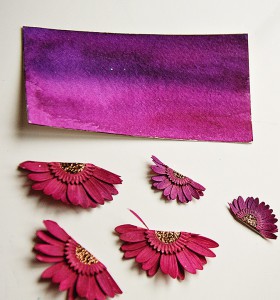
I water colored a background and then cut my flowers in half. Crazy I know! But this weirdo brain of mine had a plan! 😉
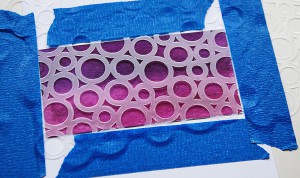
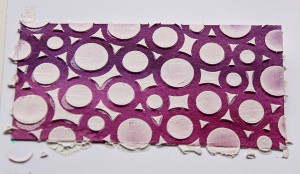
But first, I wanted to break up the purple a bit, so I pulled out a circle stencil and swiped some texture paste over it.
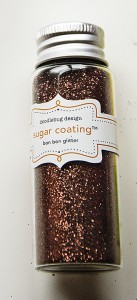
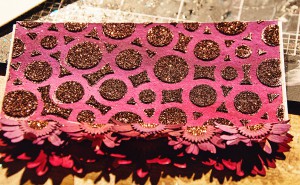
While the paste was still wet, I sprinkled some bronze glitter, wiped the edges a bit, and set it aside to dry.
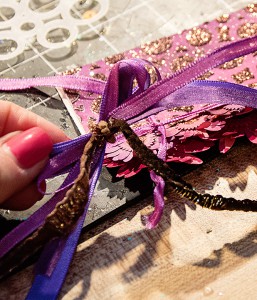
Once dry, I wanted to adhere my cut flowers and create a trim for the bottom of my water colored/glittered panel using those 1/2 cut flowers.
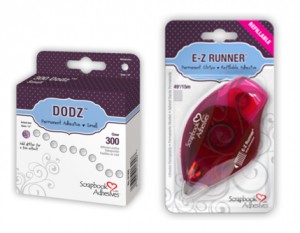
I adhered them using my Dodz™
I tied various shades of purple ribbon and adhered those with my Dodz™ as well.
The water color panel was adhered to a piece of white card stock using my E-Z Squares®
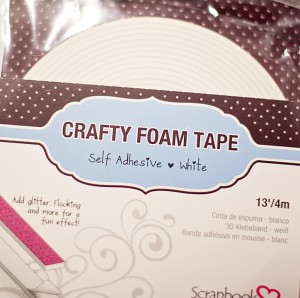
Then that panel and an additional white panel were adhered to the white card stock using my Crafty Foam Tape. I wanted the card to look a bit like framed artwork.
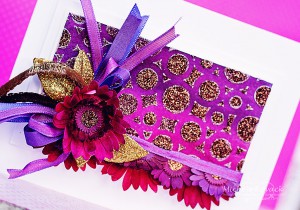
Here is one last look at my finished project.
I hope my card brought a bright spot to your day! 🙂
Supplies
- E-Z Squares®
- DODZ™ Small
- Crafty Foam Tape
- Peerless Watercolors
- Ribbon
- Texture paste
- Gold leaves
- Bronze glitter
- Flower stickers
- Card stock

By Rebekka K March 11, 2015 - 8:47 am
As I said on your blog; WOW..This is stunning.