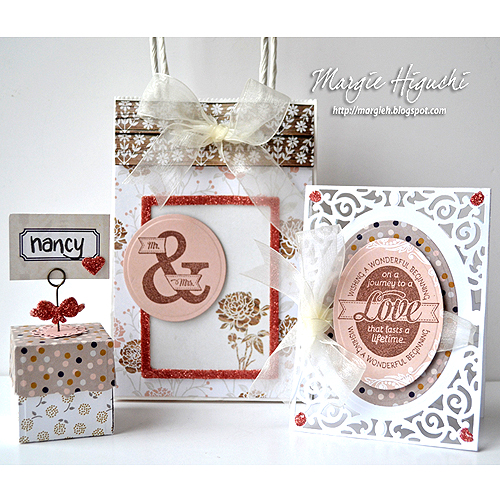
This time of season we are into the wedding events. I just got back from watching my sweet friend’s daughter getting married last weekend! Congrats Ally & Jon!! With that in mind, I created a wedding ensemble using 3D Foam Shapes that I hope will help to inspire in an upcoming event.
I am sharing some of the highlights with you in each of the pieces I created in this ensemble…
Wedding Shaped Card
I cut and embossed the pieces used for the card from various die templates. The smallest oval I stamped the sentiment onto patterned paper and then placed the die over to cut/emboss.
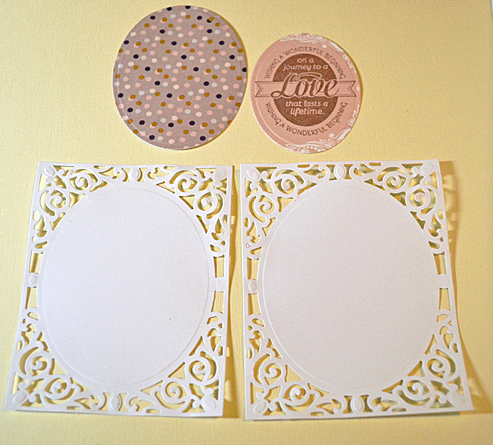
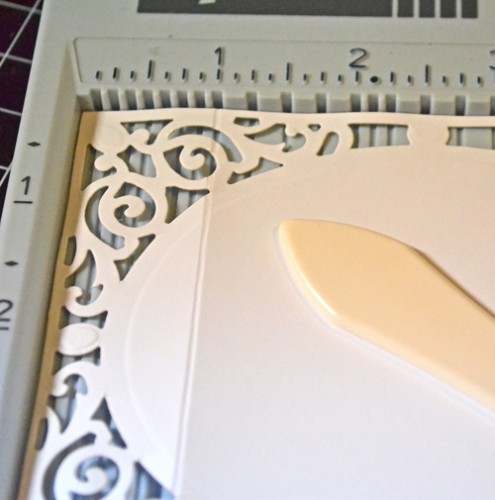
Scored 1″ from the top of the largest frame die cut (this will be the back of the card base).
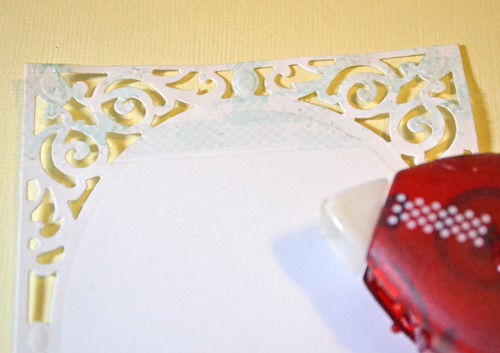
I applied E-Z Dots® Permanent in the scored area only. This will act as a hinge to create the shaped card. Placed the matching die cut over it to create one shape.
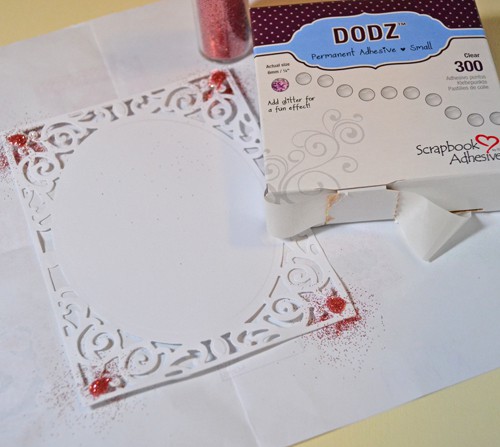
I placed one Adhesive Dots Small on each corner and sprinkled glitter on top. Gently press down the glitter and shake off excess. You just created sparkly embellishments! Assemble card by stacking die cuts with 3D Foam Squares and tie a bow with organza ribbon.
Wedding Gift Bag
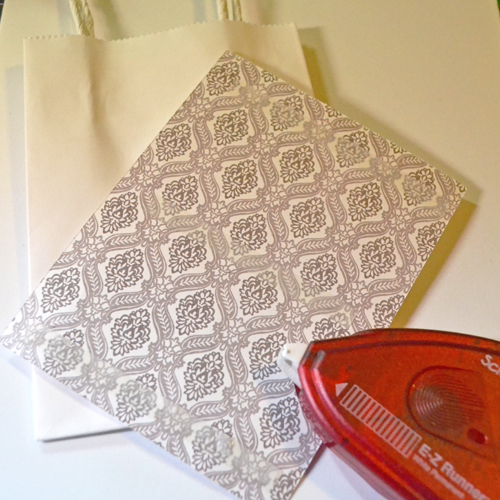
Cover the front with patterned paper, using E-Z Runner® Permanent Strips.
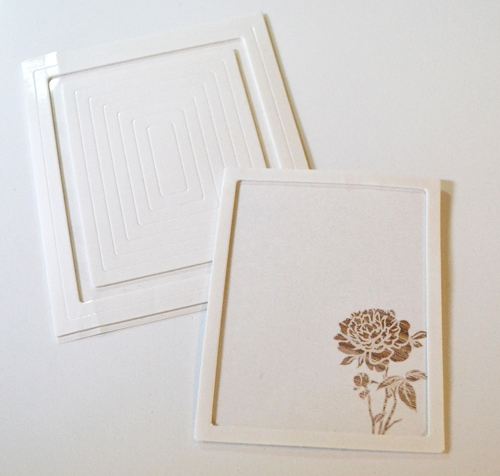
Cut a piece of patterned paper to fit the largest 3D Foam Frames and place the frame on top of the paper. Take the liner off and sprinkle with glitter. Shake off excess and place a stamped circle die cut on the left side of frame with a 3D Foam Square Black Regular to balance.
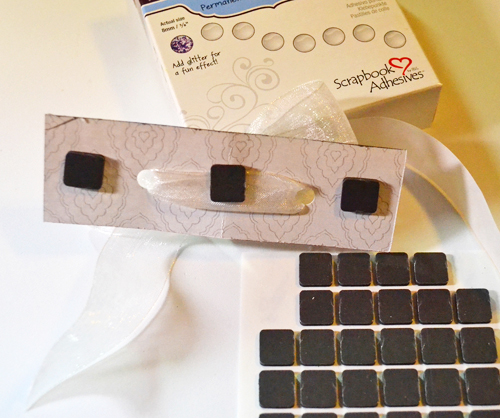
Cut a piece of patterned paper to fit the top of bag (think border or band), punch a hole 1″ from the end on each side, thread organza ribbon through and tie a bow. Next, ink edges and adhere on top of bag with 3D Foam Square Black Regular. Add the embellished frame sentiment to finish.
Wedding Boxed Place Card
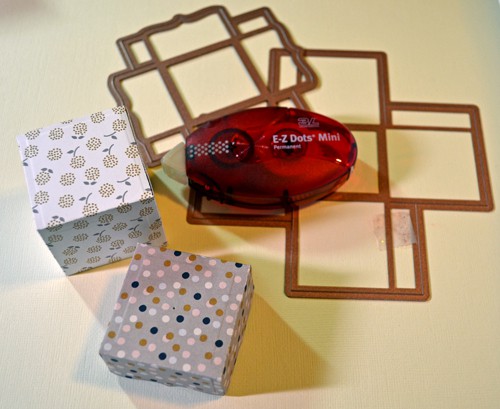
Assemble the box from die template with E-Z Dots® Permanent.
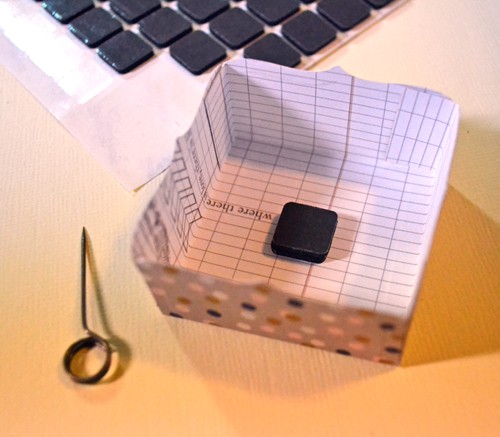
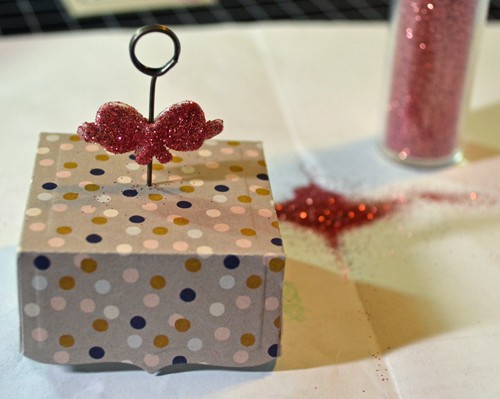
Poke a hole in the center of the box top with a memo pin and stack two 3D Foam Squares Black Regular inside. Set aside.
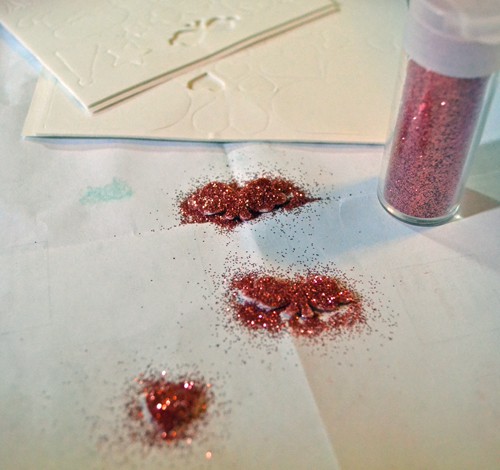
Sprinkle glitter on two bows from the 3D Foam Party Shapes and one small heart from the 3D Foam Hearts sets.
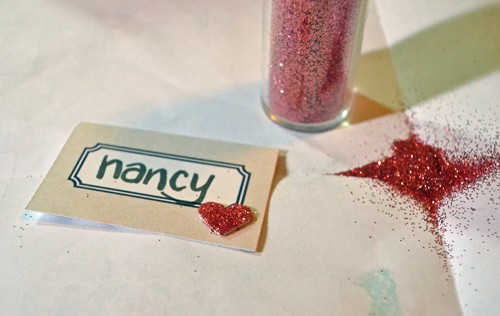
Place the glittered heart on the name card.
Match up the two glittered bow with the memo pin in between to create an accent.
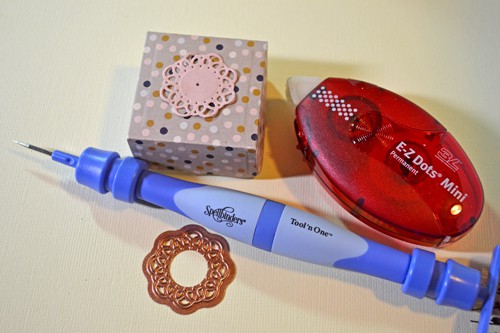
Cut/emboss a small circle doily and adhere on top of the box top with E-Z Dots® Permanent. Poke a hole with piercing tool and add the embellished memo pin. Add mints in the box and it’s ready!
Here’s another look at the entire ensemble…
Supply List:
Scrapbook Adhesives by 3L®: E-Z Dots® Permanent, Adhesive Dots Small, E-Z Runner® Permanent Strips, 3D Foam Frames, 3D Foam Squares Black Regular, 3D Foam Party Shapes and 3D Foam Hearts
Patterned Paper: Teresa Collins (Life Emporium Collection)
Cardstock: Darice/Core’dinations ColorCore Cardstock
Dies: Spellbinders® Creative Arts (LF-010 Square Bracket Edge Box (retired), S4-114 Standard Circles LG, S4-110 Classic Oval LG, S5-177 A2 Filigree Delight and Spellbinders Grand Calibur® Machine)
Scoring Tool: ScorPal Score Board
Stamp: JustRite® Papercraft (Wedding Wishes Vintage Labels Eight and Nine Clear Stamps)
Ink: Imagine Craft®/Tsukineko® (Memento™ Ink – Rich Cocoa)
Memo Pin: Advantus (Tim Holtz™)
Ribbon: Offray
Glitter: Stampendous
Other: Gift Bag; Black Marker
Find more wedding inspiration on Top Wedding Ideas!
Thanks for visiting the blog! Come see us soon!
MargieH

By Dictionary June 30, 2015 - 12:11 pm
So pretty, love that touch of bling from the glitter
By Asia King June 30, 2015 - 4:11 pm
Absolutely gorgeous!