It’s Erica and today I’m sharing a tag I created.
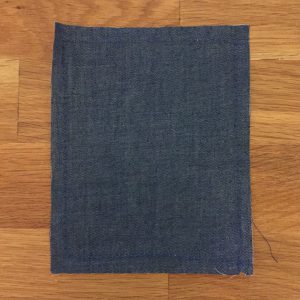
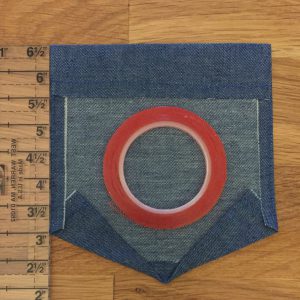
I started with a denim-colored panel. Then I placed Extreme Double-Sided Tape 1/8″ along the bottom of the pennant and folded the bottom up 1/4″. Next, I folded the pennant in half and marked the center with a pin.
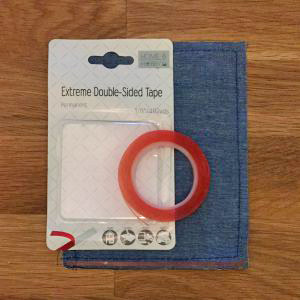
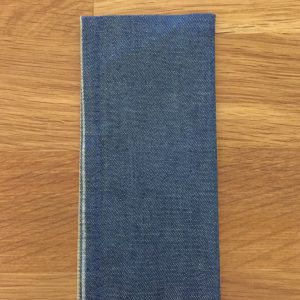
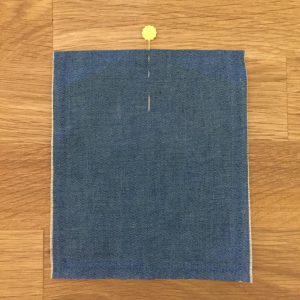
After I marked the center I unfolded the pennant, placed Extreme Double-Sided Tape 1/8″ diagonally in both corners, and folded each corner towards the pin creating a pocket. I then placed Extreme Double-Sided Tape 1/8″ along both sides as well as the top and folded the sides in 1/4″ and the top down 1″.
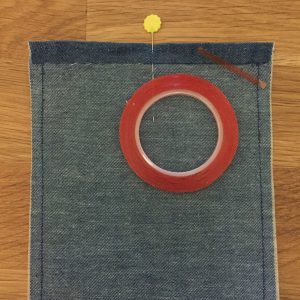
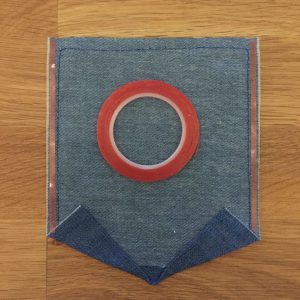
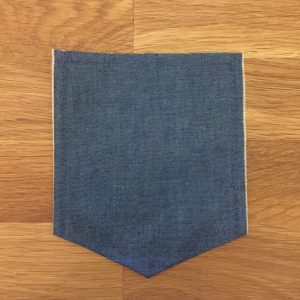
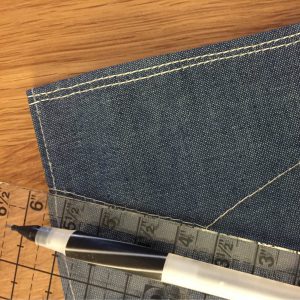
Finally, I added machine stitching to my pocket to make it look similar to a denim pocket (I used a pencil and ruler to create my pattern and then stitched along the lines).
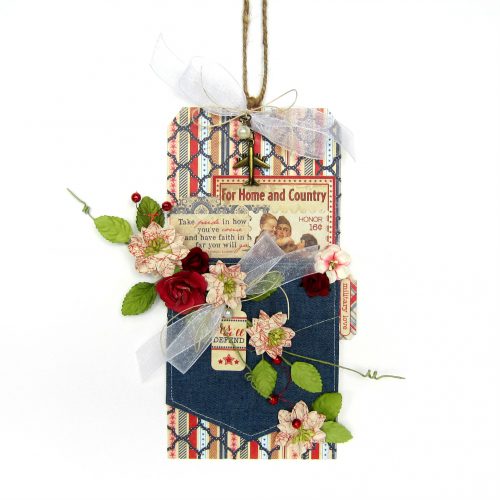
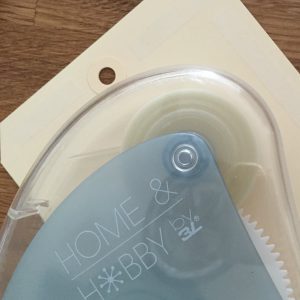
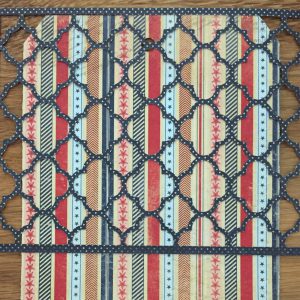
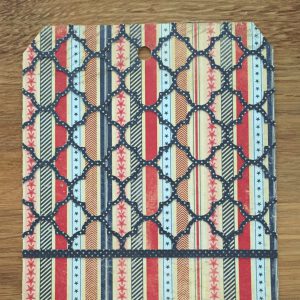
Once my pocket was ready I began creating my tag. I started by placing adhesive along the edges of a tag using the HomeHobby by 3L Double Sided Tape Runner and covered the tag with pattern paper. I then used a quatrefoil die cut to create a design to add to the background of my tag. Next, I adhered my die cut to my tag using Adhesive Sheets 4×6″.
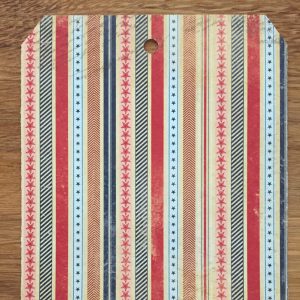
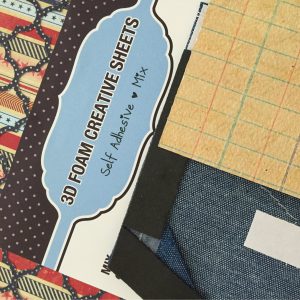
I actually cut two die cuts and placed one at the top and bottom of the tag and trimmed the excess off. I covered the gap between the two die cut pieces with the denim-colored pocket I created. To give it dimension I adhered the pocket to my tag using a 3D Foam Creative Sheets Mix.
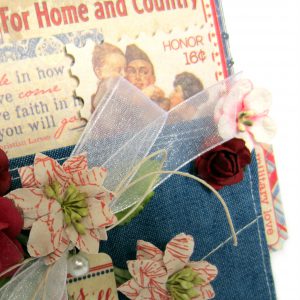
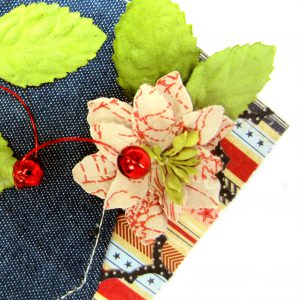
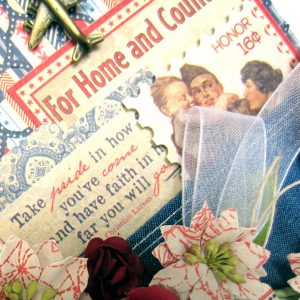
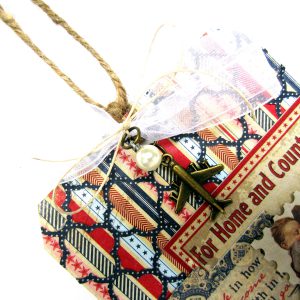
I embellished my tag with a journaling card, stickers, flowers, ribbon, twine and metal accents. Here are a few close-ups:

Scrapbook Adhesives by 3L
Paper
- Authentique Paper, Honor
Embellishments
- Authentique Paper, Honor – details
- Petaloo & Prima Marketing – flowers
- Celebrate It – ribbon
- Tim Holtz – jump rings, baubles
- Fun Stampers Journey – twine
- May Arts – wired beads
- Misc. – airplane metal accent
Products
- Taylor Expressions – diecut
- Ranger Ink –Distress ink
- 13 Arts – matte white paint
Thanks for joining me today!
Erica Houghton

By Deborah S June 7, 2016 - 12:00 pm
All I can say about this tag is WOW!