
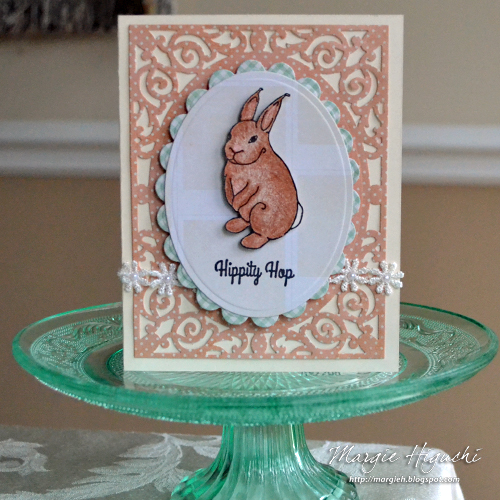
Happy Easter Greetings to you all! Margie Higuchi, here to share this sweet Easter card full of dimension using 3D Foam Squares and adhered with a combination of E-Z Runner® Grand and Adhesive Dots Micro to showcase an adorable dimensional bunny image. I’ve added layers of Spellbinders® die cuts and My Mind’s Eye patterned papers to finish the look.
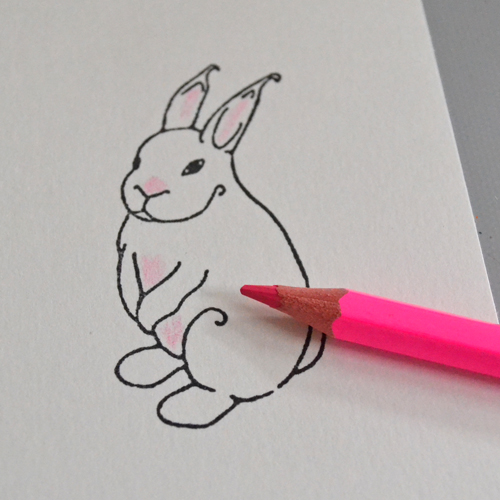
Color the Dimensional Bunny
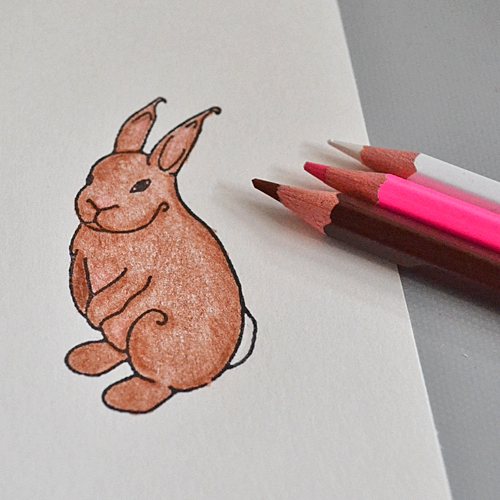
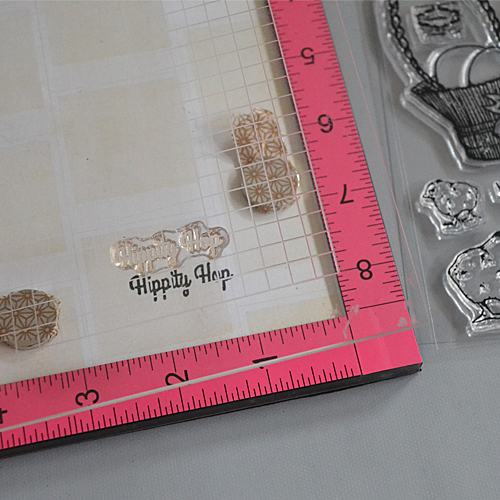
Let’s start by stamping the bunny in the Vintage Easter stamp set with black ink. Color the bunny with watercolor pencils. I used pink for tender areas of the bunny and then layered with brown color. After I achieved my look, I fussy cut the bunny.
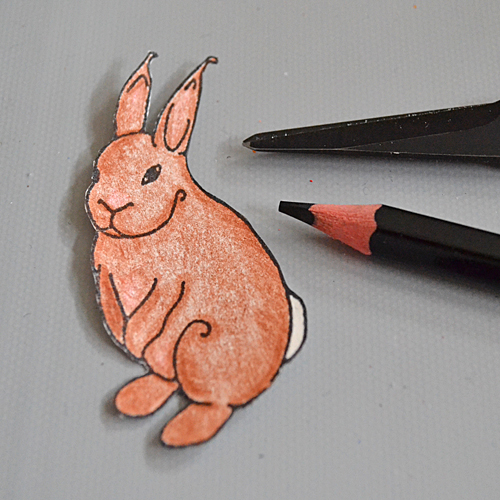
I outlined the edges of the bunny with black watercolor pencil. Note the difference between the right (edged with black watercolor pencil) and the left (without the edging).
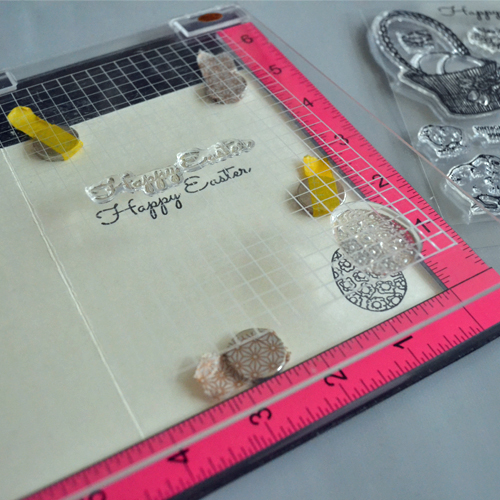
Stamped my sentiment onto patterned paper with black ink, using a stamp positioning tool.
Make Card Layers
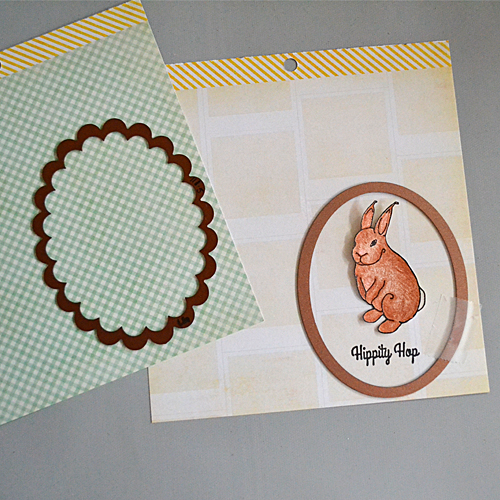
With the bunny shape as a guide, I was able to determine where to place my Spellbinders oval die template. To frame the oval shape, I used a Scalloped Oval. Now to cut and emboss with my die-cutting and embossing machine.
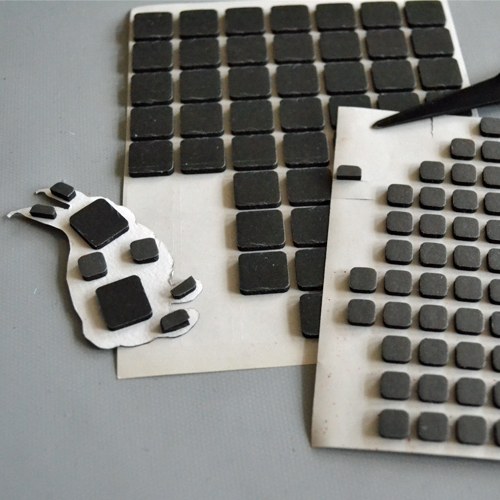
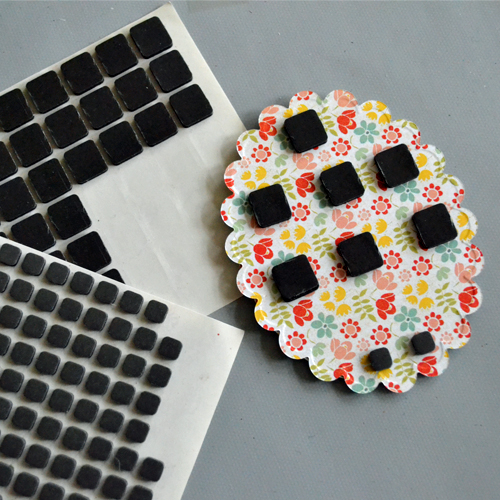
The bunny popped up with dimension with 3D Foam Squares – Black Mix. Some I cut in half to fit around its ears and feet! Place it on top of the oval die cut.
View this short video on How to Use 3D Foam Squares…
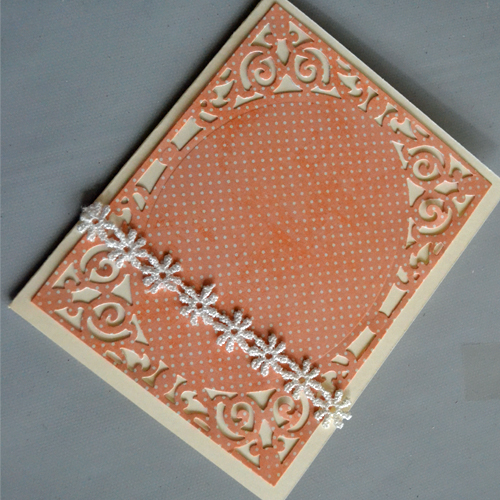
The scalloped oval and oval die cuts were adhered together with E-Z Runner® Grand.
I also stamped a sentiment and egg accent design inside the card to make it more personal.
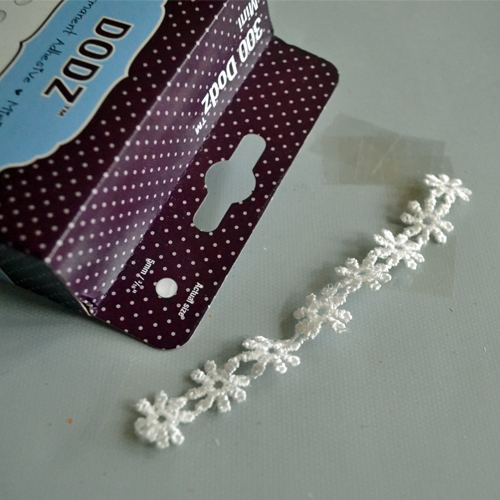
The sweet floral trim was secured with Adhesive Dots Micro in each center of the flower and placed it across toward the bottom of the card front. Then added a mini self-adhesive pearl on each exposed flower center.
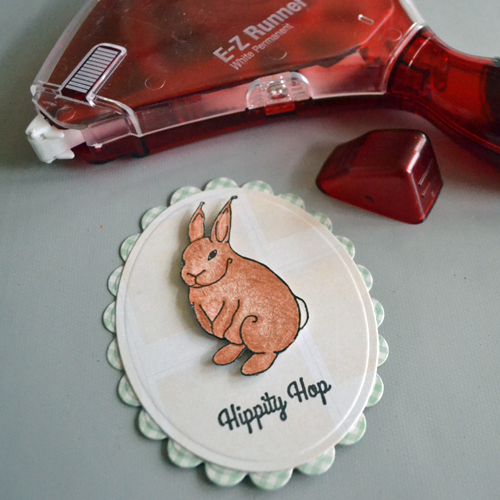
Lastly I added a combination of Regular and Small sizes from 3D Foam Squares – Black Mix to the back of the matted bunny oval (leave room for the trim). Center onto card front and you’re done!
Another look…
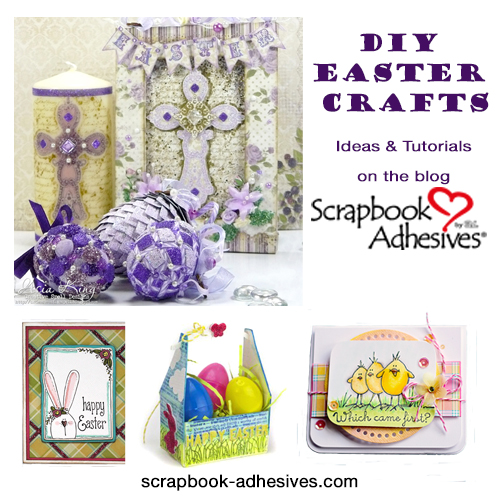
Click: DIY Easter Crafts on Parade for more Easter inspiration.
Supplies:
Scrapbook Adhesives by 3L®:
3D Foam Squares – Black Mix
E-Z Runner® Grand
Adhesive Dots Micro
Others:
Flourishes lc: Vintage Easter Clear Stamp Set
Spellbinders® Paper Arts: Classic Ovals Etched Dies, Scalloped Ovals Etched Dies and Card Creator A2 Filigree Delight Etched Dies
Patterned Papers: My Mind’s Eye (The Sweetest Thing Collection)
Self-Adhesive Pearls: Want2Scrap©
Ink: Imagine Crafts/Tsukineko
Tool: My Sweet Petunia (MISTI)
Trim: May Arts Ribbon
Ivory Cardstock; Watercolor Pencils
By Tracy April 16, 2017 - 10:26 am
Such a sweet card!
By Vicki Chrisman April 17, 2017 - 10:19 pm
Such an adorable card! CUTE!