
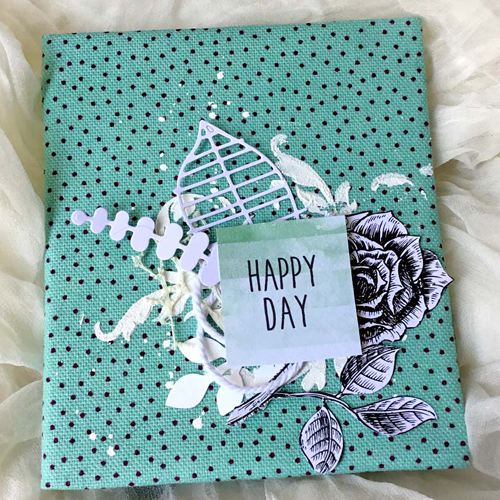
Hi all, Guest Design Team Member Lea Biccelli here with another new project! Using the Dual Tip Glue Pen, I decided to create a photo cover from scratch. Let me show you how…
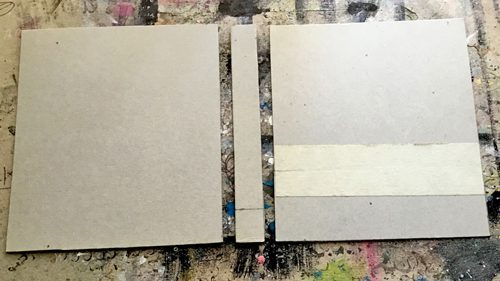
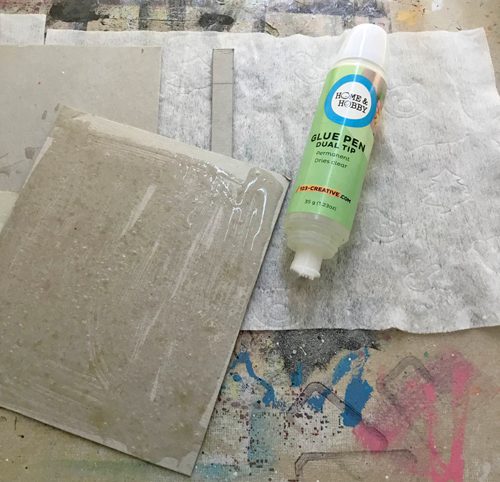
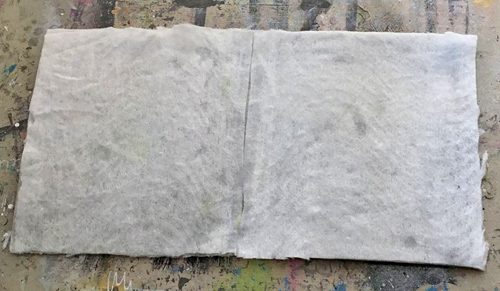
Cut from the cardboard, three parts that make up the cover (front, spine and back). With Dual Tip Glue Pen (the wide tip), I glued two dried baby wipes to cover one side of the cardboard pieces. This gives a softer feel when I finish the cover. Trim the excess baby wipe (using cardboard pieces as a guide).
Once dry, I want to cover it with cotton fabric. Cut the fabric a bit larger than the size of the cover so that I can fold the excess over the inside edges – use Premium Double-Sided Tape Permanent 1/4″ to secure it.
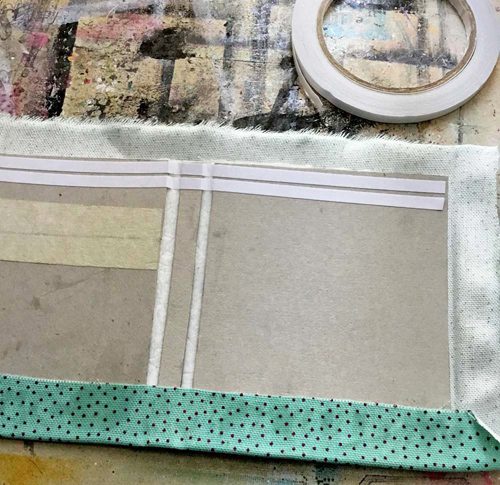
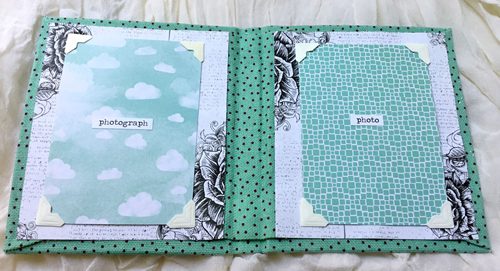
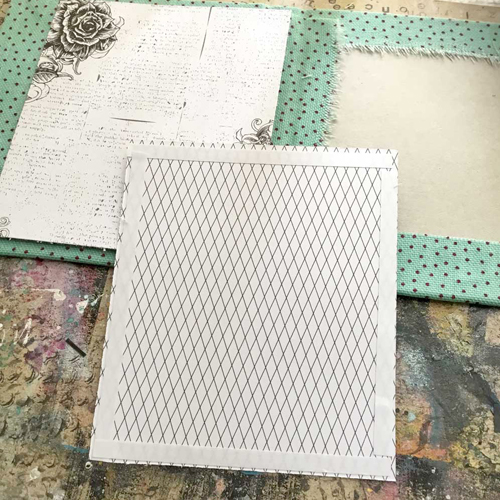
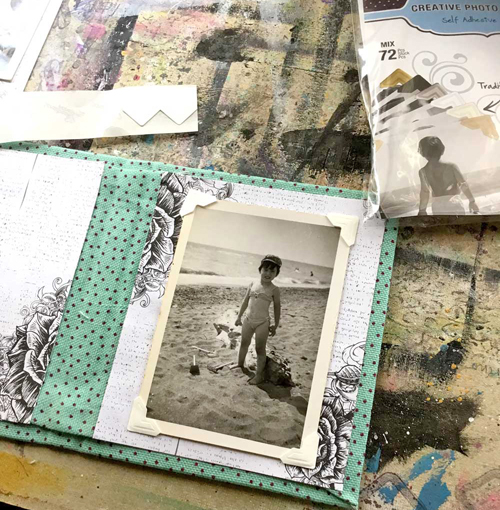
For the inside, I cut out two rectangles from patterned paper to cover and applied Premium Double-Sided Tape Permanent 1/4″ along the edges. But for the central area, I used Dual Tip Glue Pen. Lastly using my photo as a guide, I placed Creative Photo Corners Mix Pack in White.
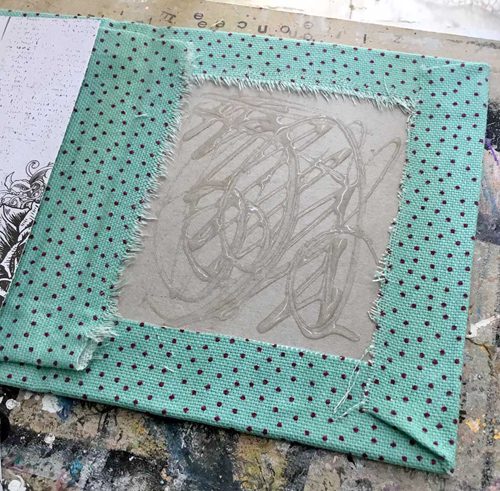
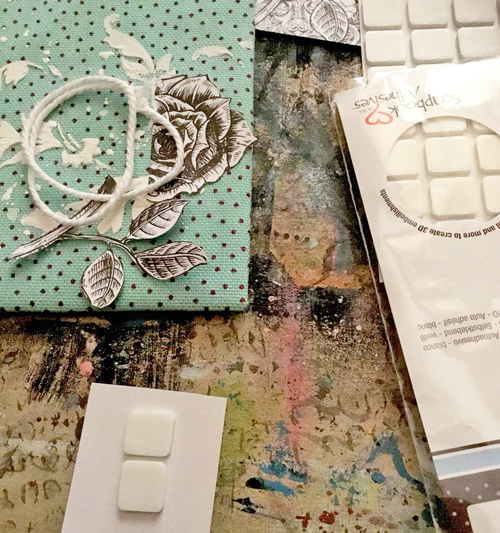
For the front cover, I stenciled with acrylic mousse and added some floral die cuts with Dual Tip Glue Pen. Then I attached “Happy Day” with a couple of Thin 3D Foam Square Mix White for dimension.
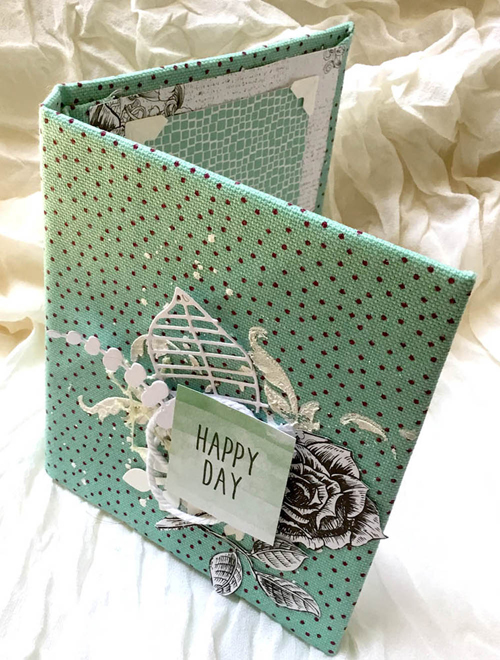
A small project for a last-minute gift … and fun to do.
Good creativity to all.
xoxo
Scrapbook Adhesives by 3L® Supplies:
Dual Tip Glue Pen
Premium Double-Sided Tape Permanent 1/4″
Creative Photo Corners Mix Pack
Thin 3D Foam Square Mix White