
Hi everyone! It’s Judy here today with a small simple, quick and cute thanks card created with Adhesive Sheets 4 x 6ʺ. This little “thanks” card came together out of necessity this week. I was sending some thank you gifts with little notes so I wanted something quick but nicer than a post-it or plain note paper.
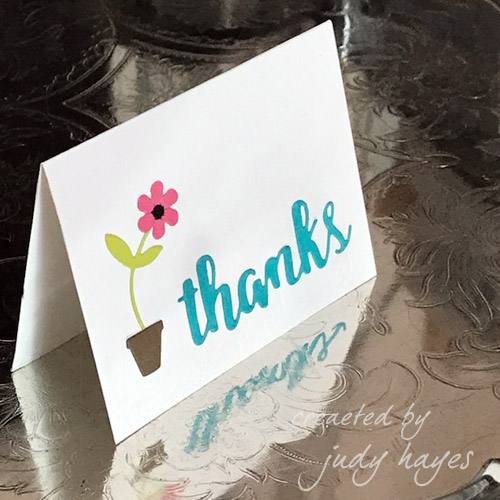
I happened to have some bright colored papers with Adhesive Sheets already applied to the back side. There were perfect for the flower, stem and thanks die cuts! Then I found some paper for the flower pot, applied Adhesive Sheets to the back and I was ready to die cut! In a matter of minutes, I had this little card put together! Don’t you just love it when projects come together like this!
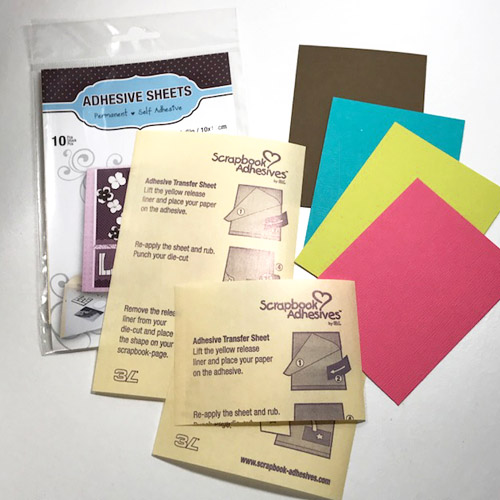
Since the die-cuts are quite small for this card, cut Adhesive Sheets 4 x 6ʺ in half to apply to cardstock cut 3 x 4ʺ.
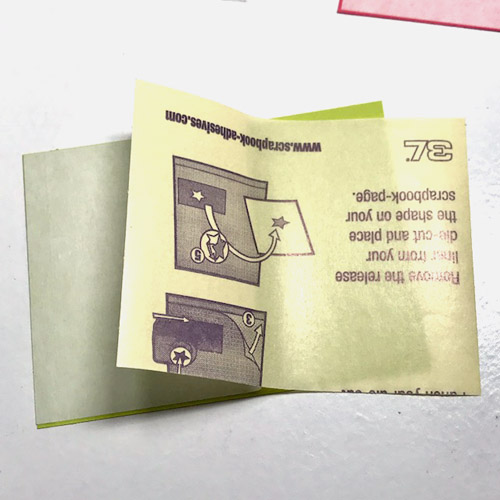
To apply a half Adhesive Sheets 4 x 6ʺ, remove the narrow edge liner piece and apply it to back of cardstock.
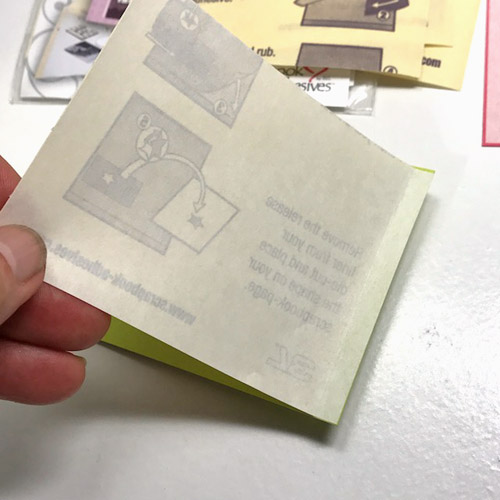
Lift and fold back Adhesive Sheets away from cardstock, with a rolling motion, slide the Adhesive Sheet onto the cardstock while yellow release paper peels off.
See a quick How to Use Adhesive Sheets for Die Cutting and More video below.
Next, place all 4 cardstock pieces with dies on cutting plate at one time. These flower dies are tiny!
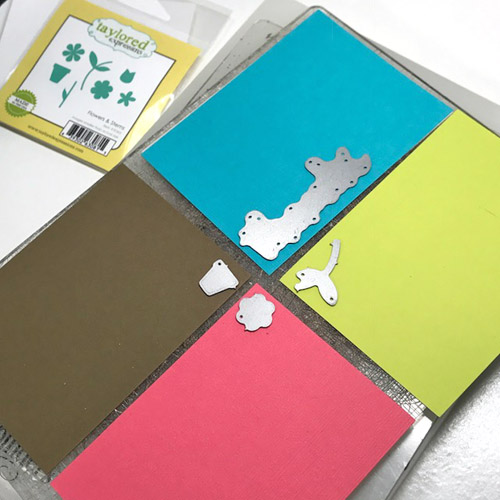
Then pass through a manual die cutting machine.
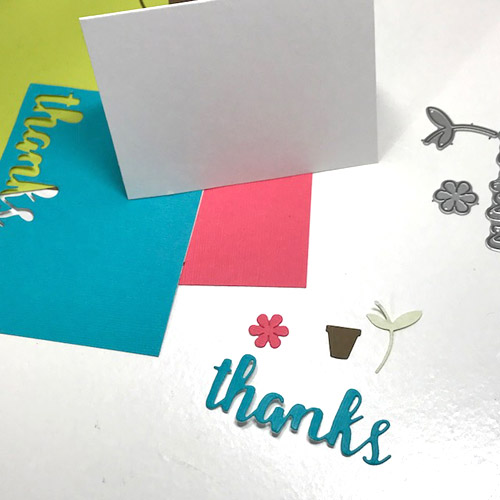
Next, remove release paper from each die cut, starting with “thanks” and place them on a 2¾ x 3½ʺ card.
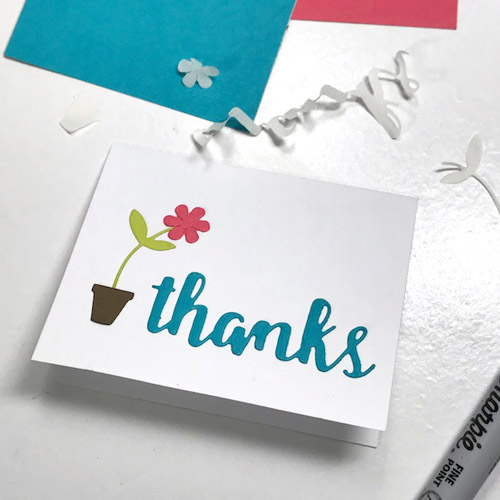
Last but not least, add a black dot in flower center with black marker.
Simple, quick and cute!
Thanks for visiting!
Judy
Scrapbook Adhesives by 3L®:
Adhesive Sheets 4 x 6ʺ
Other supplies:
Cardstock: White, Pink, Green, Turquoise; Taylored Expressions Dies; WorldWin® Colormates® Sage; Black Marker