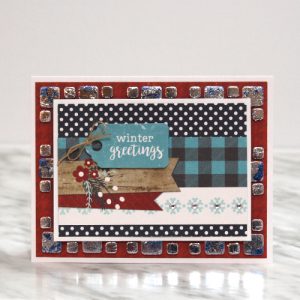
Hey paper crafting friends! It’s Tracy here, and today I have a fun little card tutorial to share using 3D Foam Squares and foil from the 3D Foam Creative Embellishment Kit. I love to use products that you probably craft each and every day with, but in a slightly different way. Here are all of the details.
How to use Foil as an Embellishment
First I cut my cardstock and patterned paper layers. The red patterned paper is 4 x 5.25in, and the blue polka dot patterned paper is 3 x 4.25in, and matted in white cardstock.
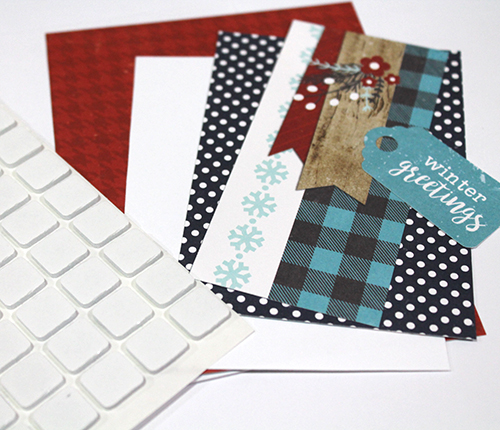
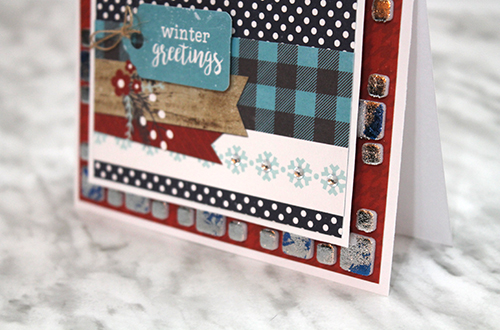
Using the 3D Foam Squares- Mix Pack, I created a pattern around the edge of the red patterned paper.
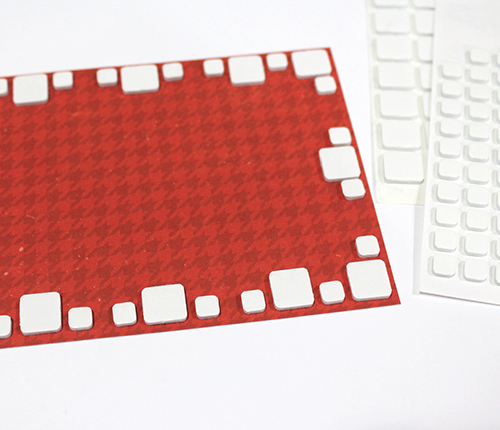
First I removed the liners from the large 3D Foam Squares. I took a piece of the blue foil from the 3D Foam Creative Embellishment Kit and crumpled it slightly. Then I dabbed it onto the large 3D Foam Squares, leaving little bits of blue foil, which look like marbling.
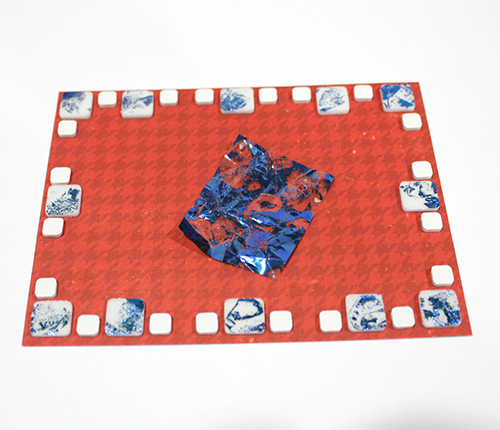
Using a piece of the silver foil from the 3D Creative Embellishment Kit, I covered the remaining adhesive on the large 3D Foam Squares, completing the 2-toned marbling effect.
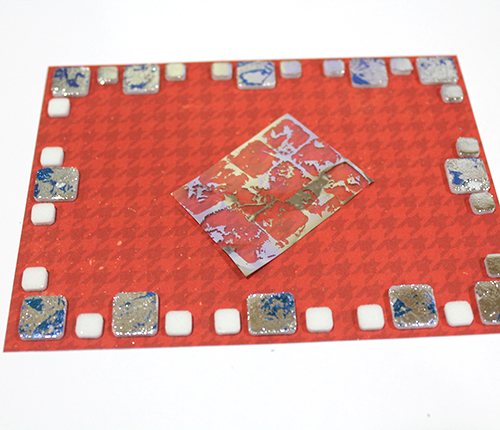
Then I removed the liners from the small 3D Foam Squares and covered those in silver foil.
Next I adhered the red patterned paper to the white cardstock card base using my E-Z Runner® Permanent Fine adhesive. Using a double layer of 3D Foam Squares, I adhered the white cardstock layer to the middle of the card.
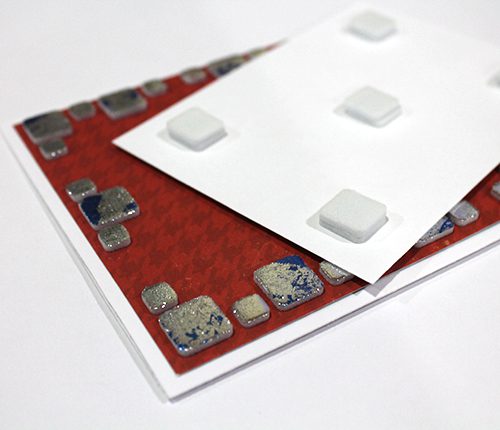
I adhered the next patterned layers again using my E-Z Runner® Permanent Fine adhesive and popped up the sentiment tag using 3D Foam Squares.
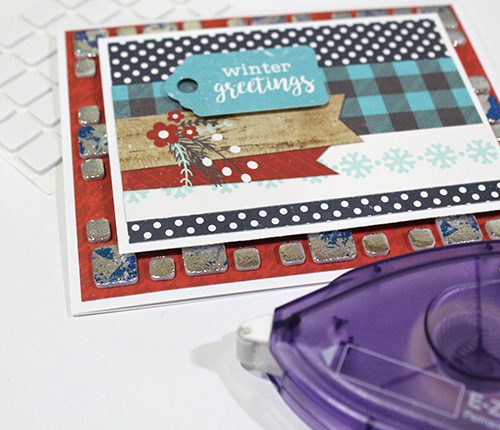
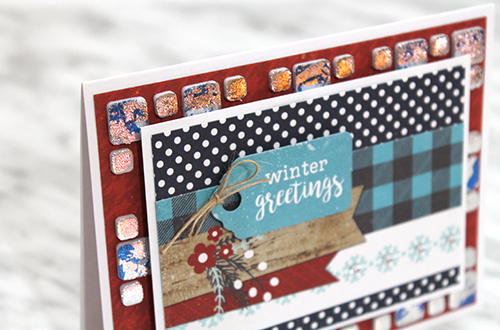
Lastly, I added a burlap string bow to the tag and a few gems to the snowflake patterned paper.
Scrapbook Adhesives by 3L® supplies:
3D Foam Squares White Mix
3D Foam Creative Embellishment Kit
E-Z Runner® Permanent Fine Adhesive Dispenser
Other Supplies:
White Cardstock, Echo Park Paper- A Perfect Winter, Gems, Burlap String
Thanks so much for stopping by!
Tracy McLennon

By Marjorie Dumontier November 13, 2017 - 4:15 am
That’s such a great idea !!