Showing off my trio of Christmas card creations with Adhesive Sheets and glitter to WEAR YOUR ADHESIVES ON THE OUTSIDE to get you motivated! Hello everyone, Jana here with some simple Christmas cards for you.
I am always late with sending out Christmas cards, so I really love to create simple cards – just add a few stamps and elements. These came out great and I can’t wait to send them out to some friends.
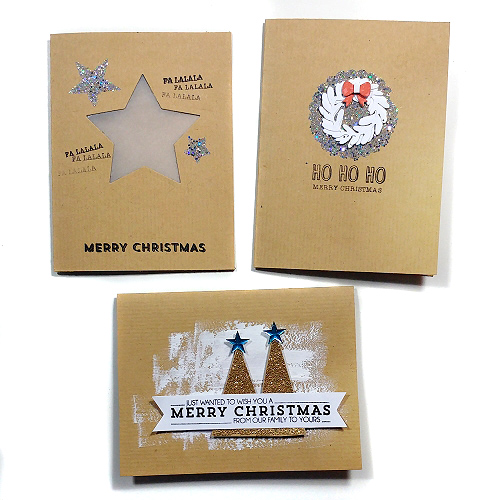
The Adhesive Sheets are so easy to use, you just need to cut out your shapes or use a die cutting machine to get some shapes you want.I started with some craft paper cards and my star punches.
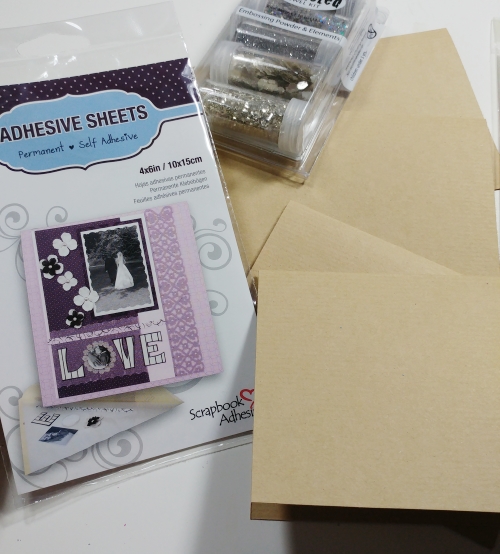
Christmas Card Creations with Stars Tutorial
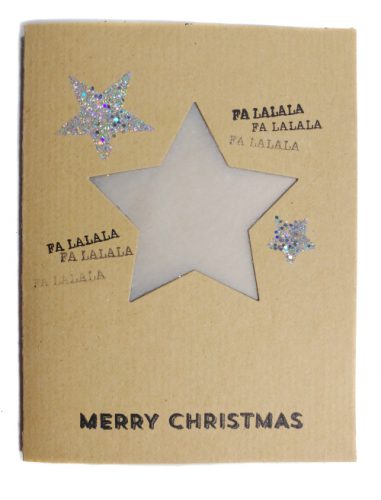
On the front of my card base, I placed my star die in the center and used my die-cutting machine to cut the shape out. With the E-Z Runner® Ultra Refillable Dispenser, I covered the open space with vellum. The permanent adhesive is awesome for vellum, you can’t really see it.
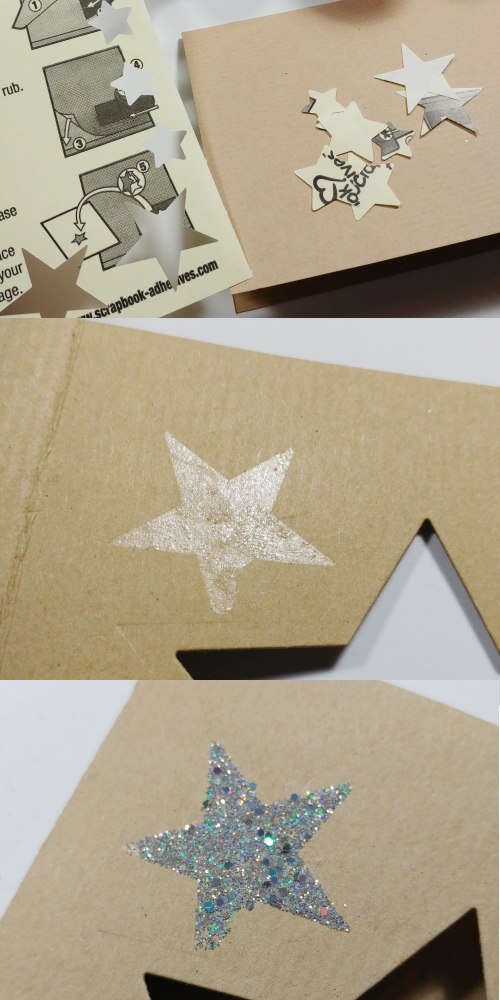
Looking at the above image, I did the following:
1. Punch out my star shape on the Adhesive Sheets 4×6″.
2. Peel off the yellow liner paper and press it on the card base (white liner side up).
3. Take the white liner paper off and sprinkle glitter over the star.
4. Press the glitter down with my finger to make sure it’s secured and stays in place!
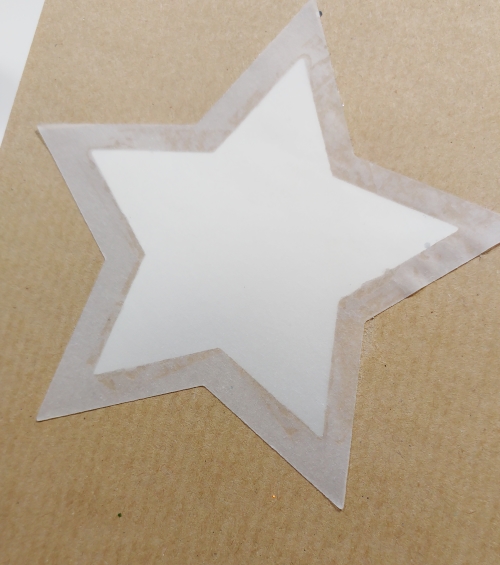
I added some stamps and this card is done!
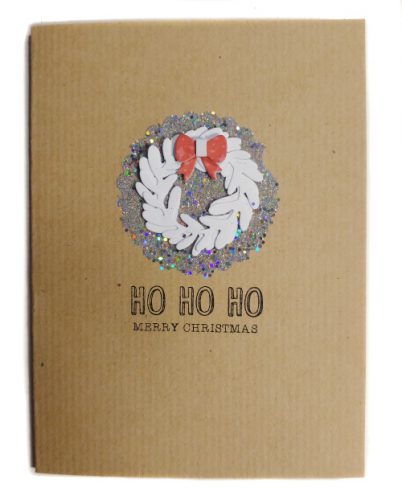
The second card was made like the first one. The difference is instead of a cut out in the center, you place your adhesive shape in the center and add a wreath embellishment on top.
Christmas Card Creations with Heat Emboss Tutorial
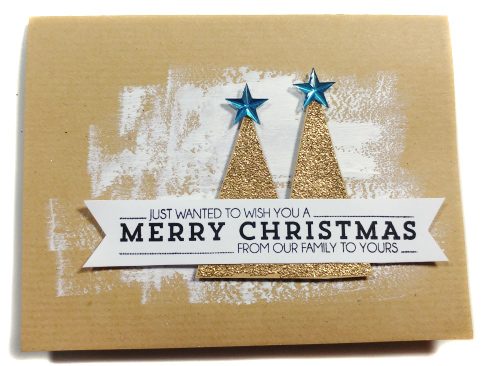
Now the last card was a big surprise to me! A “new to me” technique, heat emboss adhesive sheets, was quite exciting to discover! I heat emboss glitter on the Adhesive Sheet and guess what, it works well!! Like with all heating tools, make sure you don’t overheat your embellishment.
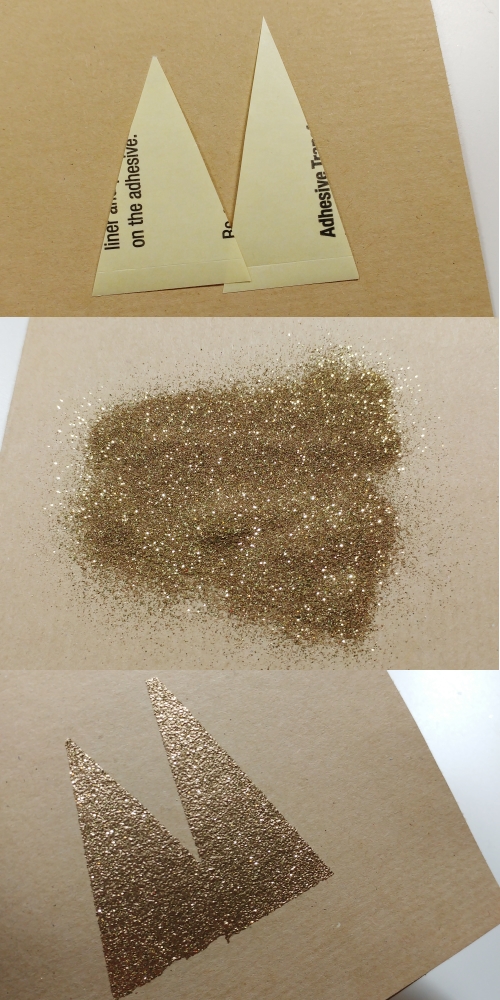
Referring to the above image, I did the following steps:
1. Scissor cut out of an Adhesive Sheet, simple Christmas tree shapes.
2. Peel off the yellow liner paper and press it on to cardstock (white liner side up).
3. Take the white liner paper off and sprinkle glitter embossing powder over the shapes.
4. Using a heating tool, melt the powder.
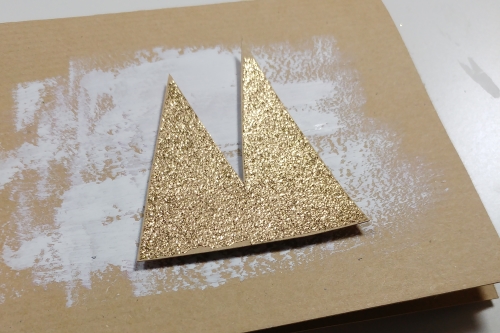
5. Fussy cut the embossed trees.
6. Add white acrylic paint over my card front so the trees will stand out more.
7. Place 3D Foam Squares White Small in back of trees for dimension and place on card front.
8. Stamp sentiment on white cardstock, cut into a ribbon banner and add to card front.
9. Finally, add two blue star shape rhinestones to the tops of trees.
Have you sent out your cards already? Tell me I am not the only one who is always late! LOL!
Thanks for stopping by here today

Scrapbook Adhesives by 3L®:
Adhesive Sheets 4×6″
3D Foam Squares White Small
E-Z Runner® Ultra Refillable Dispenser
Dual Tip Glue Pen
Other:
LawnFawn, Crate Paper, Kelly Stamps, Stampendous
