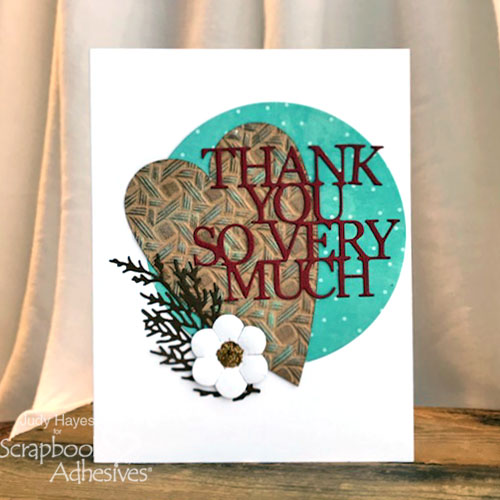
This Thank You So Much card is what I call a “scrap” card. What does that mean? Well, I use bits and pieces of leftover die cuts and papers – you never waste anything! LOL!
Hi everyone! Judy here today to share my “go to” technique when I need a card in a hurry and to use up some leftovers in my box.

Making my Thank You card
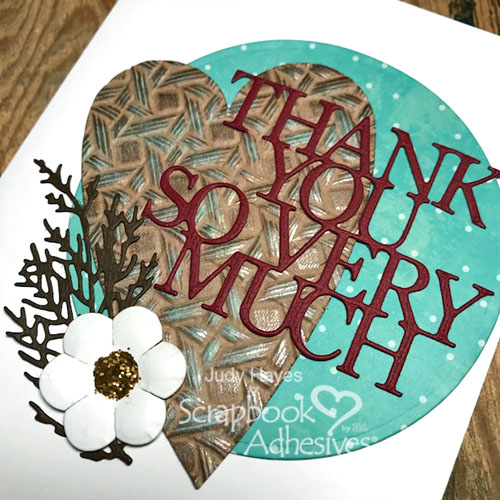
I found the circle, flower, branch and embossed heart in my box of scraps. All leftovers too good to throw away! With a scrap of red cardstock on my work table, I applied Adhesive Sheets 4 x 6 inch to the back and die cut the thank you verse. The little branch already had Adhesive Sheets applied to it so that was ready to go. Next, I added glitter to Adhesive Dots Medium for the flower center. So easy!
To assemble this Thank You So Much card, I used E-Z Dots® Permanent Refillable Dispenser to fasten the circle to a white card. For the embossed heart, I fastened with E-Z Runner® Ultra Refillable Dispenser. Since the Ultra adhesive is a very strong adhesive, it was especially good for the embossed heart which isn’t flat.
I peeled Adhesive Sheets backing from “Thank You So Much” die cut and placed it over heart and circle.
Tip: use the heating tool to warm the intricate sentiment a bit after it was in place and pressed it well so the adhesive would stick better to the embossed heart. Repeat the same step with the branch. Lastly, the flower is fastened with Adhesive Dots Medium.

Thank you so much for stopping! Have a creative day!
Judy Hayes
Scrapbook Adhesives by 3L®:
E-Z Dots® Permanent Refillable Dispenser
E-Z Runner® Ultra Refillable Dispenser
Adhesive Dots Medium
Adhesive Sheets 4 x 6 inch
Other: Cardstock (Red, Brown, White, Kraft), DecoArt® Metallic Lustre, Distress Glitter, Penny Black (So Many Thanks), Sizzix Holiday Greens, Spellbinders (Cinch and Go III, Heart Felt, Standard Circles LG, Cane Weave Embossing Folder)
Find more Adhesive Sheets instruction and inspiration!

