
Summer has arrived and it’s time for some crafty fun in the sun! Hi friends, Linsey here sharing my Pinterest-inspired fruity mason jars that are sure to sweeten your day. The project is super simple so get the kids involved! Here are all the juicy details!
The Fruity Details
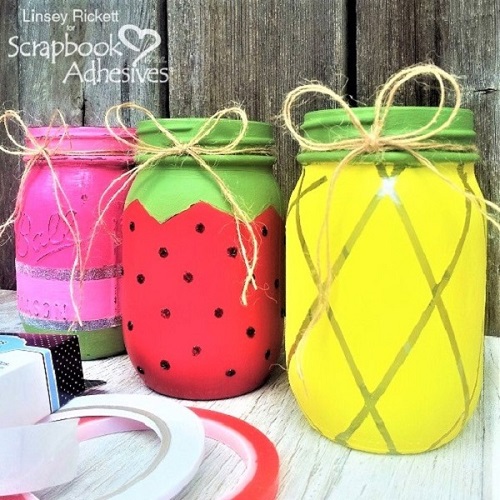
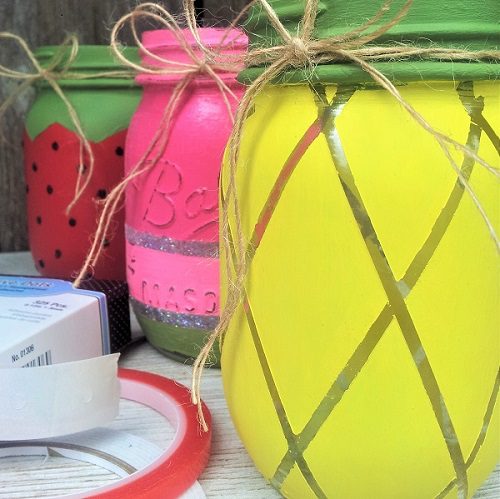
Start with clean, dry mason jars and choose paints/fruits accordingly. I chose to make pineapple, strawberry, and watermelon inspired jars.
For the pineapple, make a basic criss-cross pattern on the jar using Premium Double-Sided Tape 1/8in.
For the strawberry, create a fruity stem pattern around the top portion of the jar using Extreme Double-Sided Tape 1/4in. To minimize bleeding, do not remove the backing. No need to measure the lines, I eyeballed mine. Just like real fruit, every piece is unique and one-of-a-kind!

Paint each jar (use paints like acrylic, chalkboard, spray paint, etc. that are safe for glass). Let the paint dry completely between each coat. On average, a good wait time is approximately one hour. When the final coat of paint is totally dry, carefully and firmly pull the tape from jars.
The pineapple lines are clean, allowing the glass to show through. But another option is to paint in the lines or remove only the liner and add glitter (done on the watermelon jar), foils, or embossing powders and heat emboss. Yep, these tapes are heat resistant.
The Embellishing Details
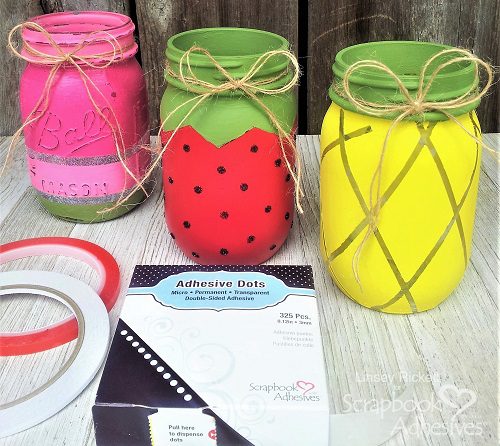
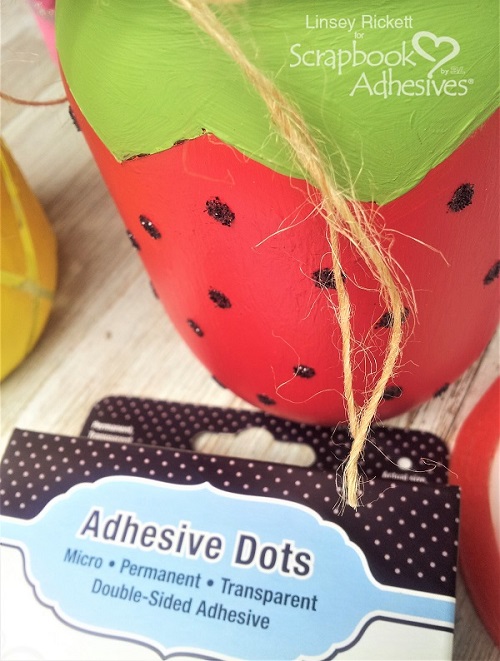
Adhesive Dots Micro is one of my favorites and I found another use for them on this project–can you see where? If you said “strawberry seeds”, you’re right!
Place the dots randomly over the red jar. Afterward, I sprinkled onyx glitter, excess removed and voila! Wear Your Adhesive on the Outside to make strawberry seeds!
These could also simulate watermelon seeds, blackberry seeds, etc. Your imagination is the limit. 🙂
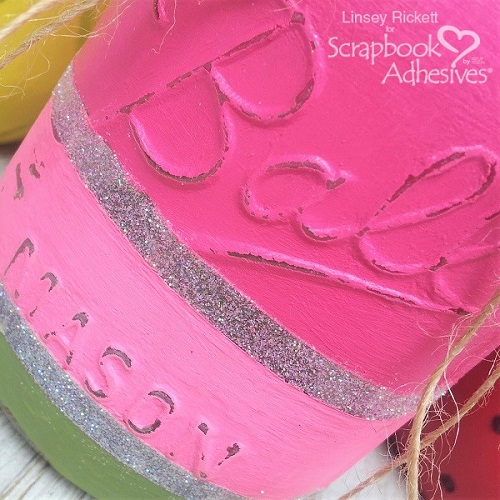
Extreme Double-Sided Tape 1/4 was used on the watermelon jar. Place two strips around the bottom half of the jar, paint and allow to dry. Remove the tape liners and sprinkle tape with iridescent ultra fine glitters. Sand the raised areas on the jars with a light sanding block.
To finish, I tied a piece of burlap into a bow on each top of the jars. You can fill them with pretty flowers, utensils, candy, etc. Add a little tag and give as a gift or keep for yourself. Any way you slice it, these sweet mason jars are sure to brighten someone’s day!
 s
s
Thank you so much for visiting and allowing me to share this project with you today! I hope you’ve been inspired to make your own fruity mason jars using Scrapbook Adhesives by 3L® products. Until next time, happy crafting!
- Creative Time: 45 minutes
- Skill Level: Beginner
Materials Needed:
Scrapbook Adhesives by 3L®:
Adhesive Dots Micro
HomeHobby by 3L®:
Extreme Double-Sided Tape 1/4in
Premium Double-Sided Tape 1/8in
By Diane Noble June 24, 2018 - 3:33 pm
EEEK! These are adorable. I really love fruit jar crafts and haven’t seen this one. Linsey…way to be brilliant and craftsy.