
A Traveler’s Notebook is a great way to capture your memories on a smaller scale and keep them contained in one area. Adhesives don’t have to change dramatically for this scale but I do have some ideas for you on what to use and how to incorporate them! I started one specifically about our family’s bike riding adventures. We/I ride often enough that there were a lot of memories to document but I didn’t want to have to keep doing big layout after big layout. It’s perfect for capturing short but meaningful memories. Here’s my spread!

Traveler’s Notebook Pictures and Details
The main component for this was the necessity for all my crafting needs – the E-Z Runner Grand! That is my go-to for adhering patterned papers and pictures to things!
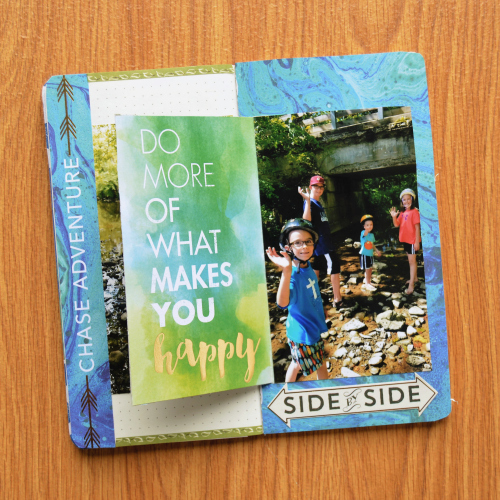
It was also an important part in creating this flap on the right side of my spread. There’s nothing better than a solid and quick way to adhere things in your crafting!
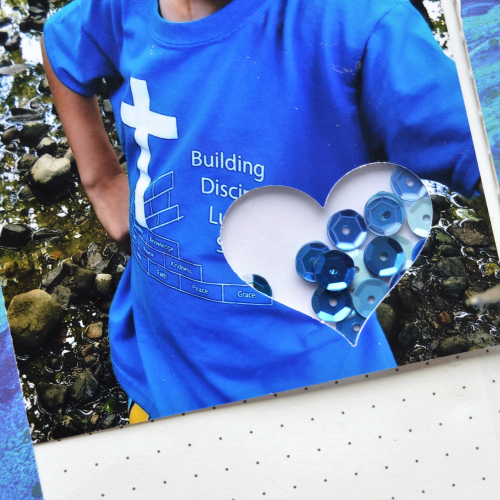
By using a punch and a Keepsake Envelope – I was able to create a shaker element within my picture. That added a unique touch to the whole notebook spread and was so easy to do!
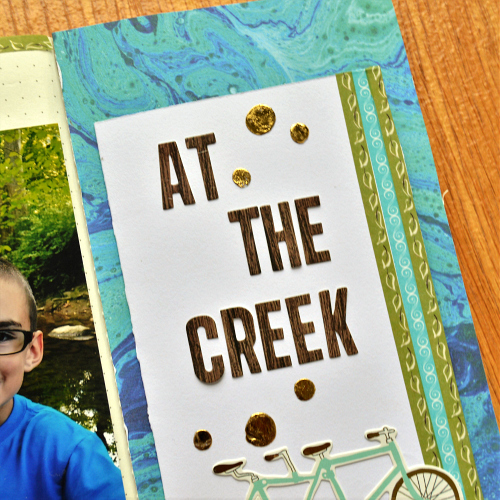
I also used Adhesive Dots in multiple sizes to embellish my notebook spread by applying them and then adding gold foil. Embellishing with gold foil was an easy choice since I already had lots of gold foil throughout!
Now that I have thrown a lot of details at you – how about if we check out how I did them in a video?
Traveler’s Notebook Process Video
Thanks so much for joining me today!
-Christine
Creative Time: 30 Minutes
Skill Level: Beginner
Materials Needed:
Scrapbook Adhesives by 3L®:
E-Z Runner® Grand Refillable Dispenser
Adhesive Dots Medium
Adhesive Dots Large
Keepsake Envelope Mix
3D Foam Creative Embellishment Kit
Other Supplies:
Patterned Papers & Stickers from Paper House Productions