
3 x 3 notecards are one of my favorite things to make in bulk because they are useful for so many occasions. Hi friends, Linsey here today sharing a simple set of 3 x 3 notecards that I hope will inspire you!
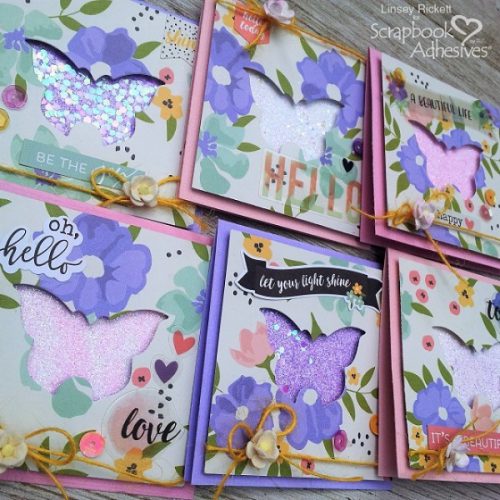
Keeping with an all-occasion design on the front of your 3 x 3 notecards and leaving them blank on the inside makes them super versatile and even handier. I wanted the card fronts to have an easy, yet striking design and discovered a way to accomplish both with a few fantastic products from the Scrapbook Adhesives by 3L® family. Here’s how!
Creating the Notecards Basics
Choose a general design, theme (if any) and colors for 3 x 3 notecards. If making in bulk, it’s best to pre-cut all cardstock and paper first.
Cut cardstock into 6 3 x 6″ pieces, then score and fold in half to make 3 x 3.
Cut 6 2-3/4 x 2-3/4″ pieces coordinating patterned paper, then cut a window shape in the center of each piece of patterned paper with a butterfly etched die or shape of choice. A punch would also work nicely here.
Cut 6 2 x 2″ pieces of white cardstock, then set all cut papers aside.
Building the Notecards Details
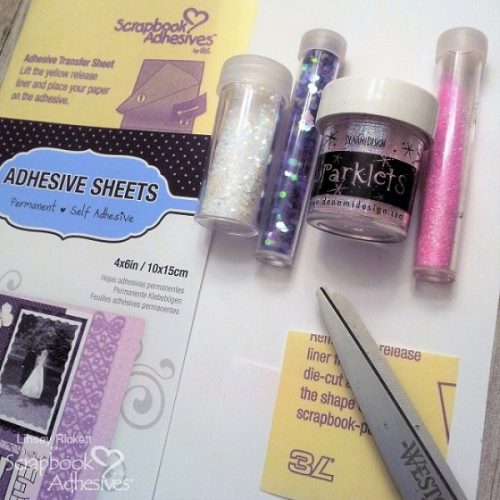
Adhesive Sheets 4×6 inch sheets were used. However, when doing bulk 3 x 3 notecards, Adhesive Sheets 6×12 inch is recommended.
Cut Adhesive Sheet into 6 2 x 2″ pieces. Remove backing and adhere to front of each 2 x 2″ piece of white cardstock.
Next, adhere white cardstock to the center of each 3 x 3 notecard base with E-Z Runner® Permanent Strips Dispenser.
Pull off the liner of Adhesive Sheet piece and cover entire 2×2″ front with glitter. Gently tap off excess from the back of notecard. I experimented with fine, regular and chunky glitters and they all adhered flawlessly to the Adhesive Sheet. The result was a smooth, fully covered 2 x 2″ square of sparkling cardstock every time!
Now add 3D Foam Squares White Mix to the back side of the patterned paper pieces and adhere each to the front of 3 x 3 notecards, centering the butterfly shape window over the glittered cardstock piece.
Finish with a simple embellishment, such as ribbon, twine or little sequins, added here using Adhesive Dots Micro. Add a sentiment, if desired, or leave as is and consider this batch of 3 x 3 notecards complete!
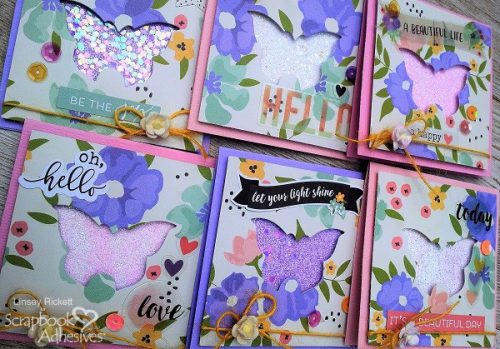
Thanks so much for visiting today and allowing me to share my 3 x 3 notecards with you! I hope you enjoyed this project and feel inspired to make something special with Scrapbook Adhesives by 3L®! Until next time, happy crafting!
Creative Time: 45 mins.
Skill Level: Intermediate
Materials Needed:
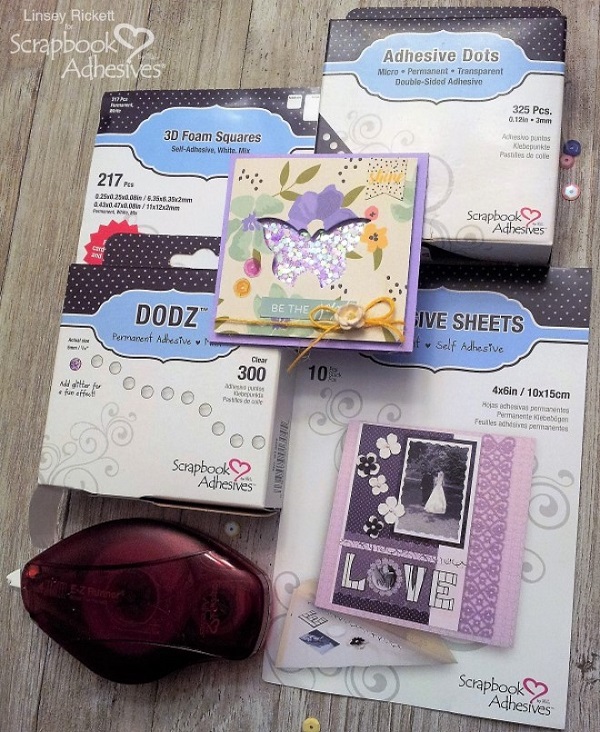
Scrapbook Adhesives by 3L®
E-Z Runner® Permanent Strips Dispenser
Adhesive Sheets 4×6 inch
3D Foam Squares White Mix
Adhesive Dots Micro
Other:
White and colored cardstock
Designer Patterned Paper
Glitter
Die cut (butterfly) and Cuttlebug
Paper cutter
Ribbon
Sequins