
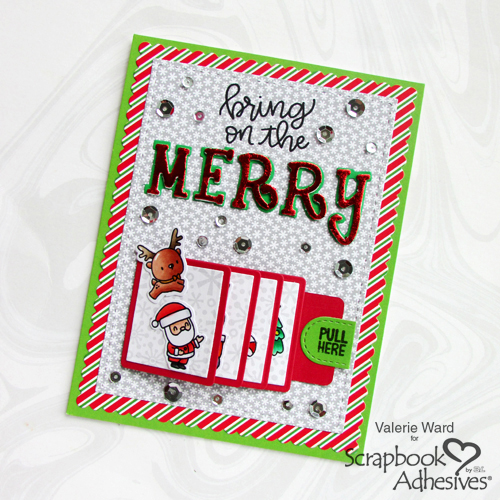
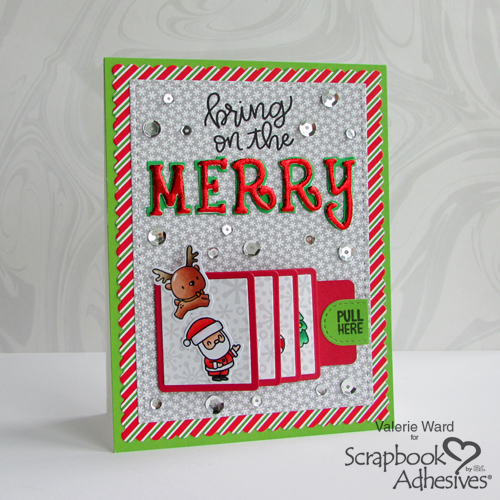
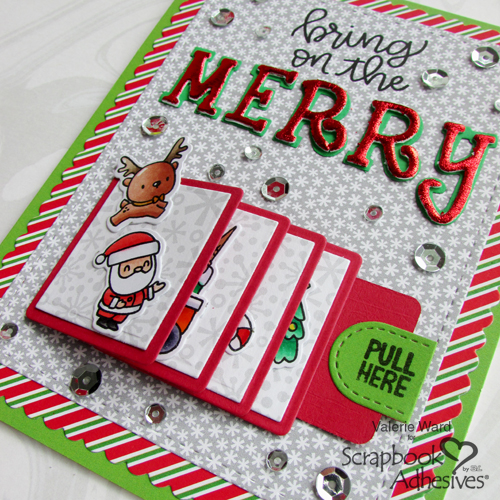
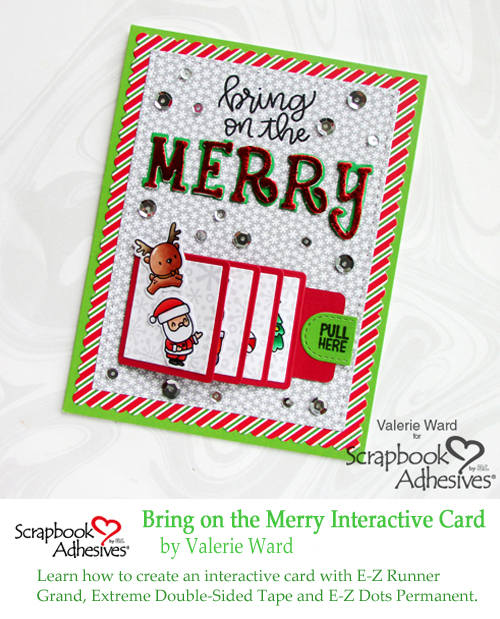
Hello, Crafters! Valerie here today. I have an interactive Christmas card with a flip slider on it! That is just ONE of the cool features on this card. So let’s get right to it and I’ll show you how to create this fun, cute holiday card!
Step 1: Attach the Merry
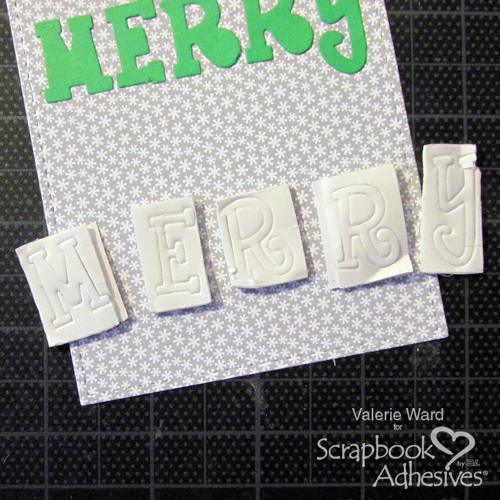
Stamp the first part of the sentiment onto your patterned paper with your ink, then use a letters die set and die cut the letters to spell “MERRY.” I’m using a set that has a shadow layer behind the letters (see below image).
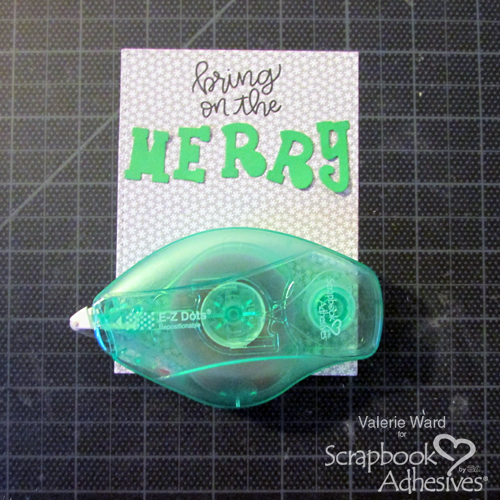
Using my E-Z Dots® Repositionable Refillable Dispenser I adhered the letters to the paper. BUT I didn’t like how they were aligned, so it was SUPER-DUPER nice to have the reflexibility to be able to lift those letters up and shift them a little! Here you’ll see where I start lifting them.
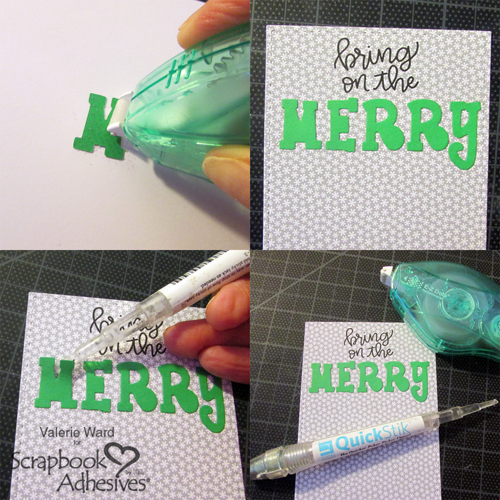
Step 2: Add Foil Letters
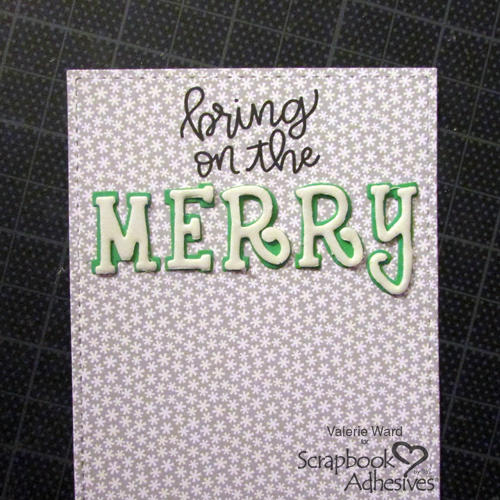
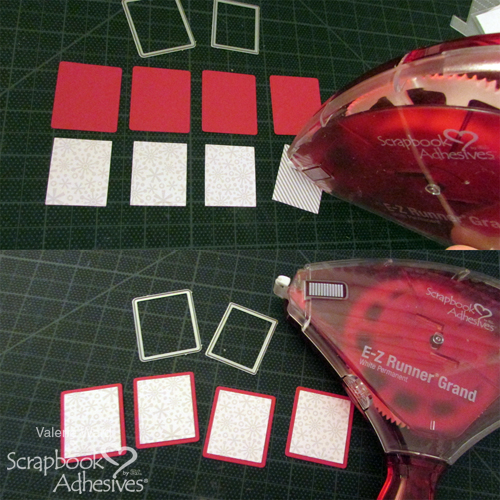
Now I need to add the second layer of letters on top of the shadowed letters. Here they are die-cut from a piece of 3D Foam Creative Sheet from the 3D Foam Creative Embellishment Kit.
Adhere them on top of the green letter shadows, and peel off the top liner to expose the adhesive.
This is the fun part! Take a piece of the red foil from the same 3D Foam Creative Embellishment Kit and lay it over the sticky letters (red color side UP). Gently press it to transfer the foil to the letters. Then slowly peel it off, and you have fun glossy-red letters!
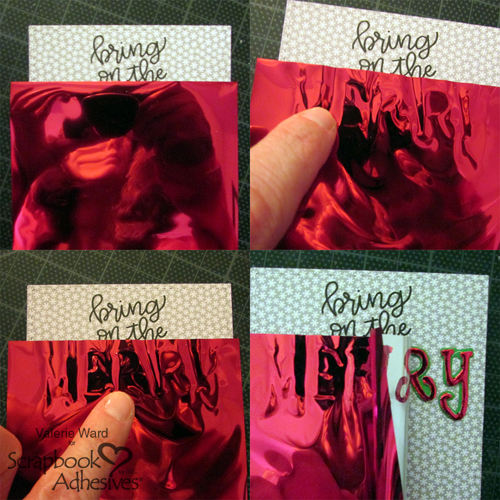
Aren’t they gorgeous?!
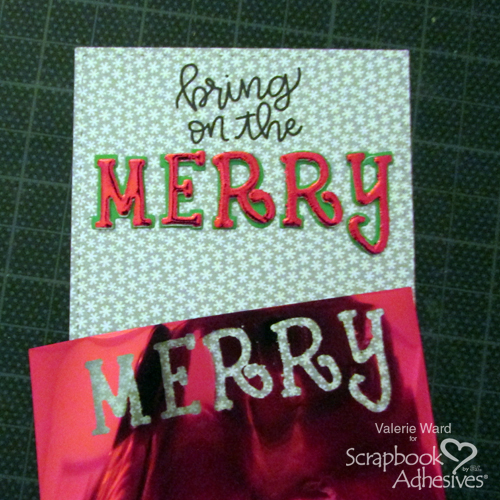
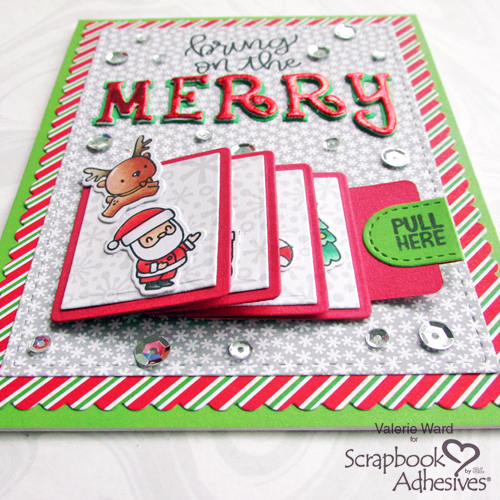
Step 3: The Panels for the Flip Slider
Here I am putting together the panels that will go onto the flip slider. I have a red base and a top layer of patterned paper which I attached together with my E-Z Runner Grand Refillable Dispenser.
Step 4: Attach Panels to Flip Slider
First you have to fold the slider unit as shown in the image below. Then adhere the panels to the flip slider (and the colored images to the panels) with my E-Z Dots Permanent Refillable Dispenser.
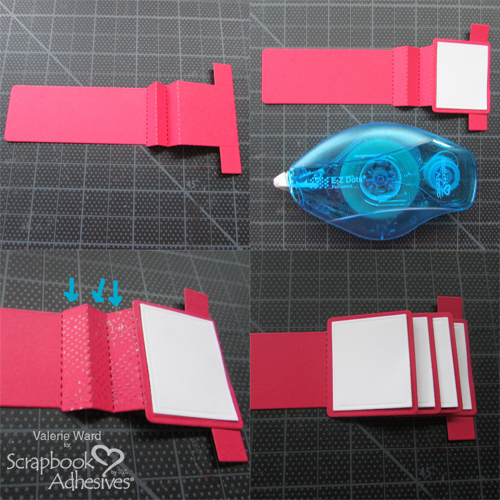
After everything is attached and folded, the only place you need to add adhesive is on the back of the 2 little tabs; I used Extreme Double-Sided Tape 1/4in. Then just place your unit on top of your card!

Step 5: Add the Sequins
After I finished the card, it needed “something” and that was to add sequins! To secure them to the card, I used my Adhesive Dots Micro.
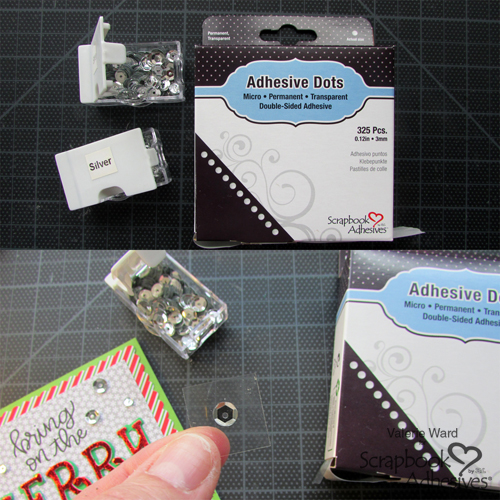
NOW, my card is done!
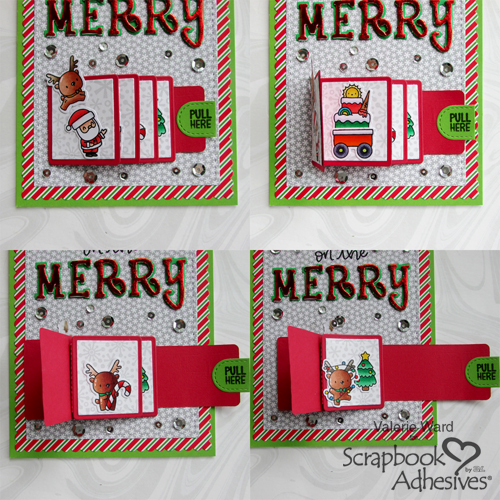
Here is the flip slider in action (so fun!):
I hope you enjoyed this and thank you very much for stopping by!
Valerie
Creative Time: 60 Minutes
Skill Level: Intermediate
Materials Needed:
Scrapbook Adhesives by 3L®
E-Z Runner Grand Refillable Dispenser
3D Foam Creative Embellishment Kit
E-Z Dots Repositionable Refillable Dispenser
E-Z Dots Permanent Refillable Dispenser
Adhesive Dots Micro
HomeHobby by 3L®:
Extreme Double-Sided Tape 1/4in
Other Products: letters die set, Christmas sentiment stamp set, flip slider die set, Christmas stamp set & coordinating die set, holiday patterned paper, sequins
Pin It!
By Joyce Smith October 20, 2018 - 10:09 am
Love this card. Thanks for the instructions on how to make it. I will definitely be purchasing the slider card due. So much easier than coming up with my own.
By Valerie Ward October 24, 2018 - 8:27 am
I completely agree, Joyce! I’ve made flip slider cards before, with no die, and that is a pain! I was ecstatic when I saw this die come out!