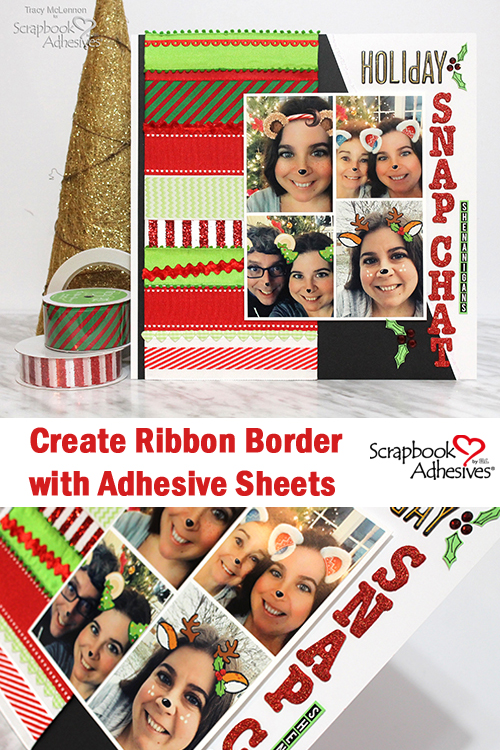
Hello scrappy friends, Tracy here and today I have a fun texture filled ribbon border layout tutorial to share. I don’t know about you, but I just love everything about Christmas layouts. It’s so easy to add a little sparkle, fun colours and like this layout lots of texture with ribbon. Confession: I am a ribbon hoarder. I just can’t get enough. SO this layout digs into my stash of holiday ribbon to create a colourful festive border.
Creating the Ribbon Border
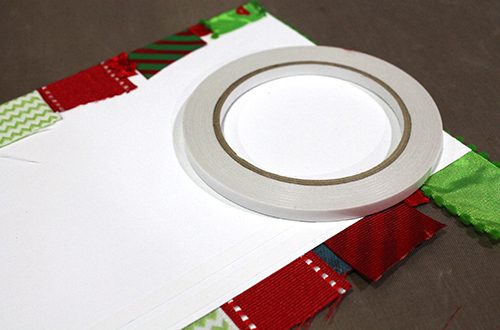
Start by gathering your ribbon, a 6×12 piece of white cardstock, Premium Double-Sided Tape 1/4in and an Adhesive Sheet 6×12 Inch.
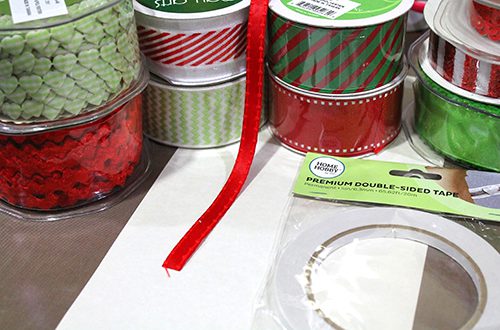
Cut the ribbon pieces to about 8″ long. Attach the Adhesive Sheet 6×12 Inch to the white cardstock.
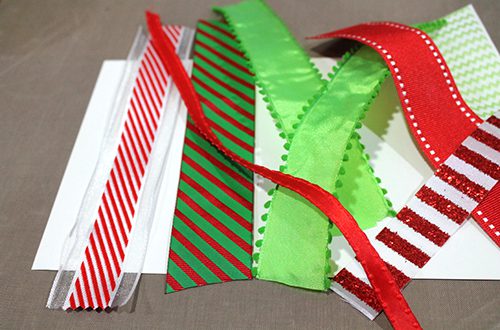
Attach the pieces of ribbon to the 6×12 cardstock, the Adhesive Sheet 6×12 Inch keeps each piece in place nicely.

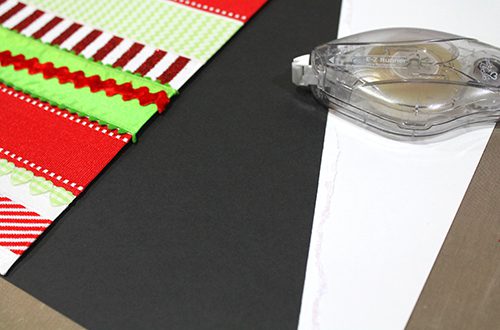
On the back side of the white cardstock, add a strip or two of the Premium Double-Sided Tape 1/4in. Then fold the ribbon ends around the cardstock attaching them in back. Can you see the start of a ribbon border?
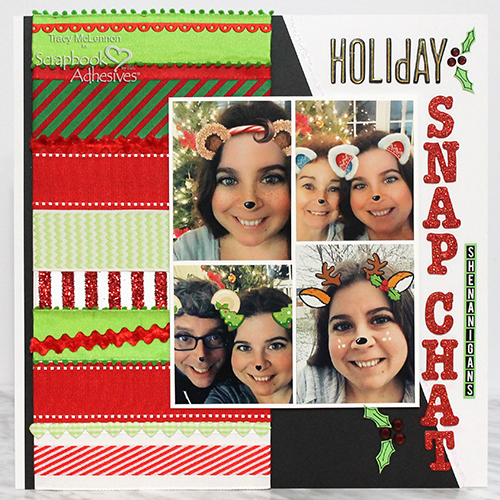
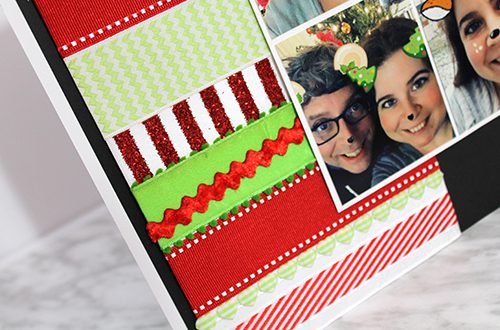
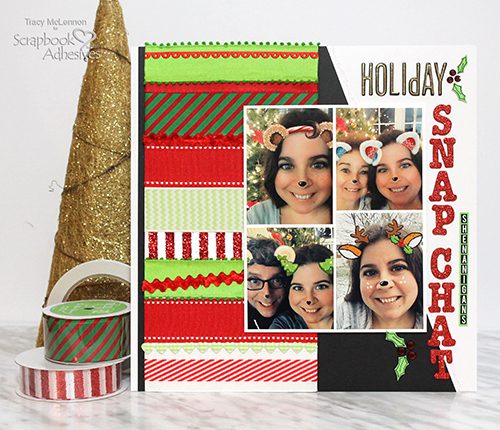
Using the E-Z Runner® Ultra Strong Refillable Dispenser, I adhered the ribbon border to a piece of 12×12 black cardstock, leaving a small border on the left side. Then cut diagonally from the top, down to the bottom right-hand corner. I also added a torn strip of white cardstock along that diagonal edge. Adhere this entire piece to a full sheet of white cardstock. I added Stickles to the torn edge for a little extra sparkle.
I matted my 4 mini prints with a single piece of white cardstock and adhered that to the layout using 3D Foam Squares White Regular Size.
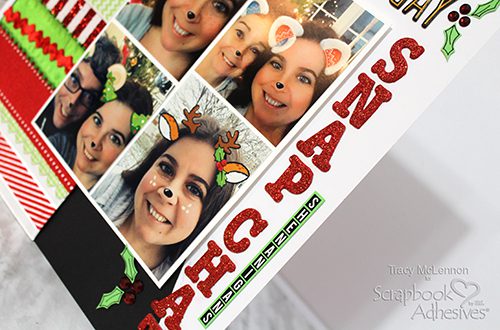
Next, I added the title using different letter stickers. Then added gems and hand cut holly leaves to accent.
Thanks so much for stopping by!
Tracy
Creative Time: 45 Minutes
Skill Level: Beginner
Materials needed:
Scrapbook Adhesives by 3L®:
Adhesive Sheets 6×12 Inch
E-Z Runner® Ultra Strong Refillable Dispenser
3D Foam Squares White Regular Size
HomeHobby by 3L®:
Premium Double-Sided Tape 1/4in
Pin It!