Can you believe Christmas is a little over a month away? Now it the time to start working on your holiday cards!
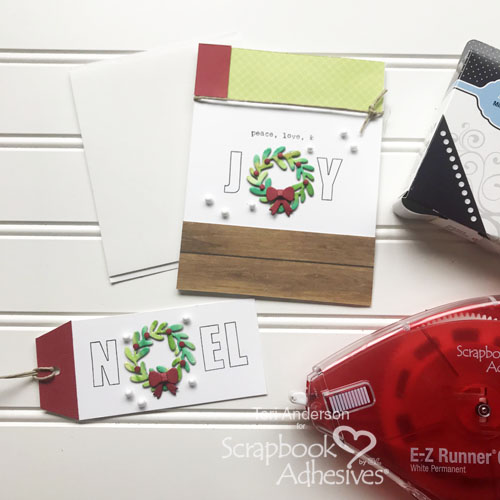
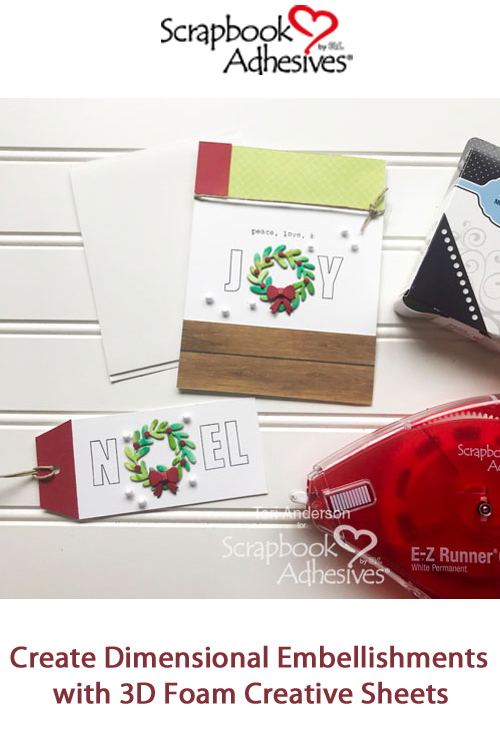
I’ve got a fun card to share with you today. I’ll also give the scoop on how to make a matching gift tag to go with it. This little ensemble came together quickly and easily with products from Scrapbook Adhesives by 3L.
Creating the Wreath
The most time-consuming part of making both the card and tag was creating the wreaths but it adds an impact. I think you will agree.
Began by making the green paper I created the wreaths with. It was so easy! I simply brushed watercolor markers onto watercolor paper and then spread the color with a wet paintbrush.
Once the panel was dry, I adhered it to one of the 3D Foam Creative Sheets so that I could die-cut the wreaths from it. These sheets are perfect for die-cutting elements to use on cards and scrapbook pages as the foam gives die-cuts a little bit of pop.
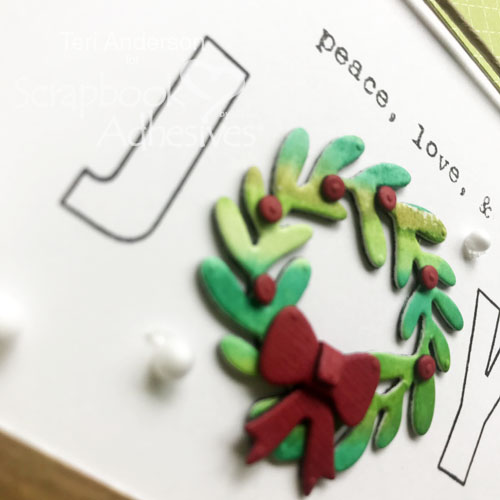
I also adhered some red cardstock to one of the 3D Foam Creative Sheets and die-cut the bow and berries from it. Now, those berries are pretty small. Rather than picking them up with my fingers, I used a paper piercing tool to move them from the sheet to my wreaths.
Completing the Card and Tag
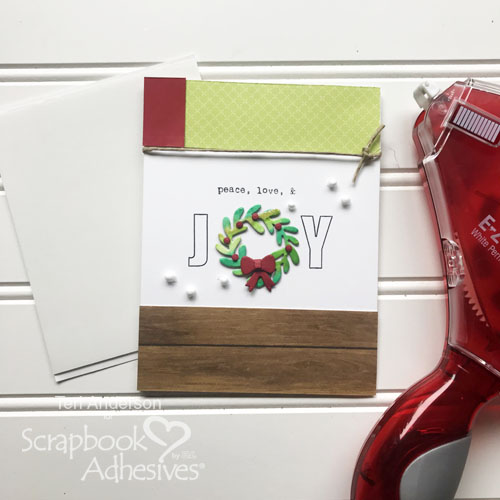
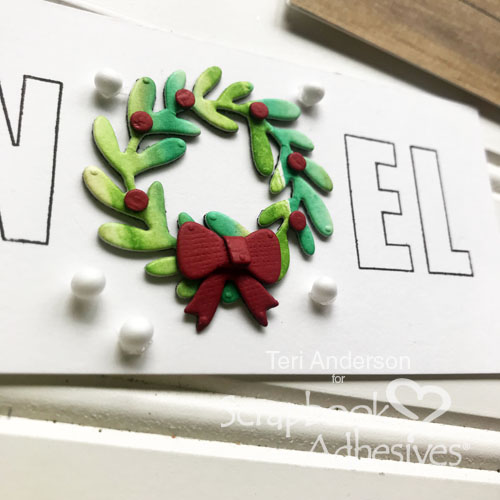
Once I completed my wreaths, I built both the card and the tag around them. To make the wreaths to stand out, I felt the best way was to let one wreath be the “o” in joy and the other be “o” in Noel.
I adhered the wreaths to the card and tag and then stamped letters to each side of the wreaths. (Don’t have any letter stamps? Consider using letter stickers instead!)
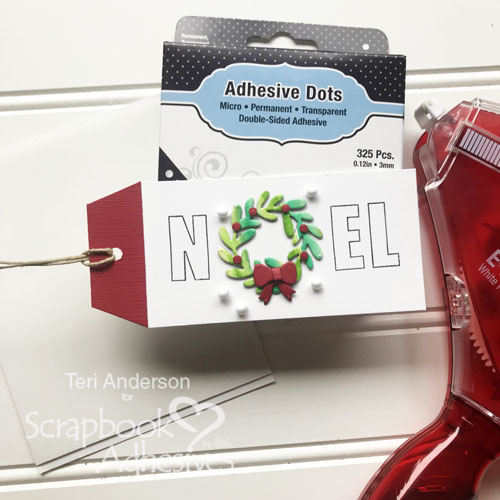
Then I simply embellished the card and tag with some additional pieces of paper and twine. I also added some small foam balls that reminded me of snow. I adhered them to the card and tag with some of Adhesive Dots Micro. These dots are perfect for holding small embellishments to cards, scrapbook pages, and tags.
I hope you enjoyed checking out this card and tag set! Would love to see your Christmas cards and tags. Please leave a link to your Christmas projects in the comments so I can leave you a little love!
Creative Time: 1 hour
Skill Level: Beginner
Materials Needed:
Scrapbook Adhesives by 3L®:
E-Z Runner Refillable Grand Dispenser
3D Foam Creative Sheets
Adhesive Dots Micro
Other:
Driving to the Holidays stamp set from Flora & Fauna; Big Timber Outline Uppercase stamp set by Technique Tuesday; Mini Wreath die by Lawn Fawn; White foam balls from Dollar Tree; Zig Clean Color Real Brush Markers by Kuretake; Watercolor paper; White and Black cardstock; Patterned papers by Carta Bella & Doodlebug Design; Twine; Black ink pad
Pin It!
Visit our Website and Blog!
Sign up for our Newsletter so you never miss a contest or giveaway!


By Lisa Hetrick November 27, 2018 - 10:28 am
Teri, I love these ideas. So simple, clean and fun! Totally swiping this year. Tee hee!