
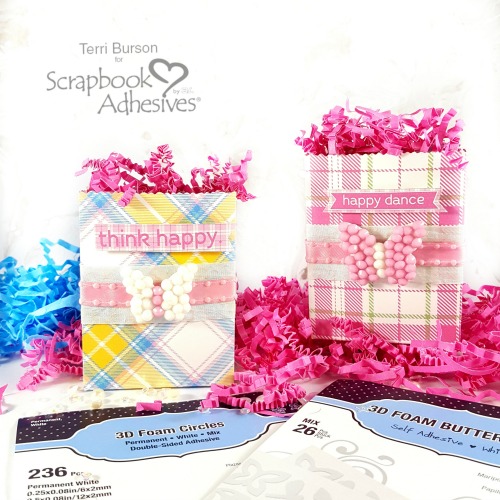
Hello friends, Terri here with a pair of Butterfly Spring Mini Gift Bags. I love making little treat bags to have on hand for various occasions; gifting my co-workers, friends, family or teachers. Today, I’ll show you how to make those gorgeous butterflies using the 3D Foam Butterflies as an outline.
The Appeal Of Dimension
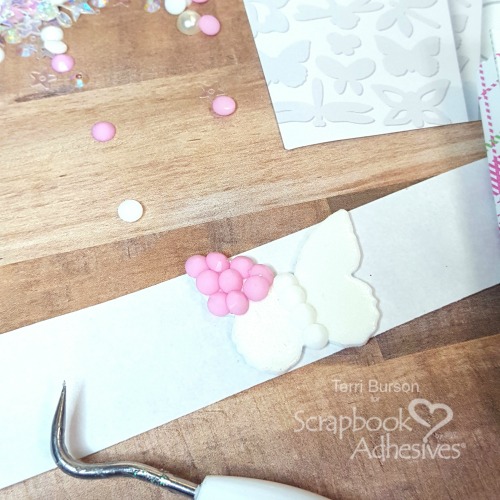
There are numerous ways to embellish your 3D adhesive foam products from Scrapbook Adhesives by 3L. Glittering and embossing are a couple of favorite techniques. However, those are one layer techniques. Although 3D foam already offers dimension, how about taking it up a notch and add dimension on top of dimension for your butterfly? Yes!
Use What You Have
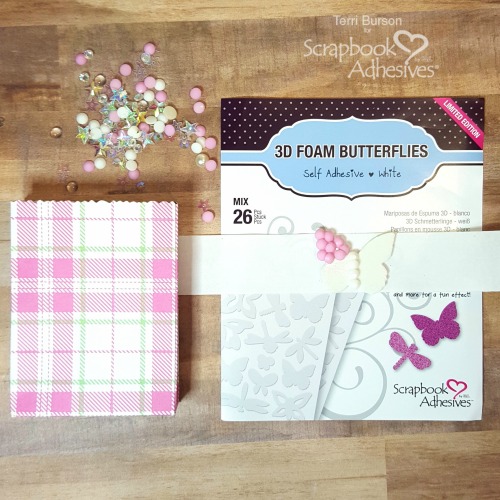
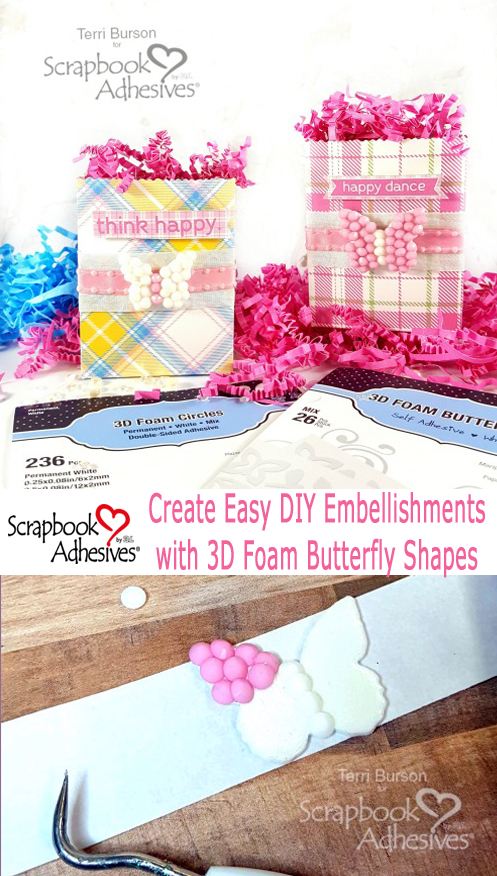
I’ve had these pretty gems in my craft stash and thought they would make my butterfly really stand out. The 3D Foam Butterflies have a super sticky adhesive underneath the top lining. Just peel the top layer and add your gems. Once I began, I started thinking of other things I could use to embellish with dimension; tiny styrofoam pellets, sequins, candy sprinkles or even kosher salt!
Creating A Foundation For Your Butterfly
For my die cut paper bags, I don’t want to just plop the butterfly down and call it a day. I want to lay a foundation so it can stand out. Having multiple layers offers more visual appeal. With that in mind, I trimmed two 7″ pieces of ribbon. The white satin is larger so that will be my base. Because it’s thin, it will easily adhere and wrap around my box using the E-Z Runner® Grand Refillable Dispenser and E-Z Runner® Grand Ultra Strong Refill.
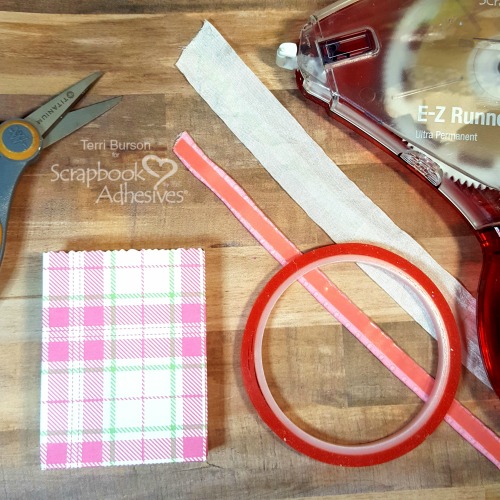
Next, because my corded ribbon is thicker, the Extreme Double-Sided Tape 1/2in will offer an added level of security. I always use this super powerful tape when adhering ribbons of added thickness. If you have problems with your ribbons falling apart, give this a try. I promise you will notice a difference in quality and strength.
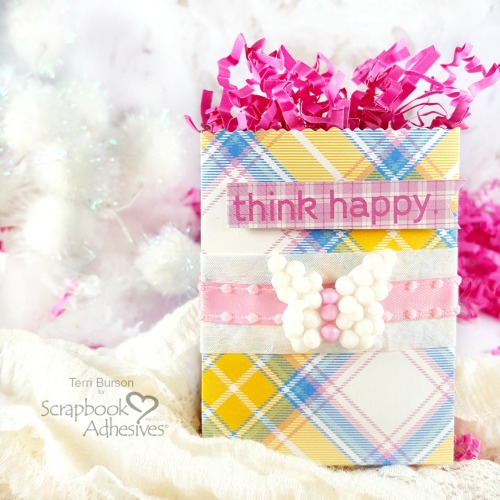
The final touch is adding the 3D Foam Circles White Mix, to pop up my sentiments. These sweet little mini treat bags are the perfect size for tucking in some sweets, a big cookie or gift card. It’s a great way to bring a smile to someone’s face. We could all use more smiles, don’t you think?

I hope you’ve been inspired today. If you’d like to know more about the products that I used, stop by my blog at Waving My Wand. Have a great day! Terri
Creative Time: 20 Minutes
Skill Level: Beginner
Materials Needed
Scrapbook Adhesives by 3L®
3D Foam Butterflies
E-Z Runner® Grand Refillable Dispenser
E-Z Runner® Grand Ultra Strong Refill
3D Foam Circles White Mix
HomeHobby by 3L®
Extreme Double-Sided Tape 1/2in
Other
Sizzix Die and manual die cutter, Photo Play Paper, Westcott scissors, Buttons Galore embellishments, May Arts Ribbon, Westcott scissors
Pin It!
By Jean Marmo March 8, 2019 - 12:41 pm
Simply darling! Love the wonderful details!
By Terri Burson March 8, 2019 - 2:57 pm
Thanks so much, Jean. ❤