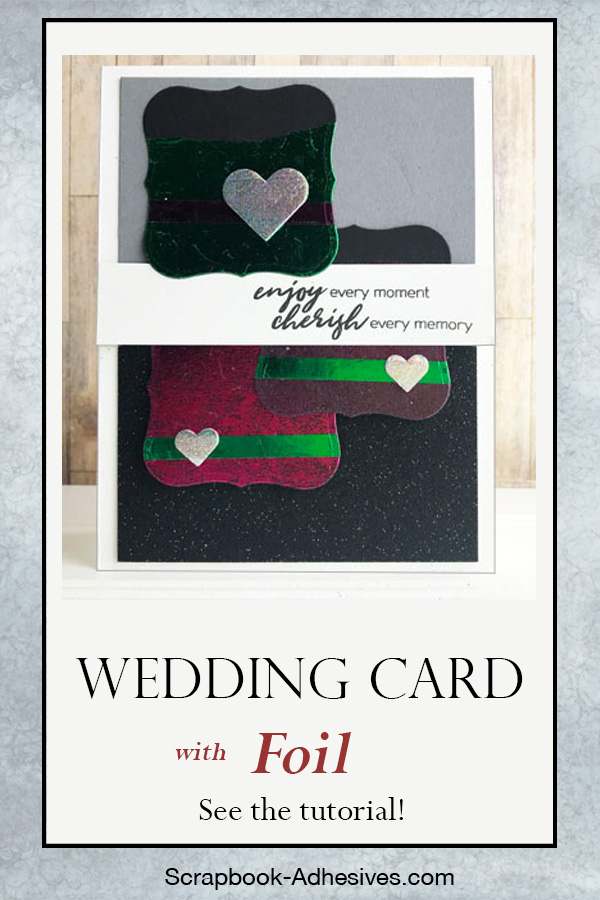
Hi, everyone! Need to make a wedding card? Looking for a special anniversary card for your favorite couple? I’m going to show you how to put together a glitzy card with Metallic Transfer Foil Sheets!
Create the Foiled Labels
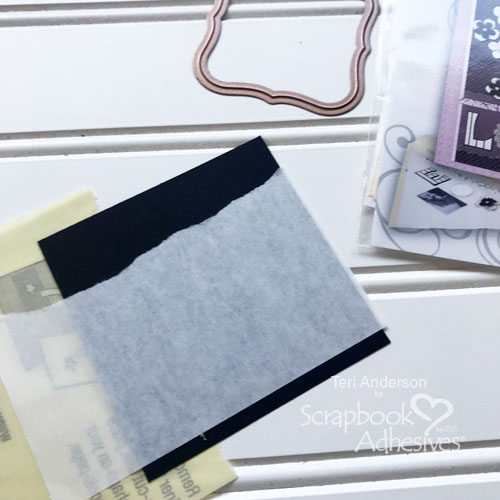
Start by cutting several squares from black cardstock. Take some of the Adhesive Sheets from Scrapbook Adhesives by 3L and cut them down to fit across the squares.

Take your Adhesive Sheets and tear off the top of each one. Transfer the adhesive onto each of the squares. For a really finished look, firmly rub the adhesive onto the cardstock panels. You might even consider using a bone folder or a stamping block to help you. For a more shabby look, lightly rub the adhesive onto the squares. Don’t worry if the adhesive doesn’t completely transfer.

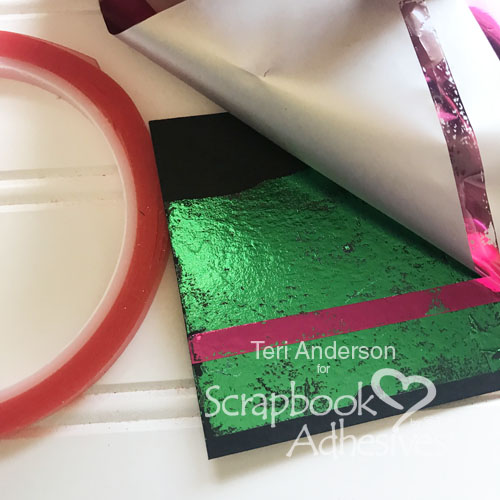
Set a piece of Metallic Transfer Foil over each of the panels and transfer the foil. I find it is helpful to make a fist and keep rubbing in a circle until the foil is fully burnished onto the squares.
Now, apply a strip of Extreme Double-Sided Tape 1/4in across each of the squares. Remove the liners and apply another color of foil onto each square.
You should have several squares with foil on them. Now, you simply want to take a label die and cut a label from each square.
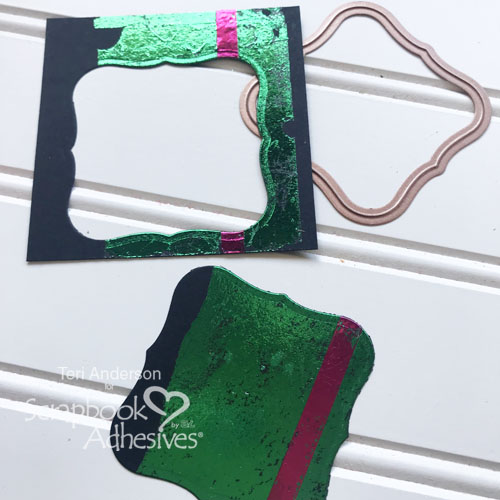
Set the labels aside so you can make the card.
Finish the Card
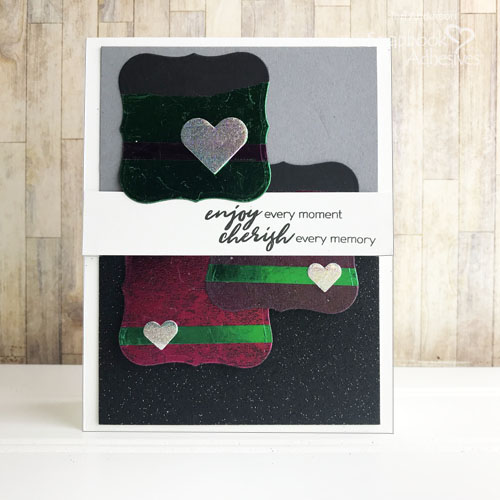
Create a standard A2 card from white cardstock. Apply panels of gray cardstock and black glitter paper to it.
Adhere three of your foiled labels onto the card. I recommend arranging them so the foiled stripes all go the same direction, but you may like them going different directions. It is entirely up to you.
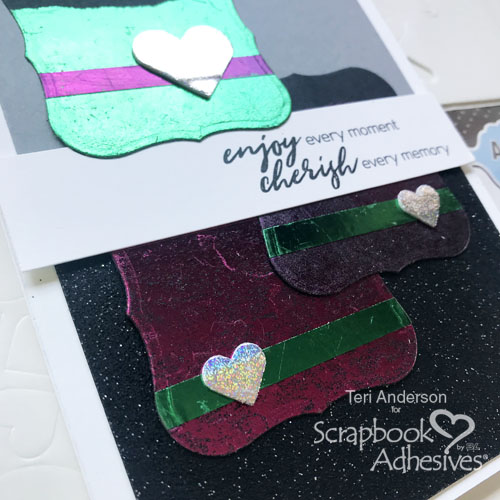
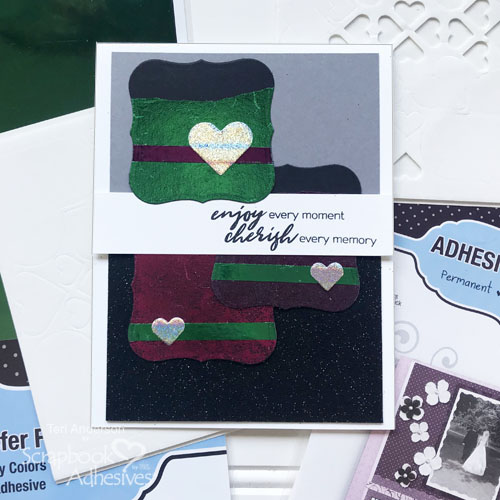
Stamp a sentiment onto a strip of cardstock. Adhere it across the card.
Complete the card by adding 3D Foam Hearts to each of the labels. Finish them by applying foil onto them.
Creative Time: 1 hour
Skill Level: Beginner
Materials Needed
Scrapbook Adhesives by 3L®
E-Z Runner® Grand Refillable Dispenser
Metallic Transfer Foil Sheets Variety Colors
Metallic Transfer Foil Sheets Holographic Colors
Adhesive Sheets 4×6 inch
3D Foam Hearts
HomeHobby by 3L®
Extreme Double-Sided Tape 1/4in
Other
Cherished Memories stamp set from Altenew; Label die by Spellbinders; Black glitter cardstock from American Crafts; Gray cardstock from Recollections; White cardstock from Neenah Paper; Black ink pad
Pin It!