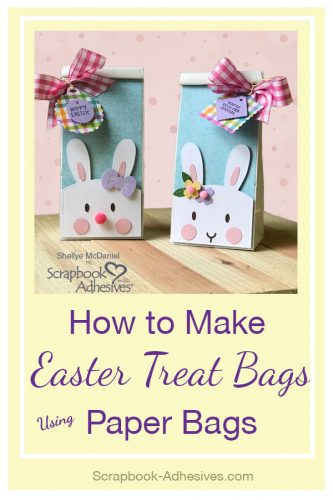
Greetings! Shellye McDaniel here to share an adorable set of transformed bakery bags just in time for Easter. Enjoy this fabulous idea for creating Easter Bunny Treat Bags!
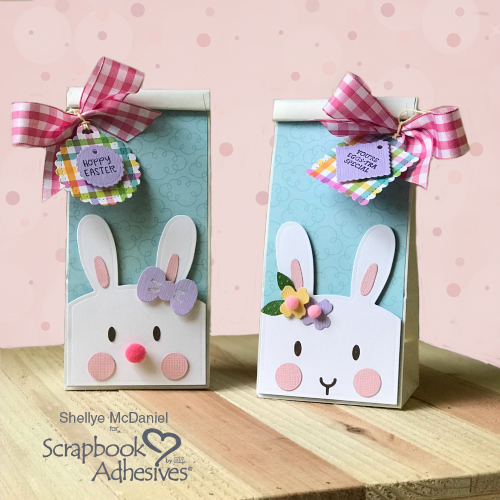
Easter Bunny Treat Bags Detail
To begin, I cut a background paper to cover the front of each bag and then used the Adhesive Sheets 4×6 inch to adhere the bag to the paper.
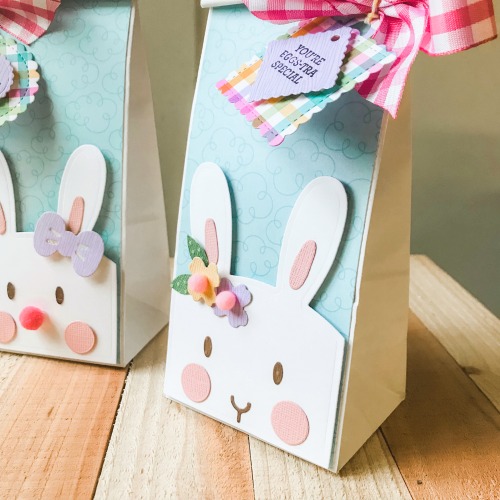
Next, I used a treat bag bunny die and its accessories to create the faces; the faces were attached to the bag with Crafty Foam Tape White. I chose the Adhesive Dots Large for attaching the cheeks and the Dual Tip Glue Pen for adhering the smaller pieces.
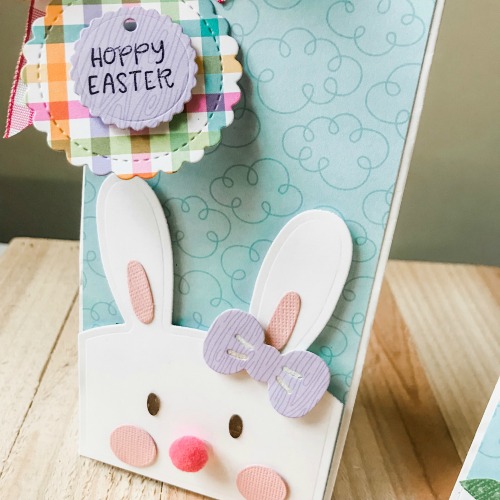
Wanting to offer some different textures on the Easter Bunny treat bags, I added a pom pom nose using the Adhesive Dots Small. I attached the die cut bow with 3D Foam Circles White Mix and the openings glittered.
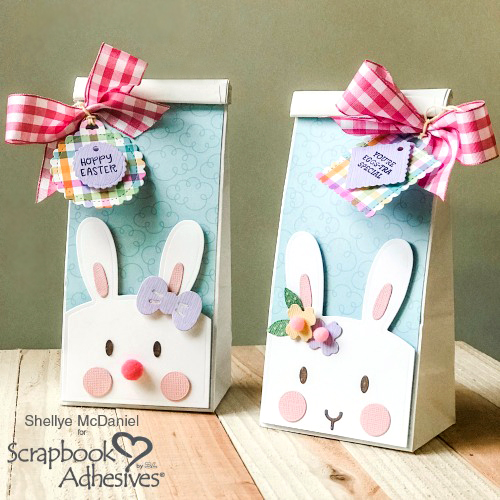
Finally I die-cut a few tags and layered them using 3D Foam Circles White Mix and then adhered to the top of the bag with Adhesive Dots Large.
Thank you for stopping by today!

Creative Time: 30 minutes
Skill Level: Beginner
Materials Needed
Scrapbook Adhesives by 3L®
Adhesive Sheets 4×6 inch
Crafty Foam Tape
Adhesive Dots Large
Adhesive Dots Small
3D Foam Circles White Mix
HomeHobby by 3L®
Dual Tip Glue Pen
Other
Patterned Papers: Doodlebug Design; Ribbon: Offray; White Cardstock; Twine; Textured Cardstock; Bakery Bags; Pom Poms
Pin It!
Visit our Website and Blog!
Sign up for our Newsletter so you never miss a contest or giveaway!


