
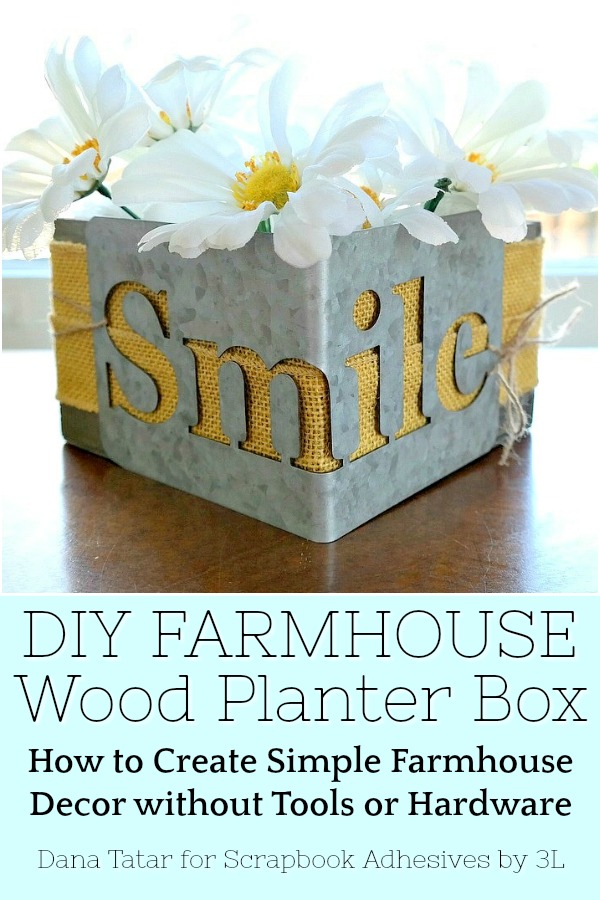
Hi friends! Dana Tatar here today sharing how to embellish a store-bought wood planter into a piece of Springtime farmhouse décor. Spring is slowly making its way to my neighborhood. The weather is not warm enough to start planting my garden, but the sun is shining through my windows. To bring a little Spring into my indoor space I embellished a plain planter box. I added a galvanized steel word, bright yellow ribbon, and fabric daisies. If you think you need power tools and expensive hardware to create farmhouse décor, I’m here to show you a much easier option!

Planter Box Basics
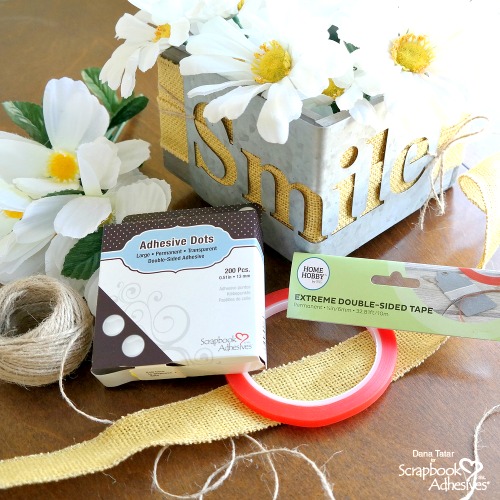
I started this project with a 6×6 inch wood planter box. I chose a bright yellow burlap ribbon, to match the daisy flower centers, and secured it to the box with Extreme Double-Sided Tape 1/2 inch. Any color and type of ribbon will work for this step.
Farmhouse Details

Once the ribbon was secured to the planter, I bent a galvanized smile stencil by hand to fit over one corner of the box.
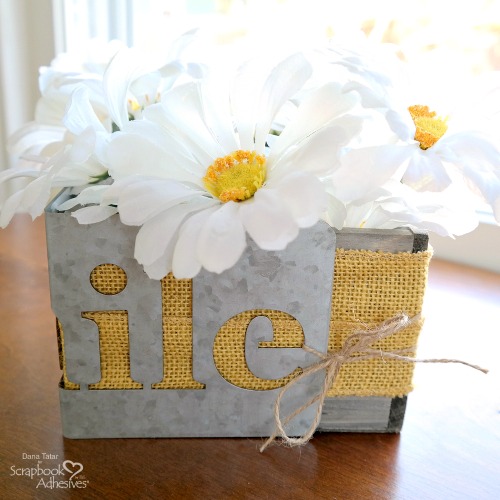
I placed Large Adhesives Dots along the top and bottom edge of the galvanized word and pressed it onto the planter. Next, I cut a piece of twine, looped it through the die-cut S, around the back of the box, and tied it into a bow, securing the end to the die-cut E. Finally, I filled the box with daisies.
The box included a zinc liner, and I plan to add live plants once the weather is a bit warmer. I hope I’ve inspired you to use your adhesives for home décor projects.
~Dana
Creative Time: 20 minutes
Skill Level: Beginner
Materials Needed
Scrapbook Adhesives by 3L®
Adhesive Dots Large
HomeHobby by 3L®
Extreme Double-Sided Tape 1/2-in
Other
Wood Planter Box; Galvanized Smile Stencil (Jillibean Soup); Fabric Flowers; Ribbon; Twine
Pin It!
By Kirsty Vittetoe April 17, 2019 - 11:46 pm
Love this awesome project!