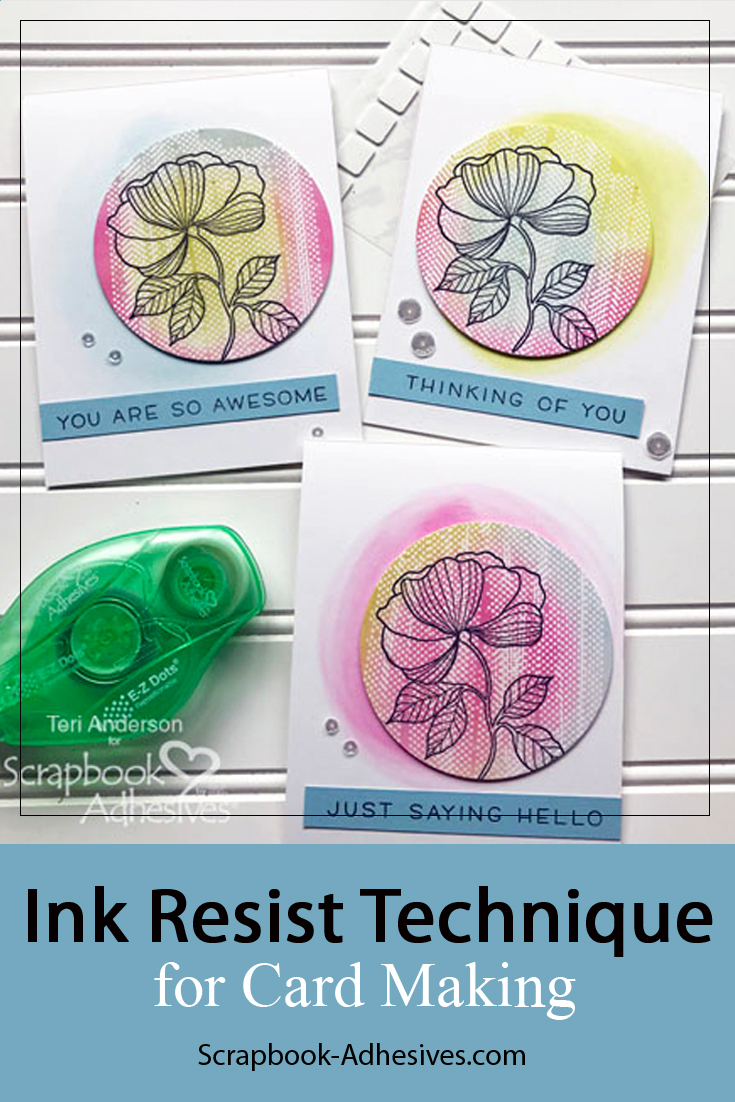
Do you like to get inky when you make cards and scrapbook pages? Teri here to show you a card using a fun ink resist technique!
This ink masking technique is easy to pull off with the E-Z Dots ® Repositionable Refillable Dispenser! Let’s get started.
Trying Out the Ink Resist Technique
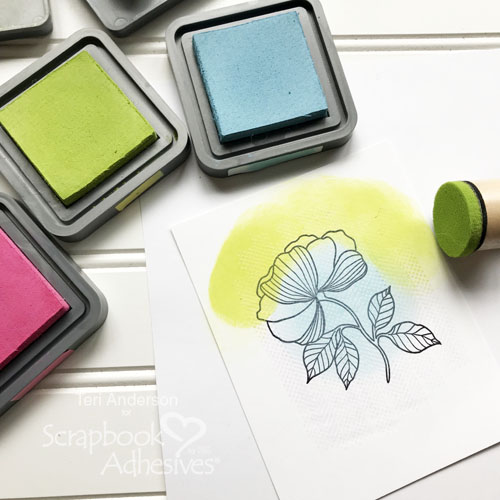
Start by stamping an image with black ink onto a panel of white cardstock.
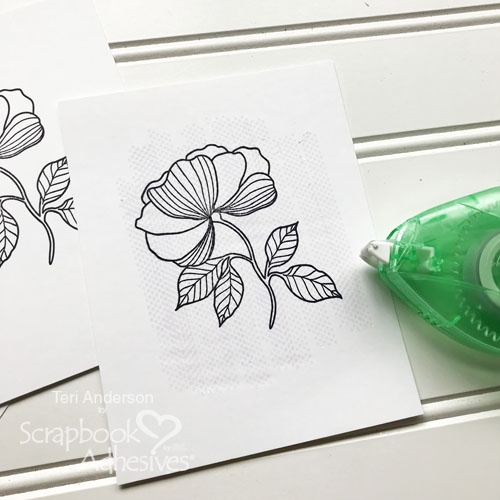
Use the E-Z Dots ® Repositionable Refillable Dispenser to roll several lines of adhesive dots over your stamped image. You can add as many lines as your heart desires.
Set your panel on a piece of scratch paper. Take one ink color and slowly apply it onto the panel with a sponge. Be gentle and not apply too much pressure as you ink.
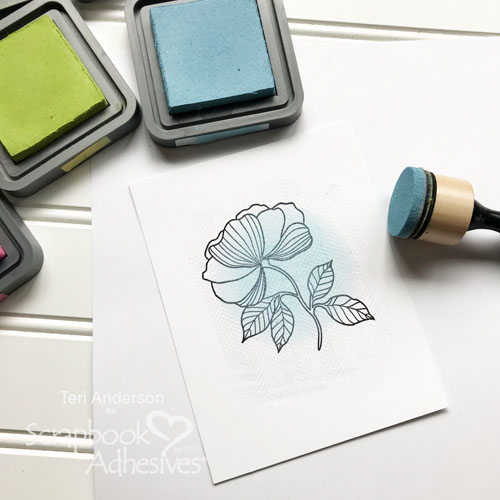
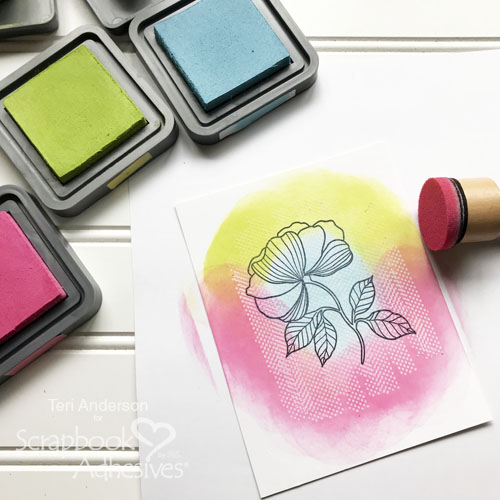
Now, you are going to add two more colors of ink to the panel.
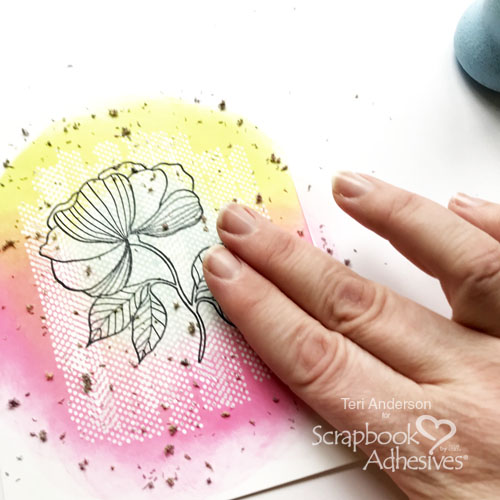
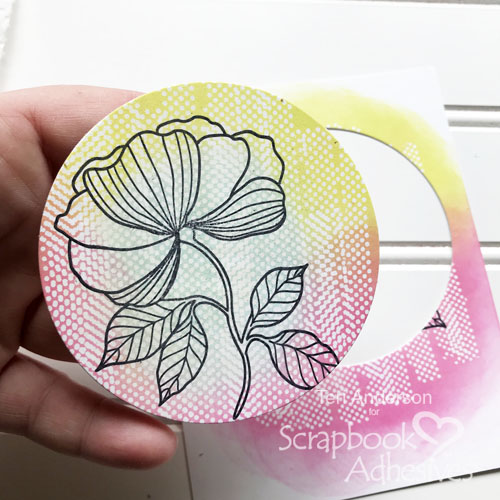
Continuing adding ink until your image is completely covered. Once are happy with the inking, and the ink is dry, you can use your fingers to rub off the adhesive. Go gently in a circular motion and the dots come right up!
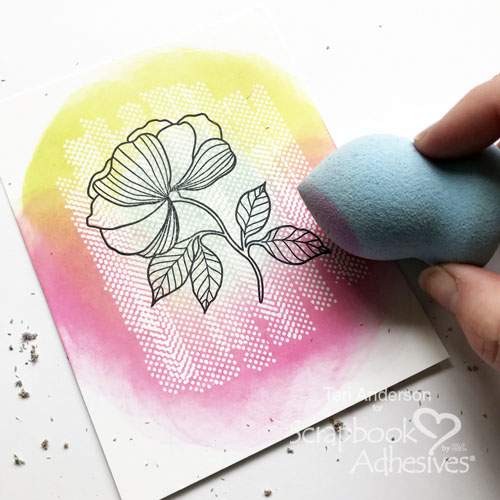
I recommend rubbing the panel with a sponge once you’ve removed the adhesive, just in case you’ve missed any flecks. By the way, the sponge I used is a cosmetic sponge I found at the dollar store!
Create the Card
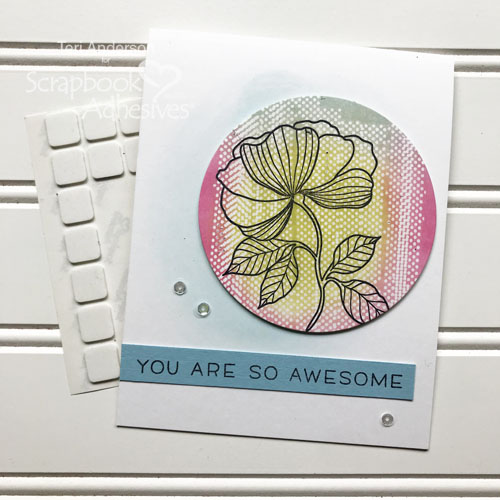
Now, you are going to use the panel on a card. Cut it into a circle.
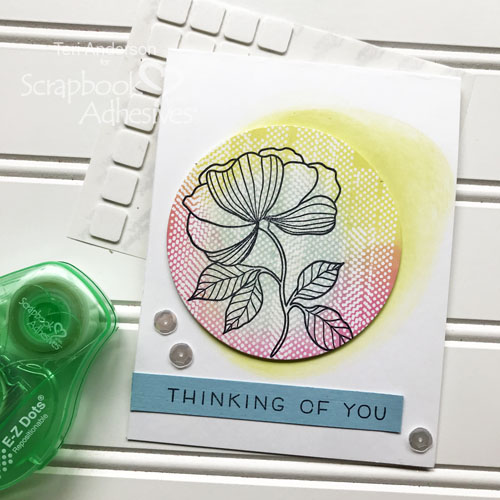
Create a card from a piece of cardstock. Sponge some ink onto it and then adhere the circle to the card with Thin 3D Foam Squares. I like to use the squares because they give elements on cards ‘pop’ but not too much. That way my cards aren’t too bulky and cost-prohibitive to mail.
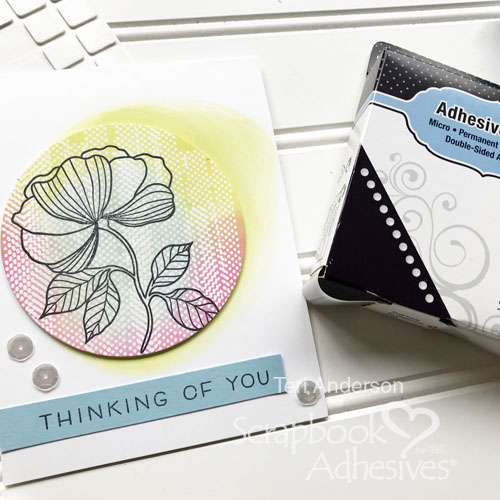
Stamp a sentiment on a strip of cardstock. Adhere it below the circle.
Finish the card with a few sequins or gems! The micro-sized Adhesive Dots work great for small embellishments.
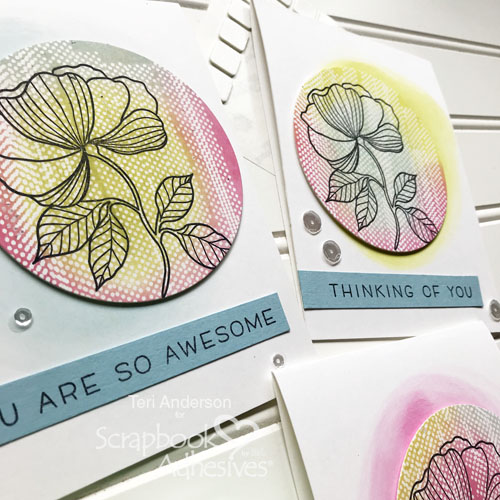
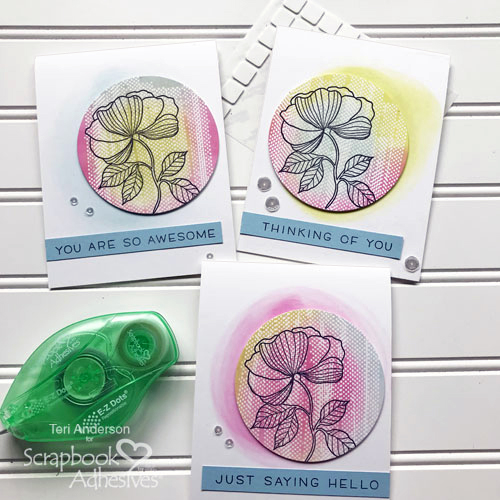
The thing I really love about this technique is you can create a lot of cards by using the same design. I also love that you can make each of your cards unique by using different ink colors.
The possibilities really are endless!
Thanks for stopping by today. If you give this technique a try, I’d love to see your results! Share a link with me on this post.
Creative Time: 1 hour
Skill Level: Beginner
Materials Needed
Scrapbook Adhesives by 3L®
E-Z Dots ® Permanent Refillable Dispenser
E-Z Dots ® Repositionable Refillable Dispenser
Thin 3D Foam Squares White Mix
Adhesive Dots Micro
Other
Simply Sentiments stamp set from Lawn Fawn; Bouquet Builder stamp set from Waffle Flower; Circle die from Spellbinders; Pink, Green Blue, Black inks from Ranger Ink; White cardstock from Neenah Paper; Make-up sponge; Paper towel
Pin It!